
Fine line Howl pieces are everywhere on boards right now, but you should know what fares best over time. Traditional saturation and bold outlines hold color and contrast far longer than tiny hairline details that blur into soft smudges. Pick a design that matches the placement you actually wear, not the one that photographs best, and you will thank yourself at year three. The first section breaks into the forearm work that reads strongest in a traditional take.
1. Howl Silhouette on Inner Forearm

I've seen this placement hold up because the forearm moves less and gets consistent sun exposure management. Ask your artist for slightly heavier linework than a fine-line piece, and request saturation in the color fills so the feathers and cloak read clearly after healing. Pain is low to moderate, sessions run 60 to 120 minutes for a medium forearm piece. A common mistake is asking for tiny facial detail, which blurs faster than broad shapes. For showing it off, roll sleeves or wear a short-sleeve linen shirt that keeps the forearm visible without overexposing the skin to sun.
2. Sophie Portrait Medallion on Upper Arm

This classic medallion translates well to upper arm placement, which tolerates more saturation and layered color than wrists. When you consult, bring references that show the face simplified into bold shapes rather than micro-detail. Expect a moderate pain level and one or two sessions if you want a background wreath. The design that ages poorly is overworked shading around the eyes, which softens into muddiness by year three. For session comfort wear a loose tank top the artist can pull aside without stretching the area.
3. Calcifer Flame on the Wrist

Wrist pieces read bright when done with saturated color and open negative space. Expect higher sensitivity on the wrist bones, and plan for a short 30 to 60 minute session for a small flame. Tell your artist you want crisp outer outlines and a lighter hand in interior shading so the flame does not become a blurred blob. The usual mistake is overfilling the tiny interior with gradients. For everyday styling pair it with a minimalist watch that frames the wrist without rubbing the fresh ink.
4. The Walking Castle Back Piece
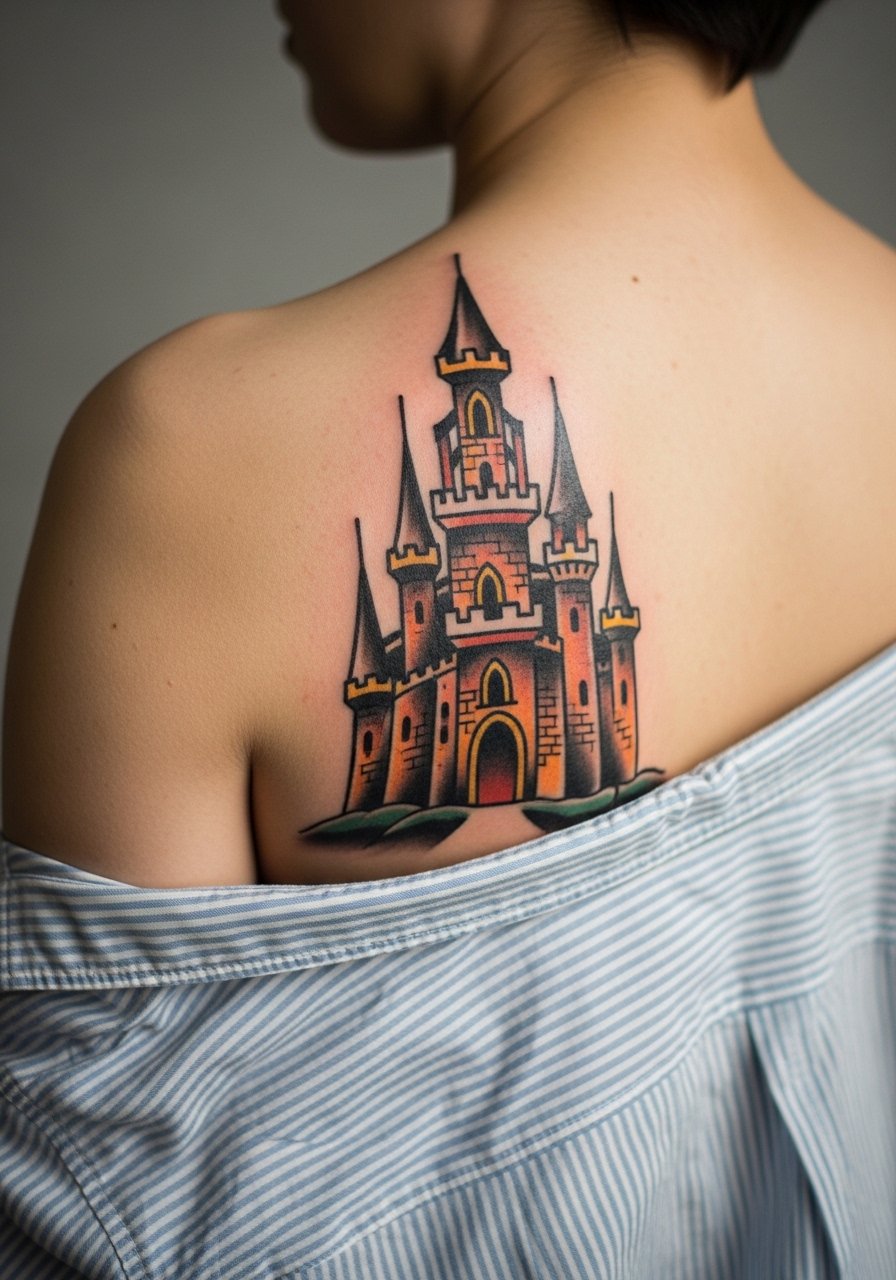
Back pieces let the traditional aesthetic breathe with large blocks of color and bold black anchors. The big controversy here is whether full-scale illustrative work should keep old-school outlines or move toward painterly shading. One camp argues that heavy outlines make the castle readable from across a room and age predictably. The other prefers soft transitions that photograph beautifully but can soften into mush over time. For this placement, expect longer sessions split across two or three days, and plan on touch-ups at year two for edge crispness. Wear a loose button-down shirt you can shift without irritating the area during healing.
5. Howl's Heart Locket on the Sternum
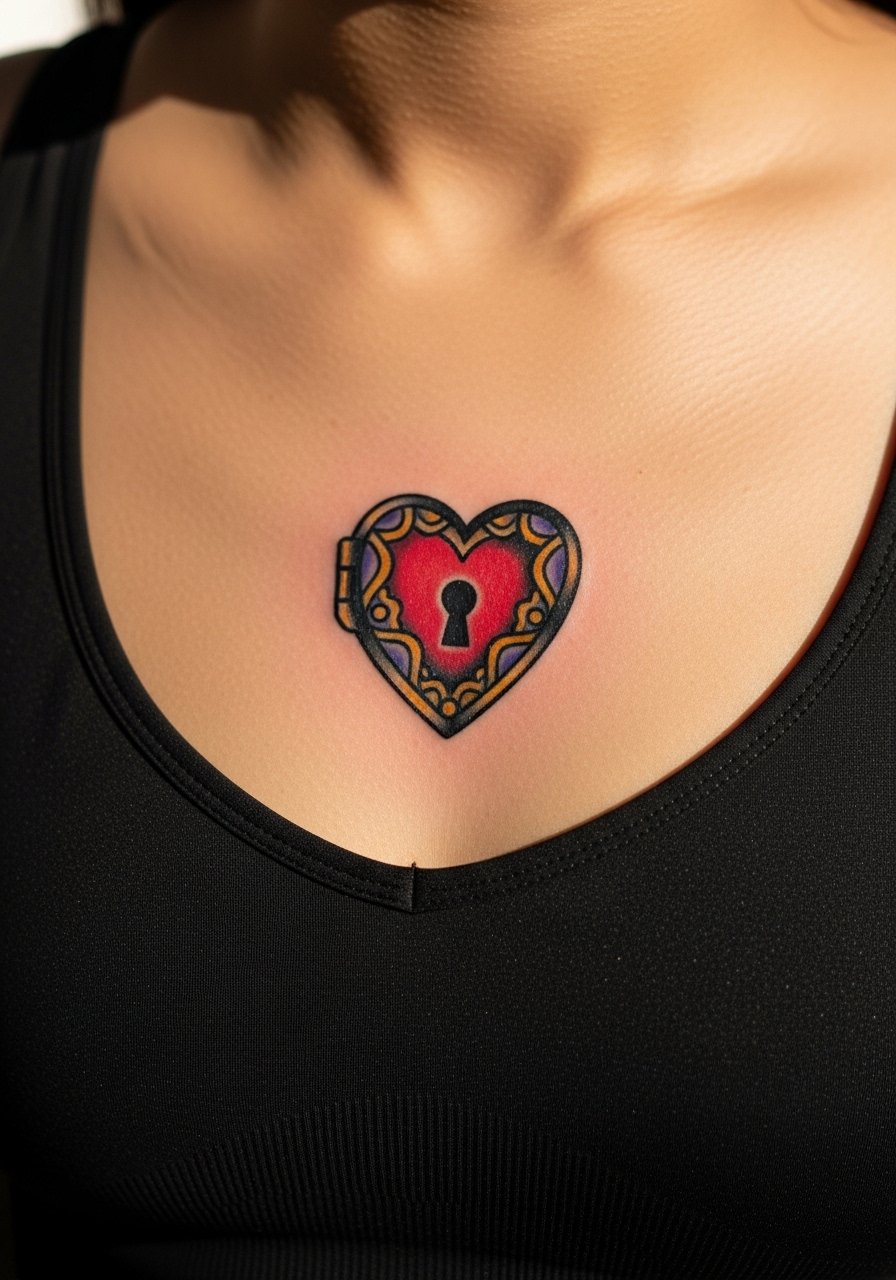
Sternum pieces have a reputation for painful sessions, and that is true for denser traditional fills. Sessions are often done in one long sitting or two shorter ones depending on tolerance. Ask for clear spacing so the locket's chain does not crowd the central detail, or the chain links will merge as the skin settles. This placement needs an artist practiced with chest anatomy because the skin moves with breathing. Career considerations matter here since full chest work remains visible with certain necklines.
6. Castle Silhouette on Calf

Calf placements tolerate heavier saturation and solid blacks, which is why silhouettes read so clean here. Pain is moderate and sessions are comfortable for most people sitting or lying with leg support. A common mistake is compressing too much detail into a narrow vertical space. Ask for simplified shapes and negative-space breaks so the silhouette reads at a distance and still looks crisp at year five. For evenings out, pair this with rolled-up jeans that show off the calf without constant friction.
Studio Day Picks
The upper-arm medallion, wrist flame, and calf silhouette above each have different session access needs, so a few targeted items smooth the day and the first week.
-
Stencil transfer paper kit. Lets you and the artist preview placement on curved areas like the calf and sternum before ink touches skin.
-
Topical numbing cream. Applied under guidance about 30 to 45 minutes before can make wrist and sternum sessions easier without affecting saturation.
-
Thin protective film roll. Useful for small wrist and forearm pieces where friction from clothing and washing threatens early scabbing.
-
Fragrance-free body wash. Keeps healing areas clean without stripping oils from saturated traditional fills.
-
Aquaphor healing ointment. A thin layer in the first few days helps maintain moisture for bold color work while avoiding clogging.
7. Castle Blueprint Shoulder Cap

Shoulder caps are forgiving for traditional work and show off linework well. The shoulder allows for heavy outlines, which helps the blueprint aesthetic keep legible as the skin ages. During consultation ask your artist to map how the design wraps the deltoid so it reads when you move. Expect low to moderate pain and a one to two hour session for a medium cap. For the session wear a sleeveless shirt you can remove or pull aside without stretching the skin.
8. Mini Castle on the Ankle

Ankle tattoos sit in a high-friction zone that affects healing and saturation. Pain can be higher near bone, and the session for a compact castle is usually under an hour. A common mistake is packing too much color at once in the ankle, which can lead to uneven saturation. Tell your artist you prefer clear black anchors and conservative fills so the design weathers evenly. For show-off looks try jeans rolled above the ankle to keep the area visible without irritating fresh ink.
9. Calcifer Matchstick on the Finger
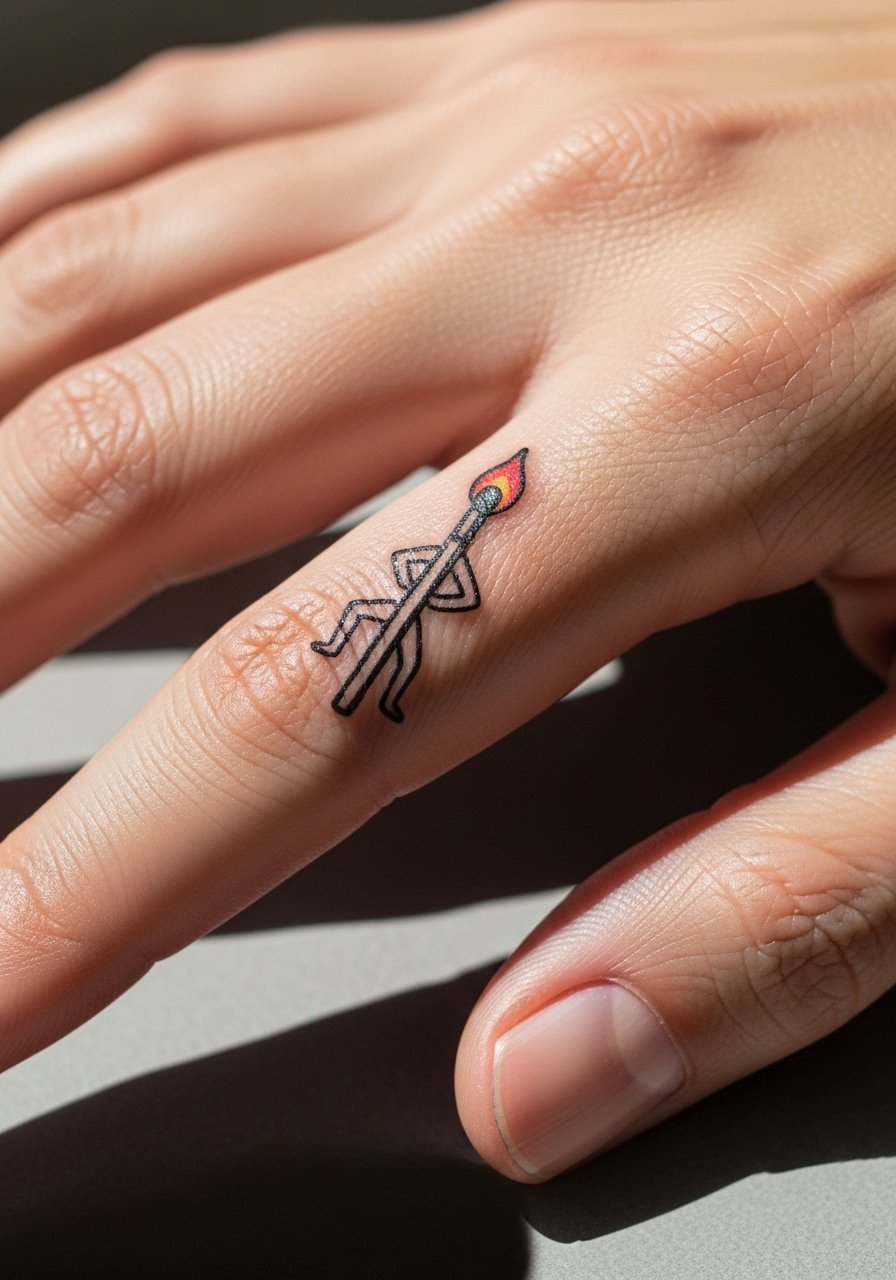
Finger pieces are a known longevity challenge because of constant washing and friction. Traditional style helps by relying on bold outline and negative space rather than tiny internal detail. Expect faster fading and an honest touch-up timetable at year one or two. Ask for slightly thicker outer linework and minimal interior shading. Session time is short but the sensitivity is higher. Pair the piece with thin rings rather than wide bands so metal does not rub directly on the tattoo while it heals.
10. Howl in Profile on the Calf Wrap

A calf wrap lets you create narrative flow in a traditional palette while keeping each element large enough to avoid blurring. This placement handles layered color and black backing that anchors the face and cloak. Tell your artist you want the profile simplified into planes of color. Sessions can be split, and touch-ups around edges may be needed after a year or two. For beach or festival looks try casual shorts that keep the wrap visible without constant chafing.
11. Castle Window on the Collarbone
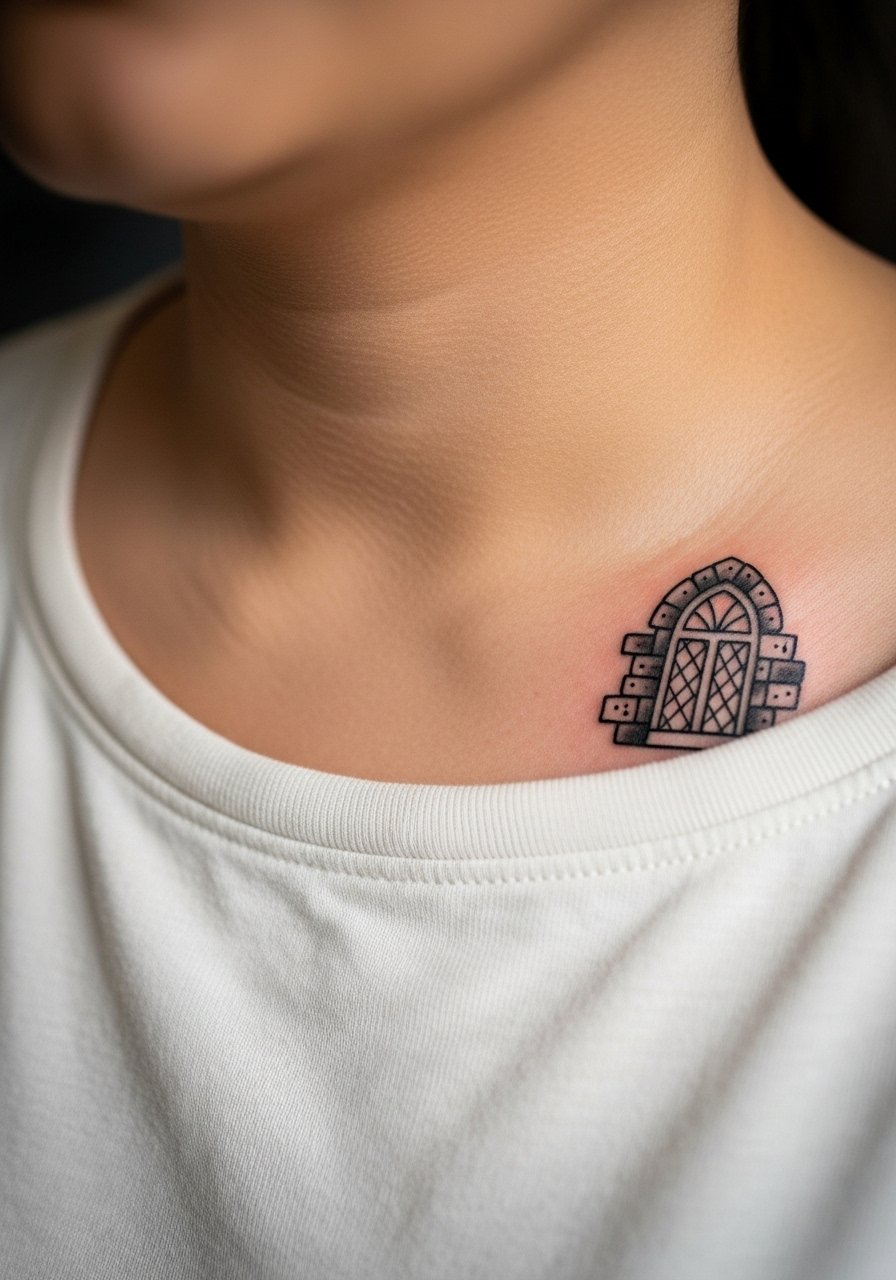
Collarbone tattoos are highly visible and frame jewelry and necklines. They tolerate crisp linework well but are subject to movement with breathing and shoulder motion. The biggest mistake is cramming a complex scene into a narrow collar line. Ask for a small, bold window with a clear border and minimal interior shading so the piece ages cleanly. Session time is short and sensitivity ranges low to moderate. Pair with a thin chain pendant necklace that sits above the piece without covering it.
12. Watercolor Castle Accent on the Ribcage

Ribcage placements have a controversy about fine-line and watercolor techniques. One camp says ribs stretch and movement cause thin lines and washes to blur within two years. The other says experienced artists with correct needle depth and spacing can make watercolor accents last on ribs. For a traditional take, keep a strong black outline and use watercolor washes as background rather than main detail. Pain is higher and sessions are often split. Wear a cropped athletic top to give the artist access while staying covered.
13. Castle Gearwork on the Upper Thigh

Upper thigh work allows for scale and complexity and is easier to conceal when needed. Expect lower pain than ribs and more options for saturation. A common error is over-detailing small gears without negative space, which can merge over years. Tell your artist to simplify shapes and maintain clear contrast. Session time can be longer for larger pieces but healing is generally predictable. For the appointment choose high-waisted jeans you can shift easily so the artist can access the area without full exposure.
14. Calcifer Ember Pocket on the Pocket Area

Hip pocket placements sit in a friction zone with clothing, which influences design choices. Small traditional emblems do well when placed above seams and pockets to reduce rubbing. Pain is moderate and session time short. Ask for clear black edges and conservative interior work. The mistake is placing the piece where a waistband or belt will rub every day. For casual wear pick high-waisted denim that can be adjusted to avoid direct friction.
15. Howl Crest on the Upper Chest
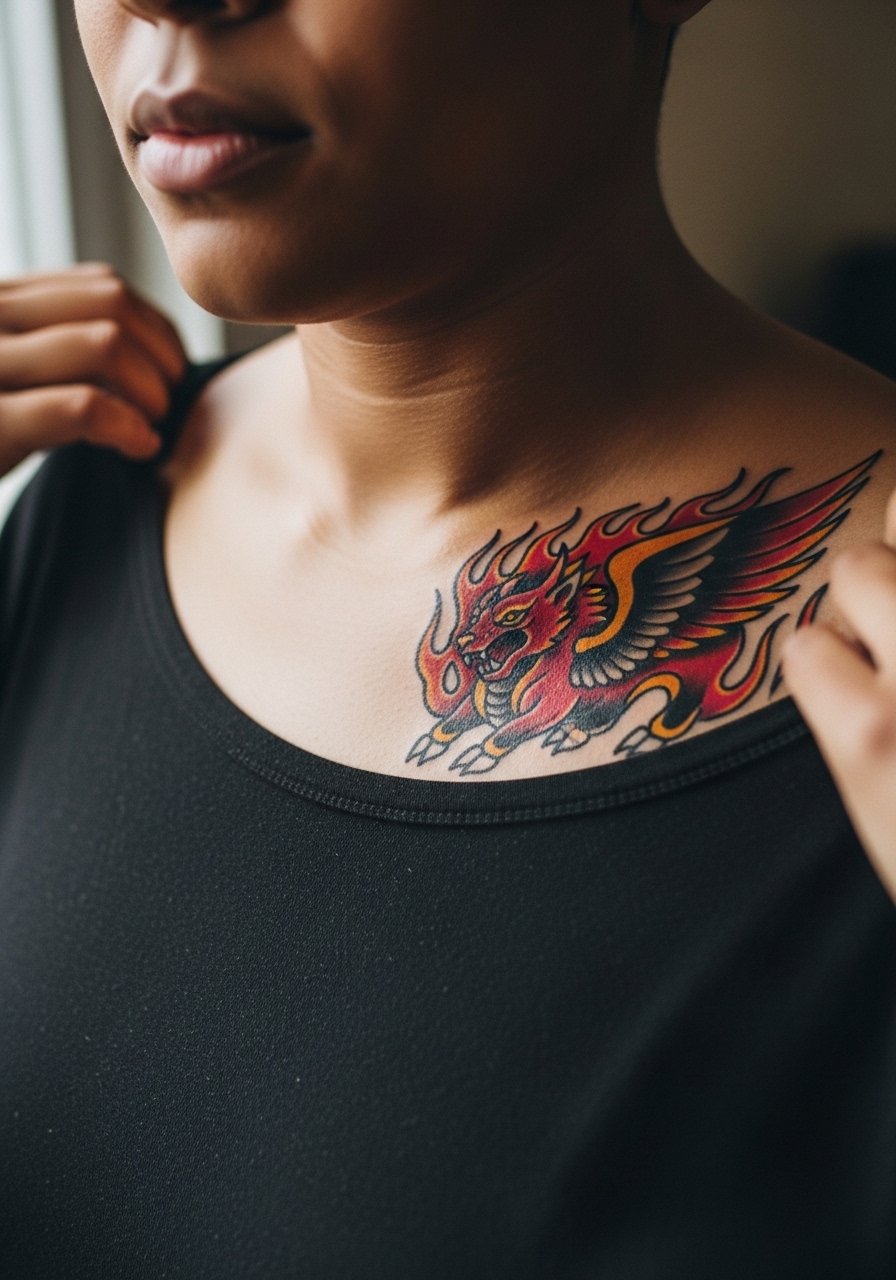
Upper chest placements let traditional crests sit proudly under open collars, but they need spacing from the sternum and shoulders. Sessions can be uncomfortable due to proximity to bone and sternum movement. The common mistake is pushing too much detail into a small crest. Ask for bold shapes and minimal fine work. This placement reads well with layered clothing like an open button shirt. For showing the crest, try a wide-neck top that frames the piece.
16. The Castle on the Nape
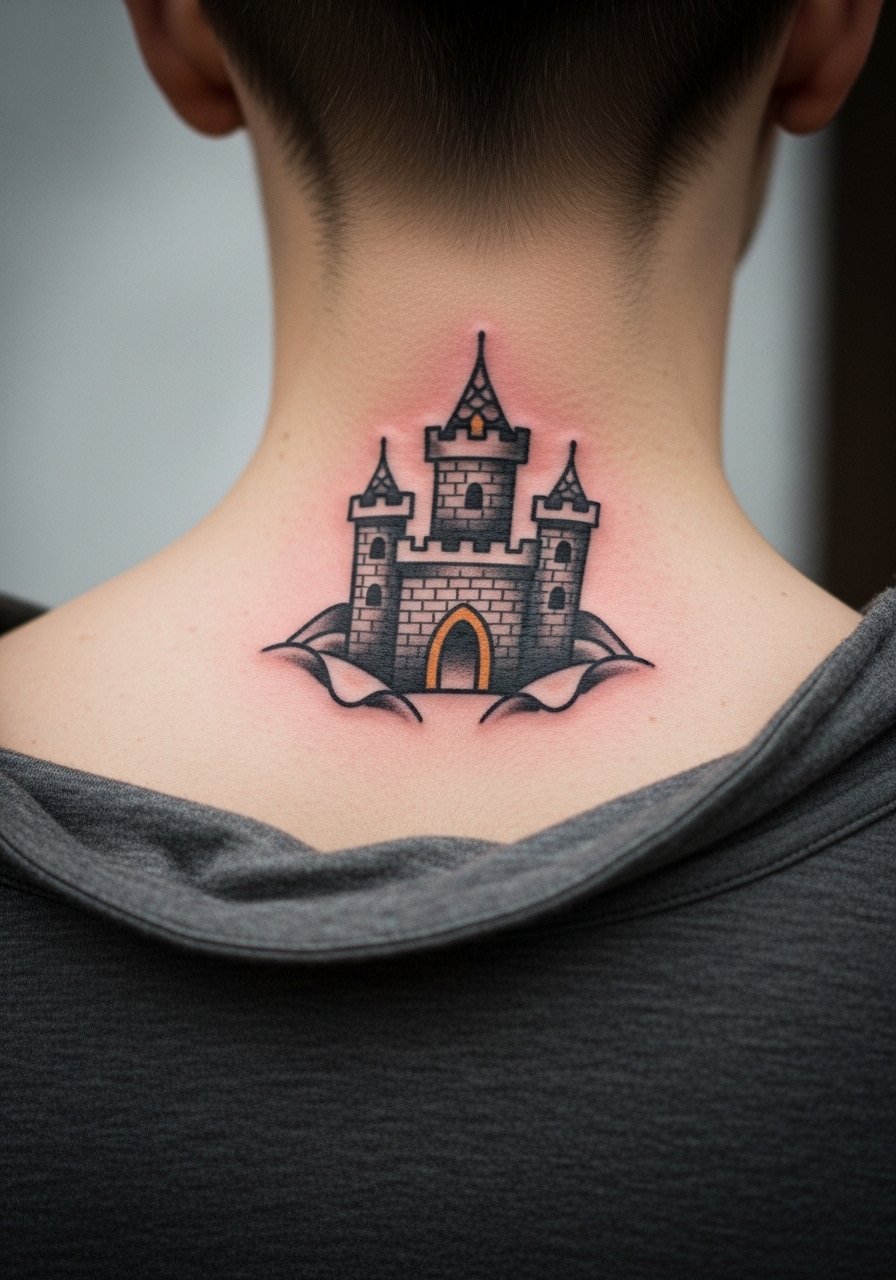
Nape tattoos are subtle and peek out from hairlines when you want them to. The skin on the back of the neck can be more mobile, so heavier outlines help the design stay readable. Expect a moderate pain level and a quick session for a small piece. A practical mistake is placing it too low where collars constantly irritate it. For appointments wear a wide-neck shirt you can adjust without rubbing the freshly inked area.
17. Howl's Cloak Sleeve Accent on the Upper Arm
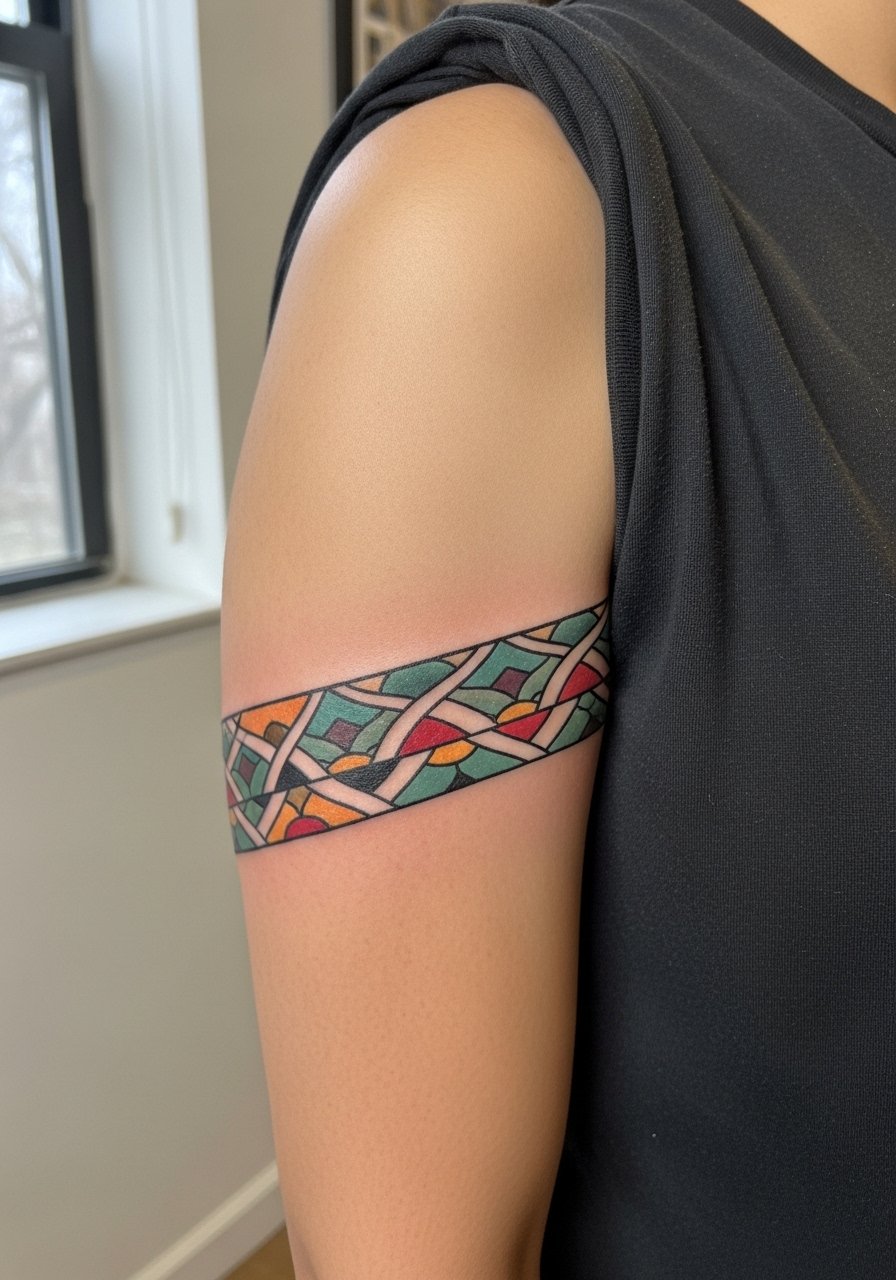
Half-sleeve accents let you combine Howl elements into a cohesive band that reads from all angles. The upper arm tolerates layering of black backing and color, which helps traditional motifs maintain contrast. Session time varies, usually two to three hours for larger bands. The mistake is adding tiny dot shading that disappears into the black work. During consultation say you want negative-space breaks and stipple highlights rather than micro-gradients. Wear a sleeveless top you can shift for access.
18. Tiny Castle Behind the Ear
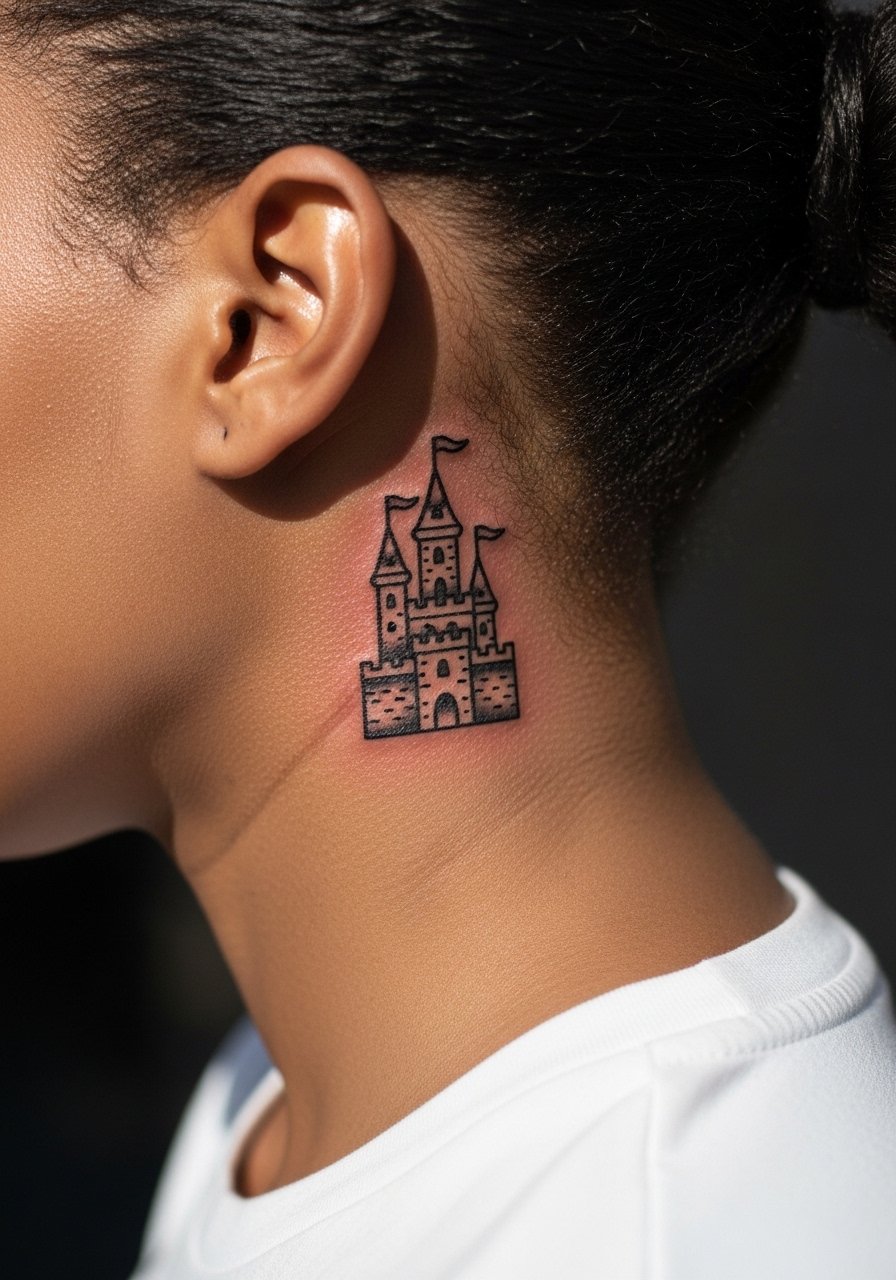
Behind-the-ear tattoos are intimate and need precise placement since they sit on curved skin below the hairline. Keep the design small with bold outlines to avoid blowout. Pain is lower because the area is often numb from nearby hair, but healing requires care with hair products. A common mistake is asking for tiny, intricate windows that will lose shape. For session prep tuck hair back with clips rather than stretching the skin.
19. Howl Pocket Watch on the Wrist Wrap

Wrist wraps can read like jewelry and make great traditional pieces when anchored with black outlines. Expect sensitivity near tendons and short sessions for small wraps. The common error is trying to include mini Roman numerals too small to hold over time. Ask for larger numerals and a clear border so the watch face stays legible. Pair with a minimal leather band bracelet rather than a tight metal cuff while the piece is fresh.
20. Moving Castle Chest Band

Chest bands make a bold statement and benefit from the classic traditional approach with heavy anchors and flat color. Sessions can be long and you should plan breaks. A common mistake is compressing too many small motifs into the band. Ask for rhythm and repetition so the band reads at a glance and keeps detail where it matters. For sessions wear a wide-neck shirt so the artist has access without exposing more than necessary.
21. Tiny Castle on the Ankle Outside

A tiny ankle castle works if you accept a higher maintenance schedule due to friction from shoes and socks. Keep the design simple and the outlines bold so the piece can be refreshed as needed. Sessions are short but the area takes a few extra weeks to lose scabbing because of footwear contact. The mistake is expecting finger-level longevity from ankle work. For the appointment wear slide sandals or low socks you can remove to avoid rubbing while the tattoo seals.
Frequently Asked Questions
Q: Will a traditional Howl portrait need touch-ups more often than other traditional pieces on the forearm?
A: It depends on size and placement, but in my experience forearm traditional portraits with strong outlines and saturated fills need fewer touch-ups than micro-detailed portraits. Ask your artist about planned touch-up windows, often around year two for high-motion skin.
Q: Can I get watercolor accents in a traditional Howl design and expect them to last on the ribcage?
A: That is debated among artists. One camp says ribs are too mobile for watercolor detail and it will soften quickly. The other camp says correct spacing, needle depth, and a strong black outline make watercolor accents survive. If you want both, keep watercolor as background wash and rely on black anchors for the main shapes.
Q: How should I dress for a sternum or upper chest session to make it easier on both me and the artist?
A: Wear a fitted sports bra or a wide-neck top you can pull aside without stretching the skin. A zip front hoodie also works for quick access without full exposure. The goal is convenience and modest coverage while giving the artist a stable canvas.
Q: Are finger and ankle placements worth it if I want a long-lasting tribute piece from Howl's Moving Castle?
A: They can be if you accept maintenance. Fingers and ankles face constant washing and friction, so plan for potential touch-ups at year one or sooner. If longevity is the priority, consider moving the same design to a forearm, calf, or chest piece that tolerates saturation better.
Q: How do I find the right artist for a traditional Howl interpretation without contacting specific names?
A: Search for portfolios in directories and hashtag discovery, spend time on community forums comparing healed photos, and look for artists whose healed images show strong linework and saturation on skin tones similar to yours. I recommend walking into studios with at least three clear healed references and asking about their touch-up policy before booking.
