
The trendiest sand dollar pieces look flawless in a saved grid but age differently in real life, and that gap is why so many people end up booking a touch-up. Fine line versions photograph beautifully at zero weeks and then soften on high-friction spots. Bold blackwork and carefully spaced geometry hold up much better. Read on for 17 sand dollar designs with placement advice, what to ask your artist, and wardrobe tips that make the work sing both fresh and healed.
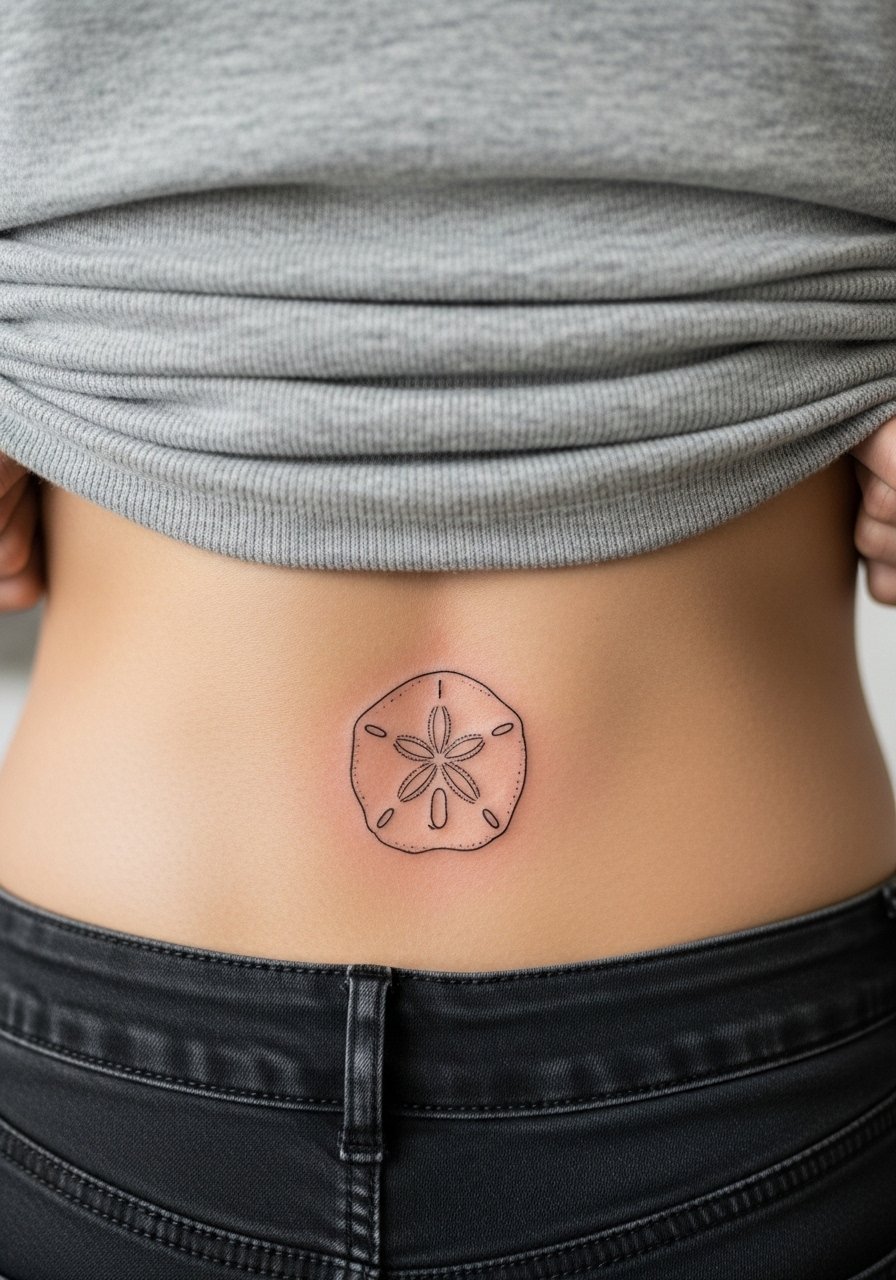
1. Minimalist Sand Dollar Outline for the Wrist

I've seen minimalist outlines on wrists fade into a smudge faster than you expect, especially if the design is tiny and the line weight is whisper-thin. Ask your artist for a slightly heavier linework profile and modest spacing in the petal cutouts so the star pattern can breathe as the skin moves. Fair warning, the wrist is higher on the pain chart because of bone and thin tissue. Plan for a 30 to 45 minute session and expect a touch-up at year two if you use the wrist for daily friction. For showing it off, wear a thin silver chain bracelet on the opposite wrist to frame the piece, and roll sleeve tanks during the session so the artist has clear access.
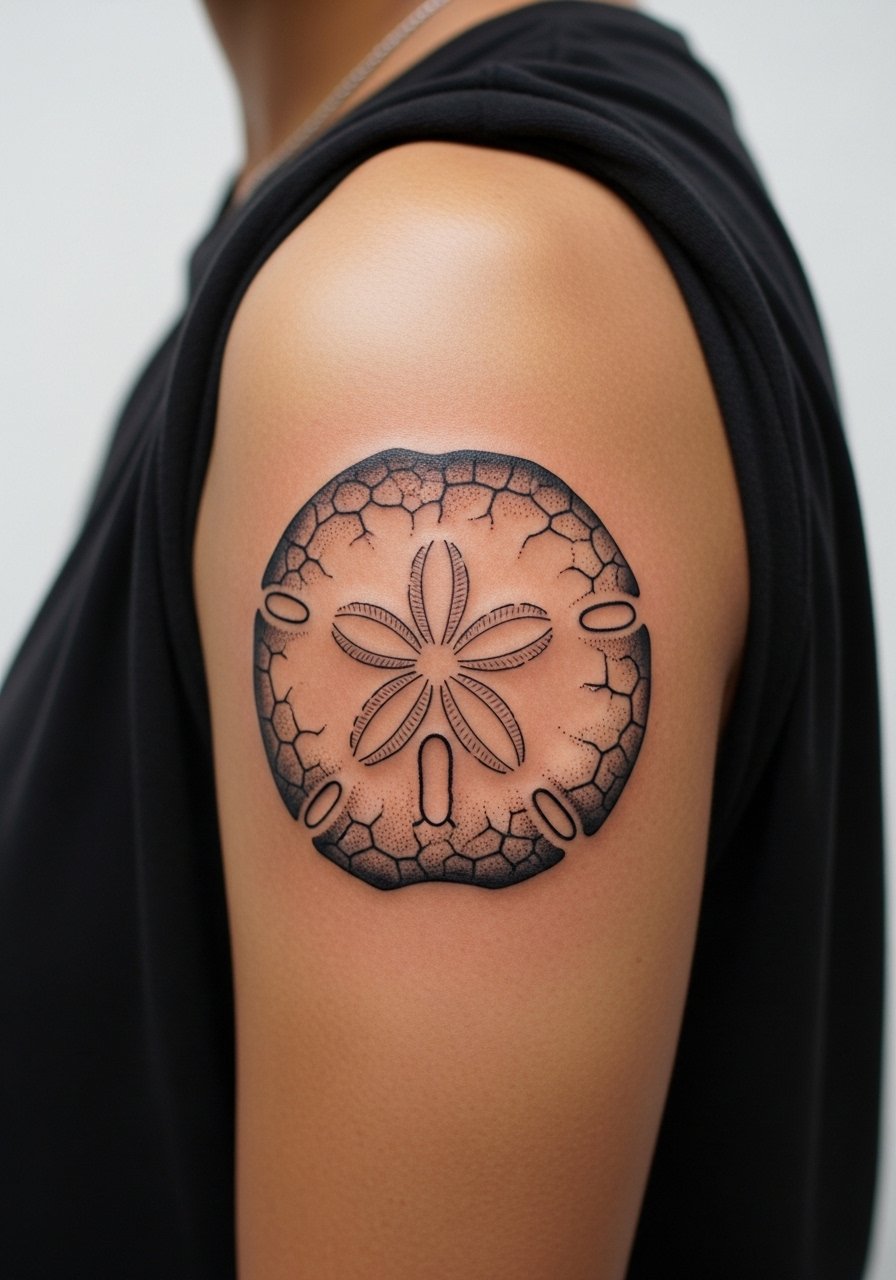
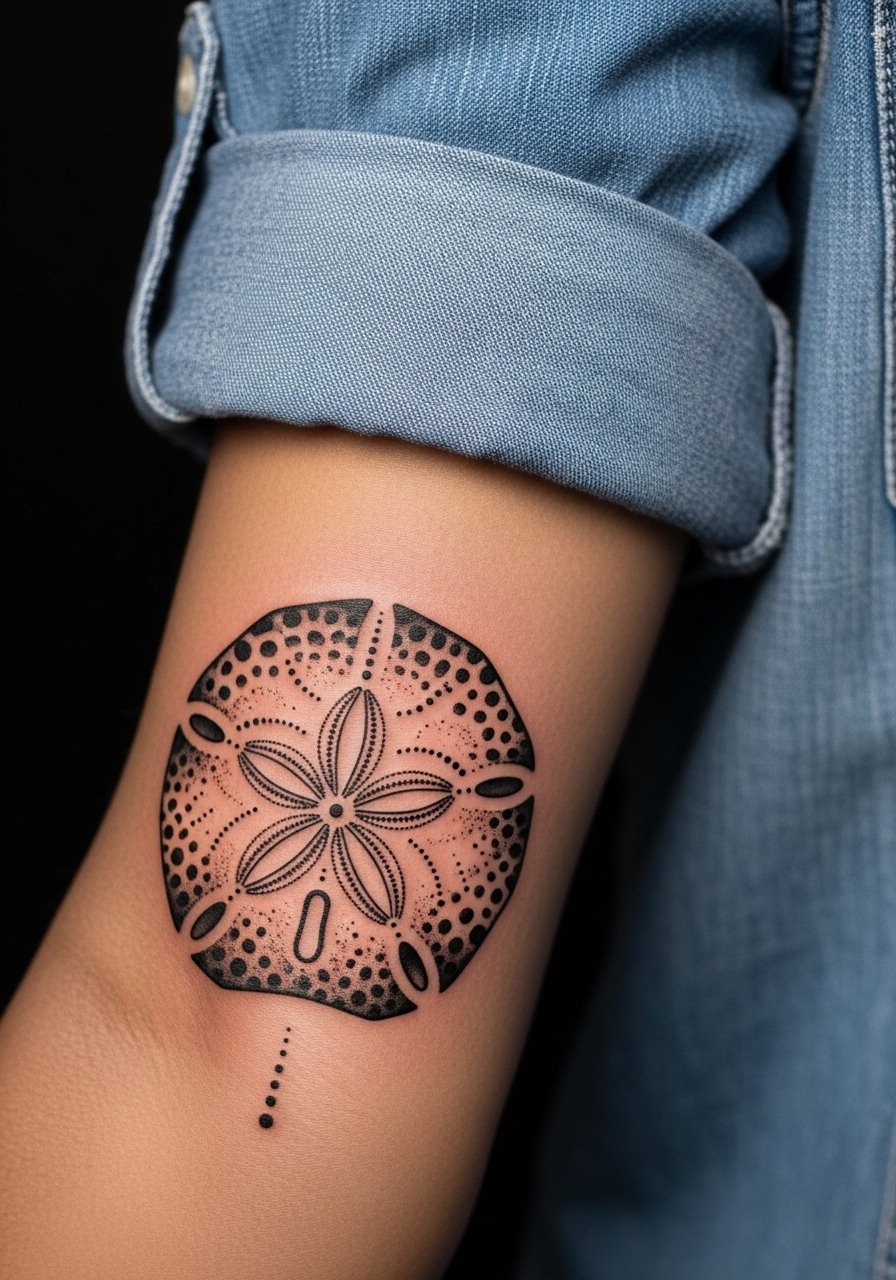
2. Realistic Sand Dollar with Texture on the Forearm
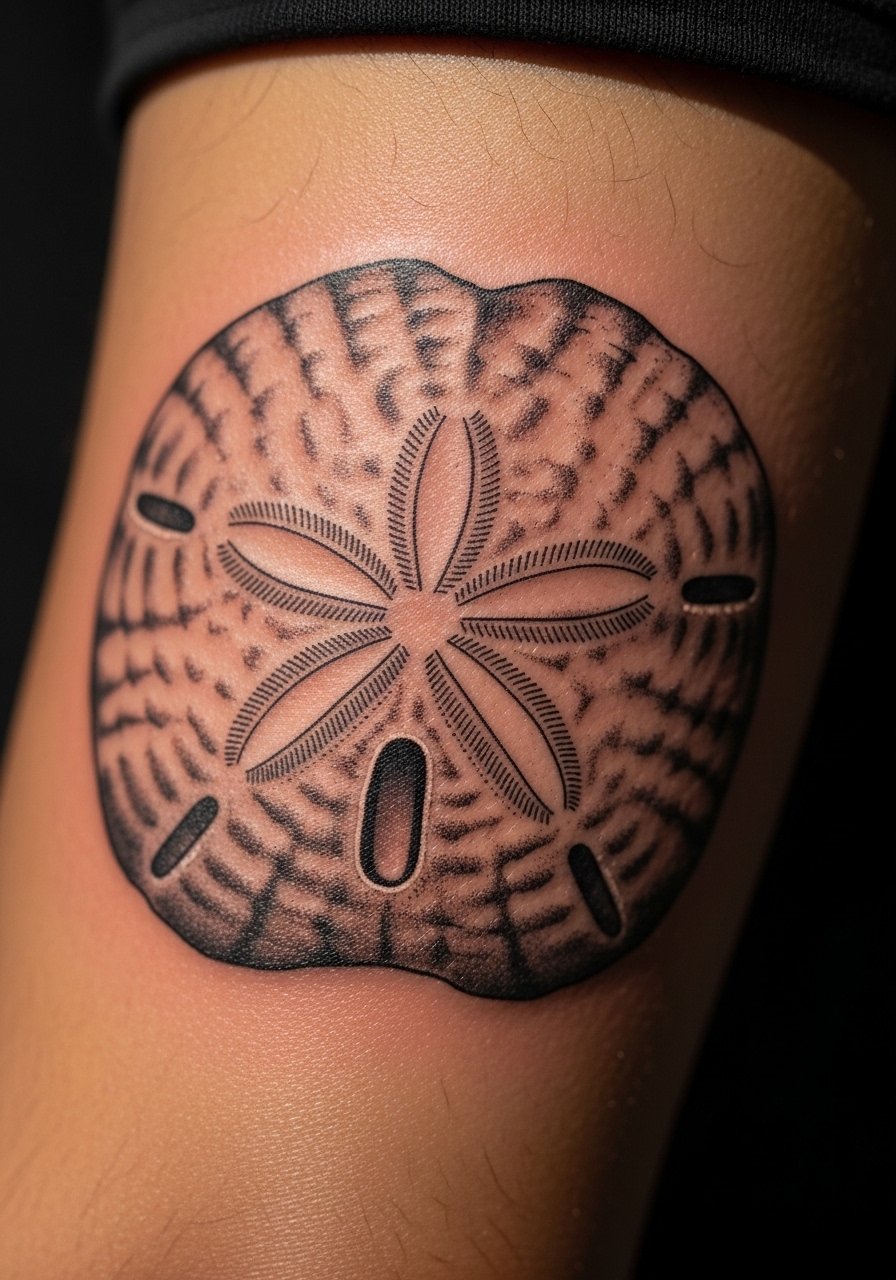
Realistic shells need micro shading that reads as ridges and dimples, and forearm flesh gives the most predictable canvas. Tell your artist you want tight stipple shading for texture rather than heavy gray washes, and request reference photos that show the exact star cutouts up close. Most forearm sessions run 1 to 2 hours depending on saturation. Sun exposure kills midtones faster, so expect the piece to look crisp at six months and softer by two to five years unless you block UV. The common mistake is asking for too many tiny shaded details in a 1.5 inch size; scale up to 2.5 inches for longevity. Pair the healed look with a rolled-cuff chambray shirt when you want the forearm to read subtle rather than shout.
3. Geometric Sand Dollar Pattern on Shoulder or Calf
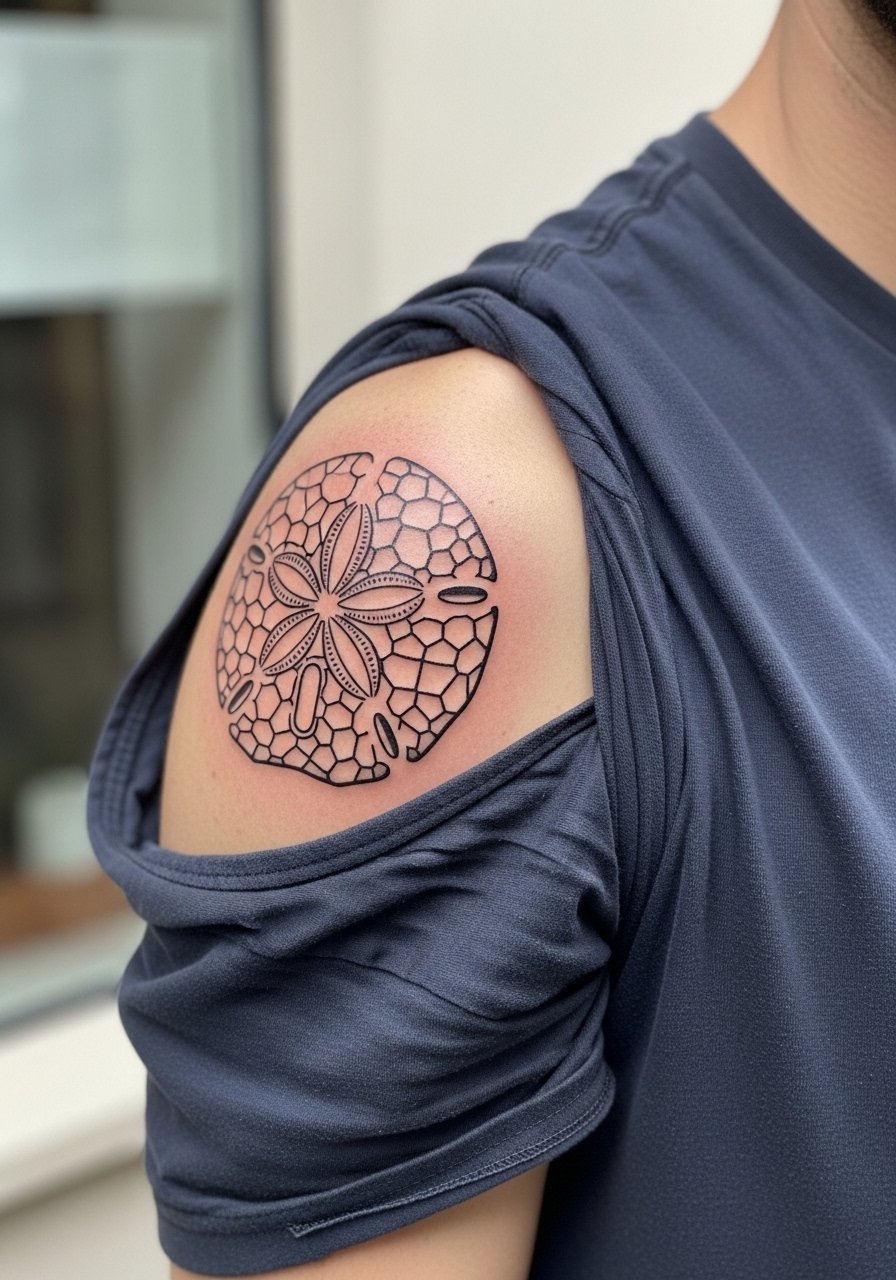
Geometric blackwork benefits from spacing and bold saturation so lines do not merge over time. The shoulder and calf both handle solid black well because neither spot sees the elbow or ankle-level friction that wreaks fine line. The big mistake is requesting dense geometry too small; ask for clear negative space around the central star to protect crispness at year three and beyond. Sessions usually take under two hours for a two inch piece. If you want this to read as part of your everyday wardrobe, style it with a cut off sleeve tee when you show it off, and wear a loose short-sleeve top to the appointment.
4. Watercolor Sand Dollar Splash at the Collarbone
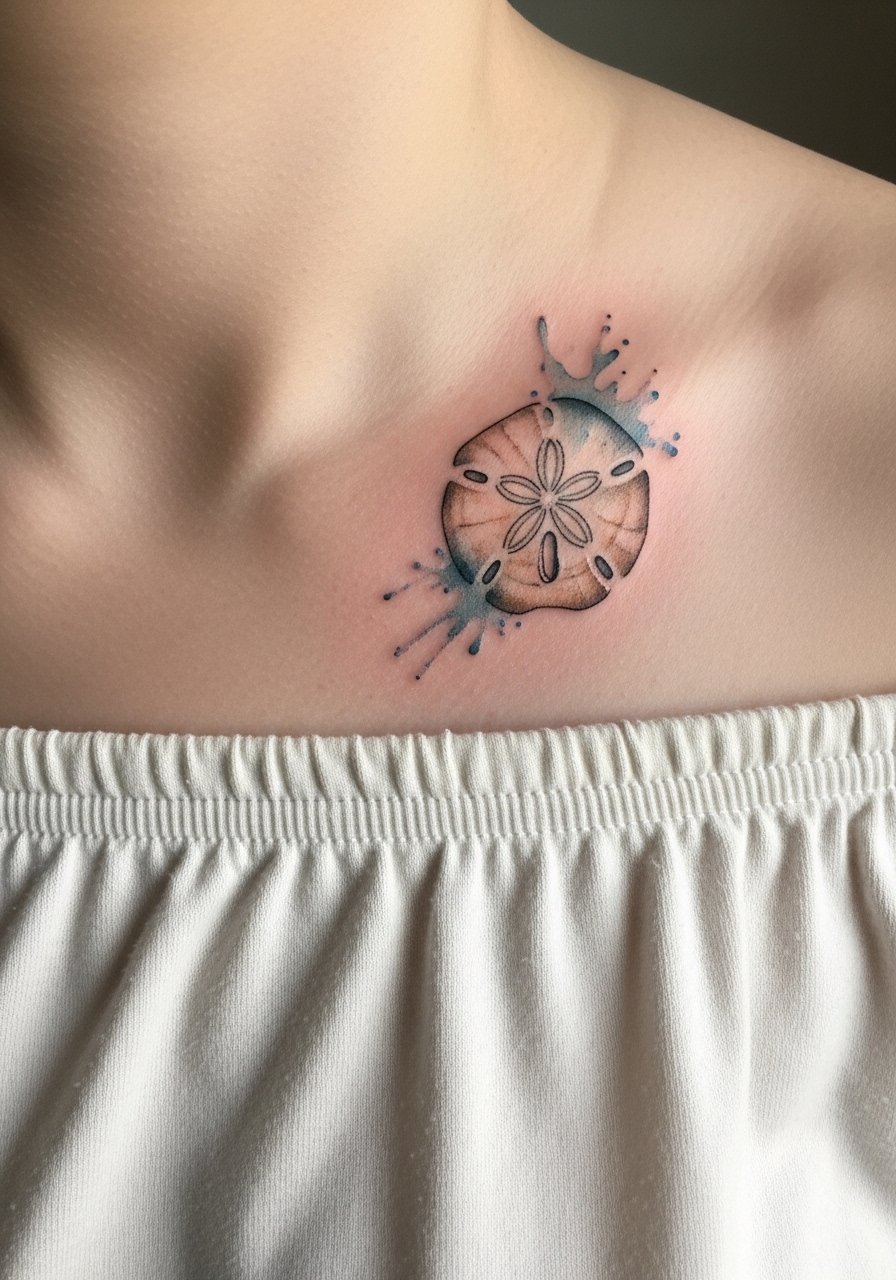
Watercolor looks delicate on the collarbone but is prone to color bloom if the pigments sit too shallow. Tell your artist you want soft washes with deliberate outlines or subtle gray anchoring to stop the blues from bleeding. Collarbone sessions are quicker for small pieces, but the area can feel sharp when the needle crosses bone. Expect two sessions for full color work if you want layered saturation. Artists split on balms and films for collarbone healing. One camp swears by protective film for active lifestyles, the other prefers dry healing for cleaner line definition. Ask your artist which method they use for watercolor pieces and why. For showing it off, an off shoulder top reveals the art without exposing the chest.
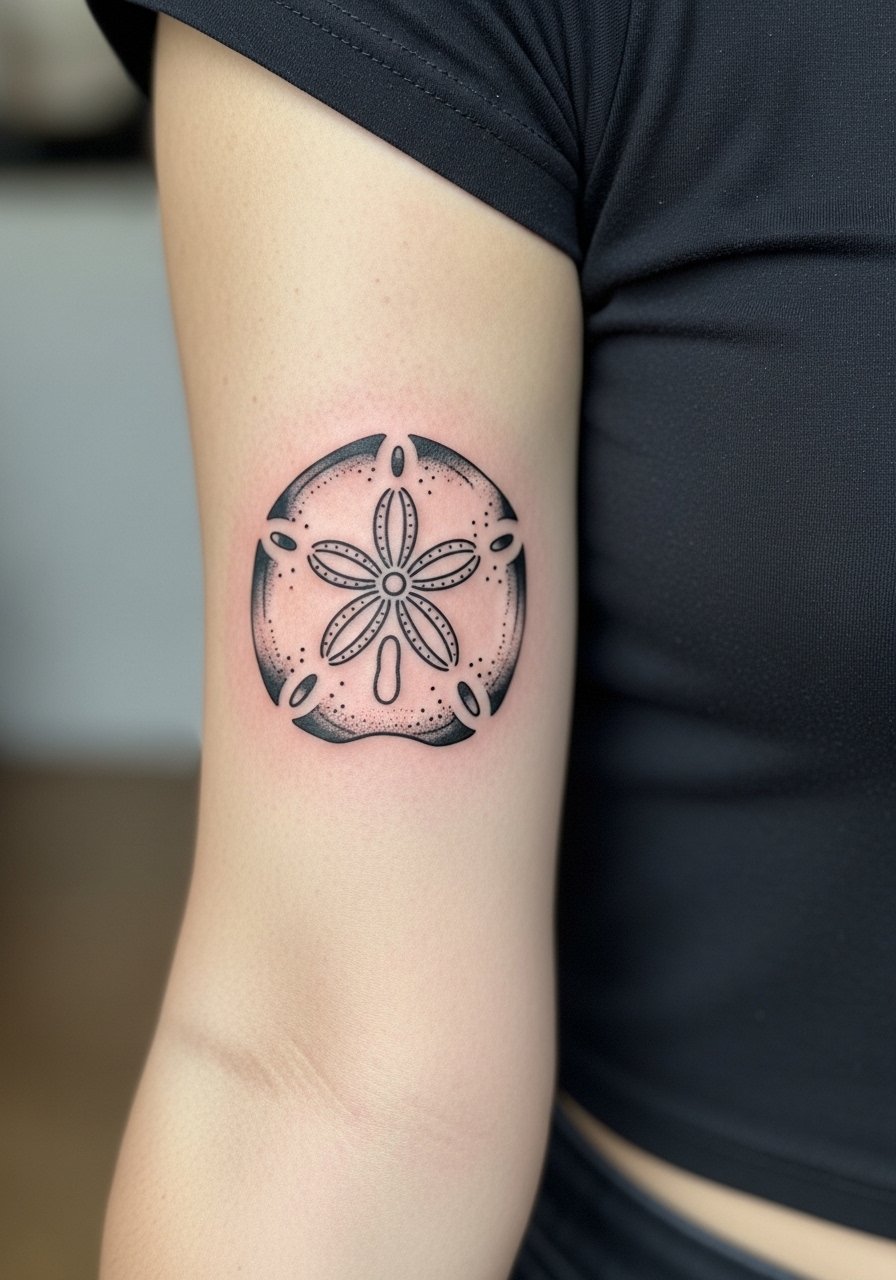
5. Sand Dollar with Star Markings Outline on Arm or Leg
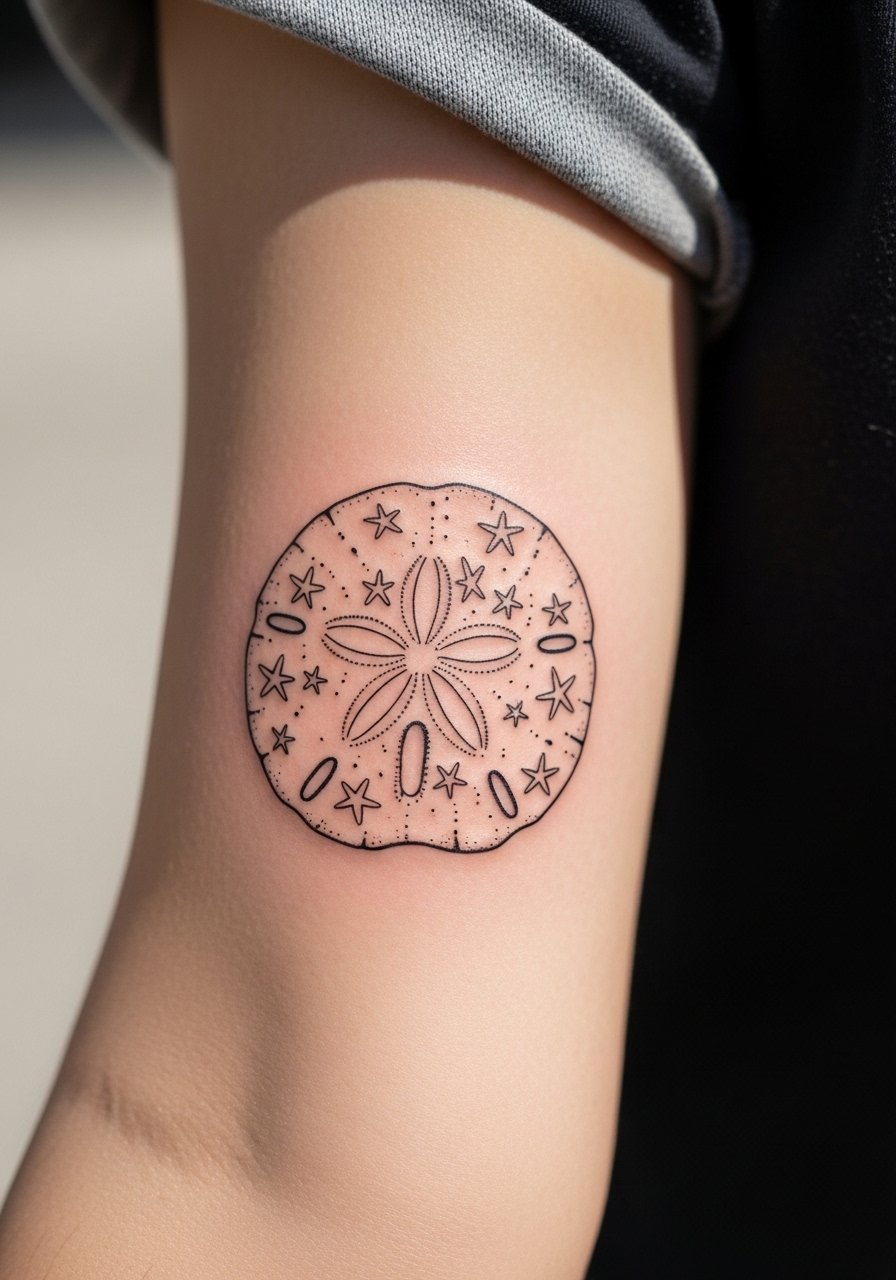
The star markings are the defining detail, so prioritize clear, consistent linework and ask your artist to space the petal cutouts so they do not collapse after healing. Outer arm and upper leg take linework well, with lower blowout risk than ankles. Expect a 45 minute single session for a two inch outline. A frequent error is squeezing the petal detail too small which makes touch-ups necessary within a year. For session day comfort, wear a loose button-down shirt you can pull aside to expose the arm or leg, and keep the area elevated during travel home if the tattoo is on the ankle.
6. Ornate Sand Dollar with Floral Accents on the Thigh
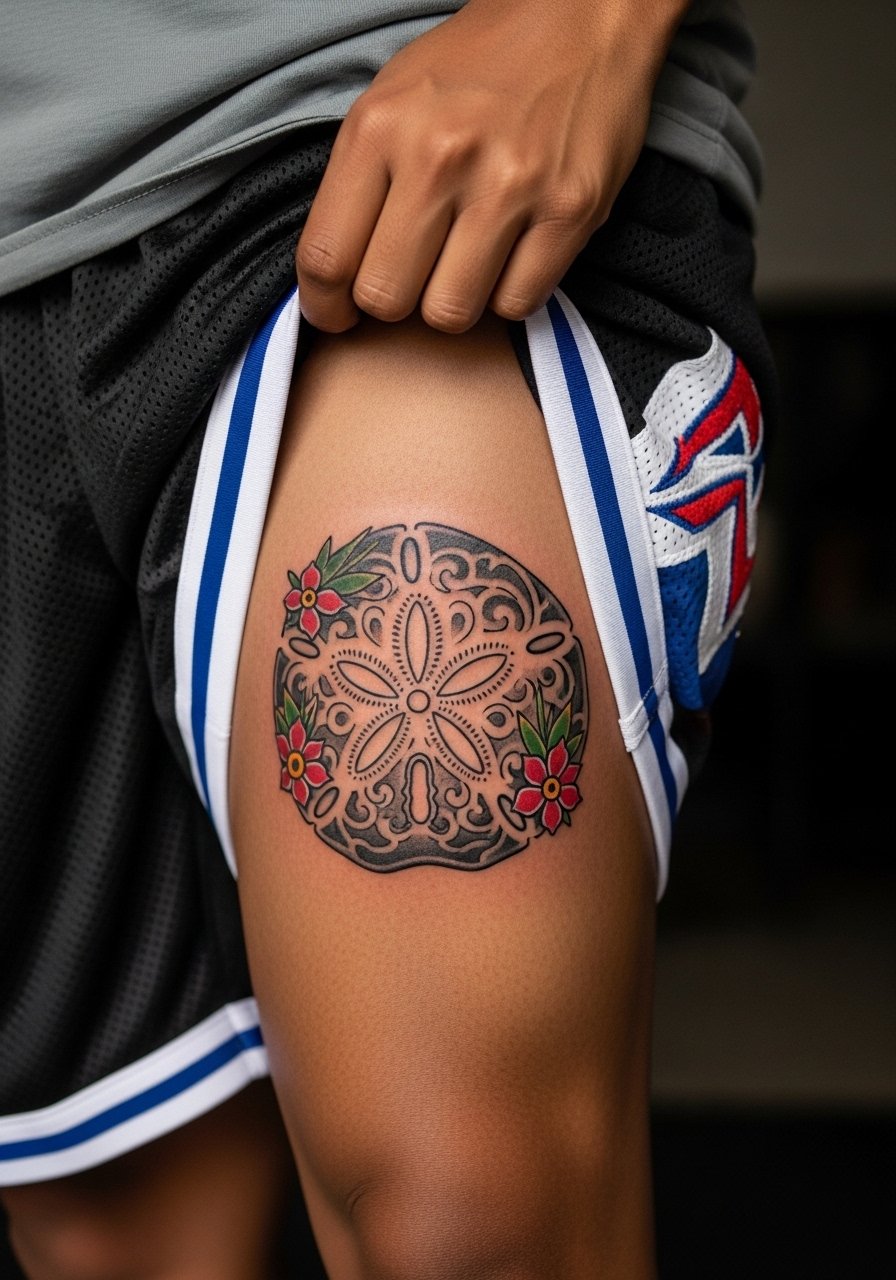
Neo-traditional pieces mix texture with saturated color, and the thigh is forgiving for size and layering. Tell your artist you want color pops restrained to key petals rather than full saturation across the whole shell to preserve contrast on darker skin tones. Sessions run longer for color layering, usually two sessions for a three inch composition. Thigh flesh stretches more with weight changes and pregnancy, so discuss future body changes with the artist during consultation. For showing the work, pair it with high-waisted shorts that let the floral details peek out without the rest of the leg competing.
Studio Day Picks
The wrist, forearm, thigh and collarbone pieces above each ask for different prep, so a few targeted items make the session and first week much smoother.
-
CeraVe Healing Ointment. Lightweight and less greasy than heavier creams, it helps fine line wrist pieces avoid clogged pores during humid heals.
-
Tattoo Goo Aftercare Balm. Stands up well to sandy conditions and is handy if your plan includes beach trips during the later stages of healing for calf or thigh work.
-
Frida Healing Balm. Breathable texture that performs well on rib and collarbone sessions without leaving a white cast.
-
Unscented Bag Balm. Solid for dry winter heals on deeper blackwork pieces where fragrance and extra oils can cause irritation.
-
Aquaphor Healing Ointment. Useful for a thin initial layer on fresh fine line work to lock moisture during the first 48 hours, then switch to a balm recommended by your artist.
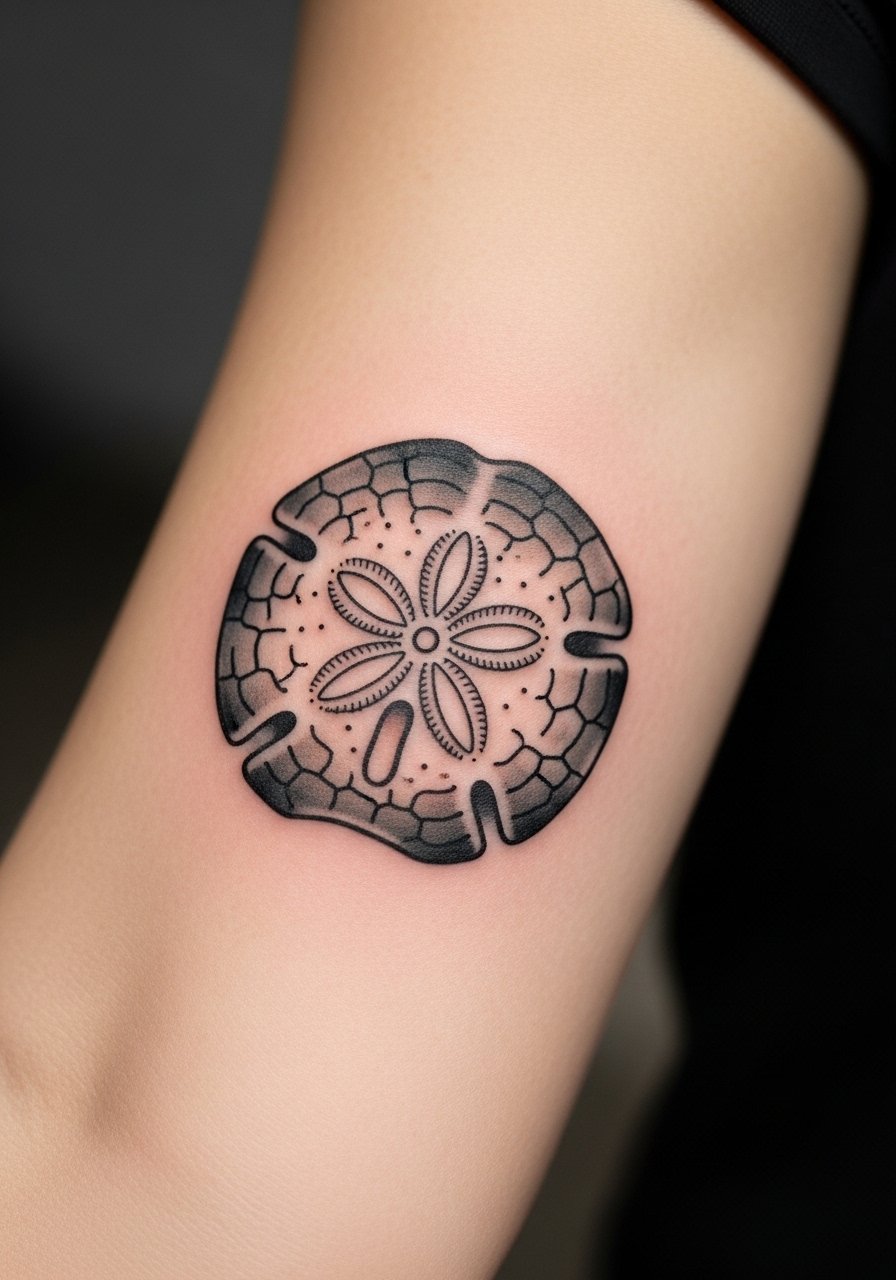
7. Blackwork Sand Dollar Silhouette on the Thigh
Solid silhouettes age well on thicker skin, and the thigh is an excellent anchor for bold contrast. Ask your artist for uniform saturation and crisp negative space in the star pattern so the silhouette reads from a distance and up close. This style usually finishes in a single session of under two hours. The main mistake is uneven fill that shows patchy healing; insist on consistent saturation and plan a touch-up if needed after six months. When you want to show it off, roll up your chinos or opt for high-waisted shorts to frame the piece.
8. Tiny Sand Dollar Micro Design for Behind the Ear
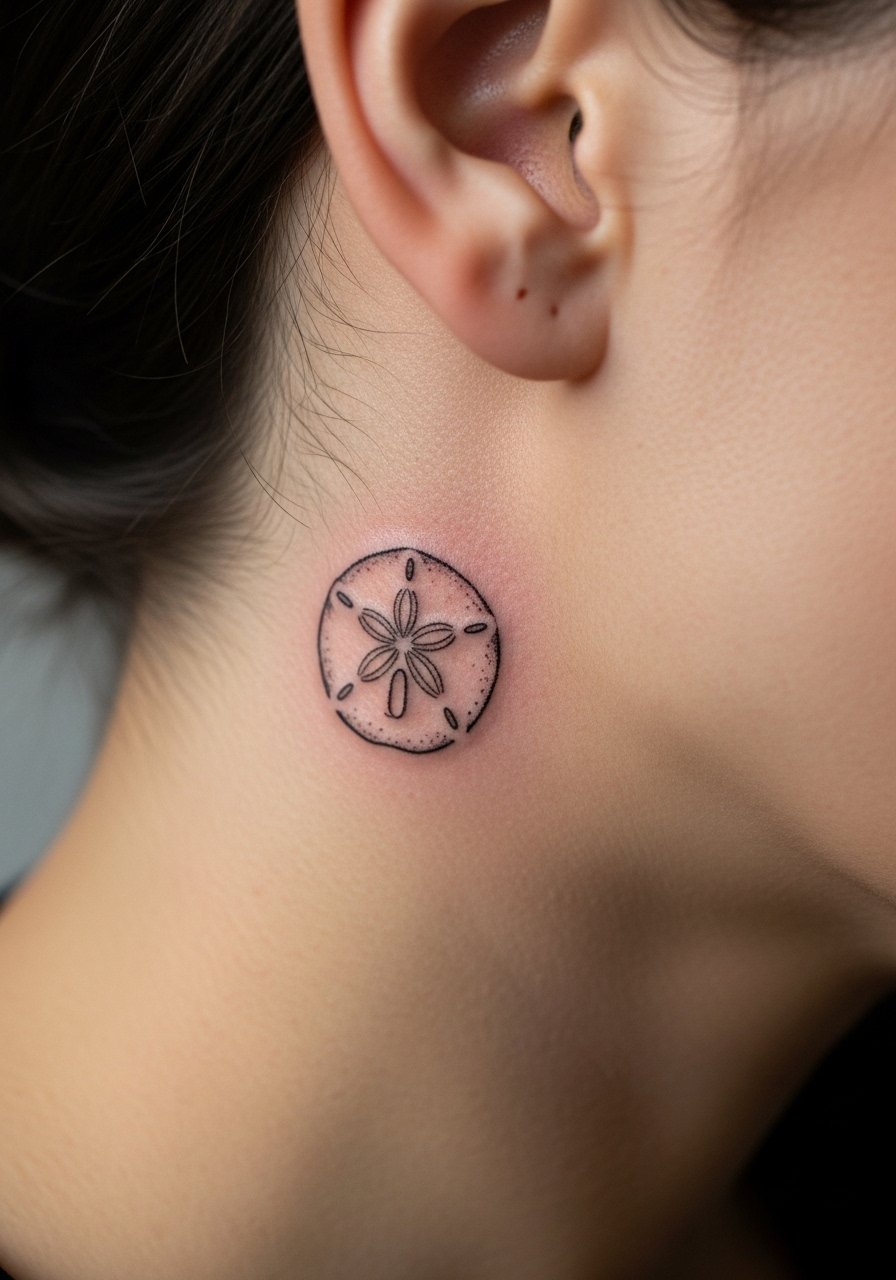
Tiny micro designs are perfect for first-timers who want a symbol without commitment, but behind-the-ear placement needs care. The one mistake is asking for extreme delicacy without realizing hair and sweat can obscurify crisp lines. Sessions are brief, fifteen to thirty minutes, and the area prefers gentle aftercare. For session prep, wear hair up so the artist has a clear workspace. If you want to avoid the visibility of a hand or finger piece within professional settings, behind-the-ear hides easily under hair while still giving you the close, private placement you might want.
9. Sand Dollar with Wave Integration on the Ribcage
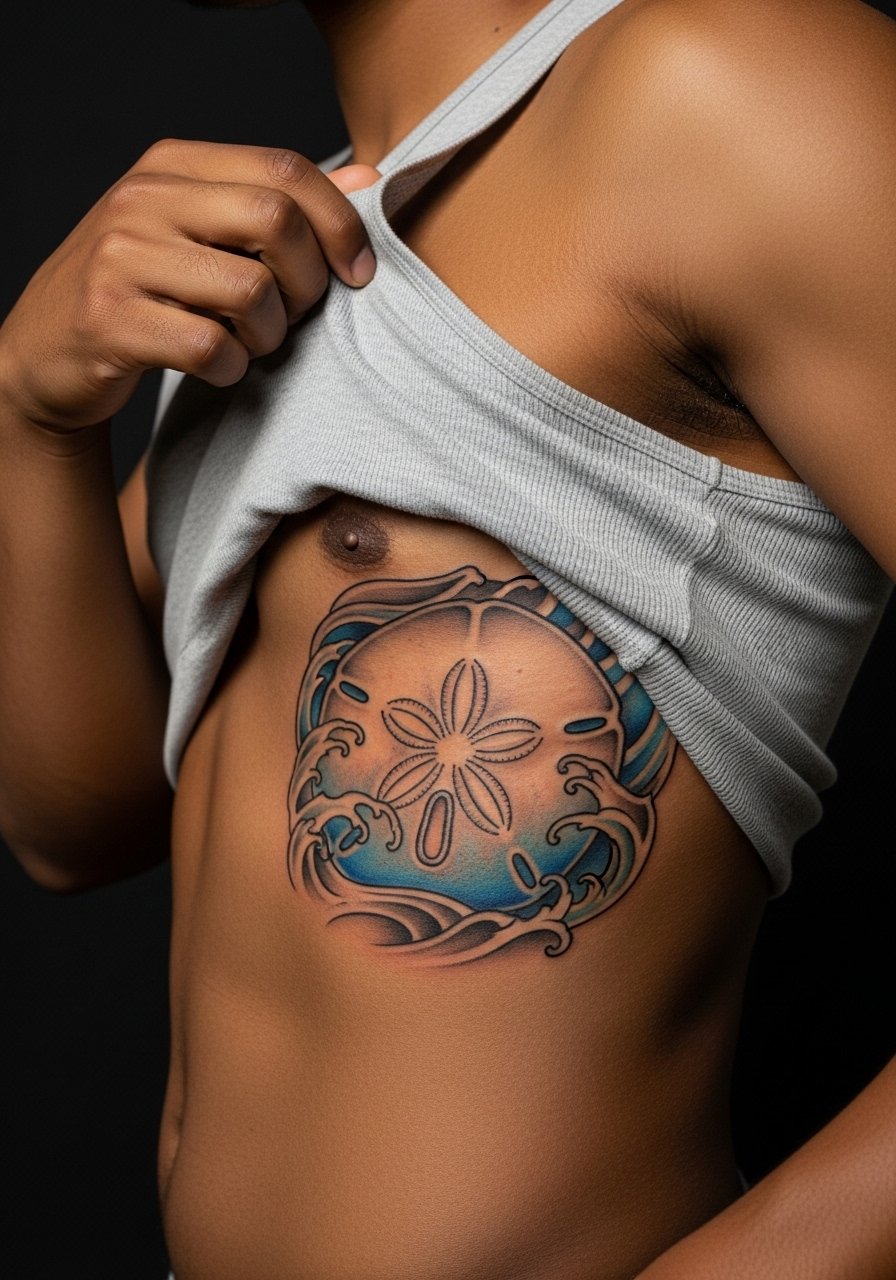
Ribcage pieces look incredible but they demand a full conversation about pain and healing. The ribs are one of the higher pain zones, and many people use topical numbing before long sessions. Artists split on numbing cream, with some saying it helps first-timers and others arguing it changes skin feedback; ask where your artist stands. Also name both camps on Saniderm versus dry healing when you discuss aftercare; one camp likes protective films for active lifestyles, the other prefers dry healing for fine lines. Wave integration requires breath-aware stenciling so the motion reads right when you inhale. Expect two sessions for layered color and touch-ups once the piece has settled into the skin.
10. Traditional Sand Dollar Flash on the Outer Forearm
Traditional flash is a good choice if you want longevity over delicate detail. Bold outlines and conservative shading age into a readable mark rather than smudging into a soft blur. Flash versions are often available as flat-rate walk-in options and finish in under an hour. The mistake is requesting tiny traditional lines; keep classic proportions so the outline has room to breathe with skin migration. For casual show-off, a fitted short-sleeve tee keeps attention on the forearm without competing patterns.
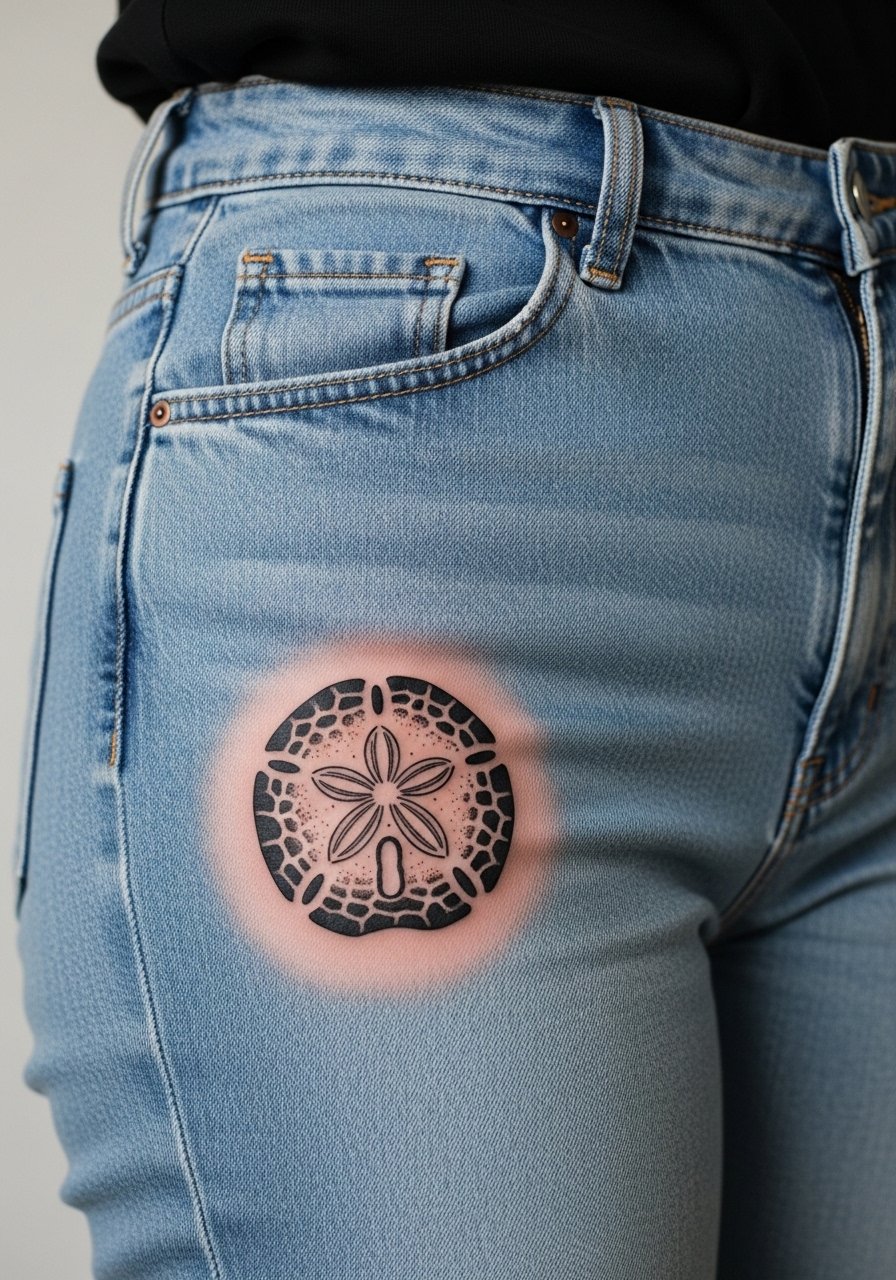
11. Inverted Negative-Space Sand Dollar for Darker Skin Tones
Inverted designs use negative space to make the star glow on deeper tones, and that approach can outperform faint white highlights that sometimes ghost. Ask for contrast-first planning during consultation so the artist maps how much black to surround the petal shapes. The design ages like blackwork rather than fine line, so expect stronger longevity and less frequent touch-ups. The common mistake is adding tiny white highlights expecting them to hold; negative space often wins because white fades quickly. For a clean showing, pair with a simple sleeveless tank that keeps the arm visible without clutter.
12. Constellation-Mapped Sand Dollar on the Spine Base

Pairing star coordinates or constellations with a sand dollar creates a personal mapping that feels subtle on the spine base. The lower spine accepts small dot work well but be mindful of placement relative to vertebrae for comfort. This is a slightly intimate spot so session wear that gives easy access helps the artist. The biggest mistake is clustering too many tiny dots; leave breathing room so dot work does not merge. For the reveal, open-back dresses or low-rise tops highlight the vertical composition without exposing more than intended.
13. Textured Sand Dollar with Embedded Tiny Dove on the Upper Arm

Embedding a tiny dove inside the sand dollar is a subtle way to add symbolism without overt text. Upper arm placement gives room for texture work and holds shading better than thin areas. Tell your artist you want the dove integrated but not dominating the shell texture. One common error is letting the dove become the focal point in the stencil stage; keep it a delicate detail. Sessions take about an hour and heal predictably on the upper arm. For session comfort, wear a loose button-down shirt that you can roll to expose the upper arm cleanly.
14. Micro Sand Dollar on the Ankle for First Timers
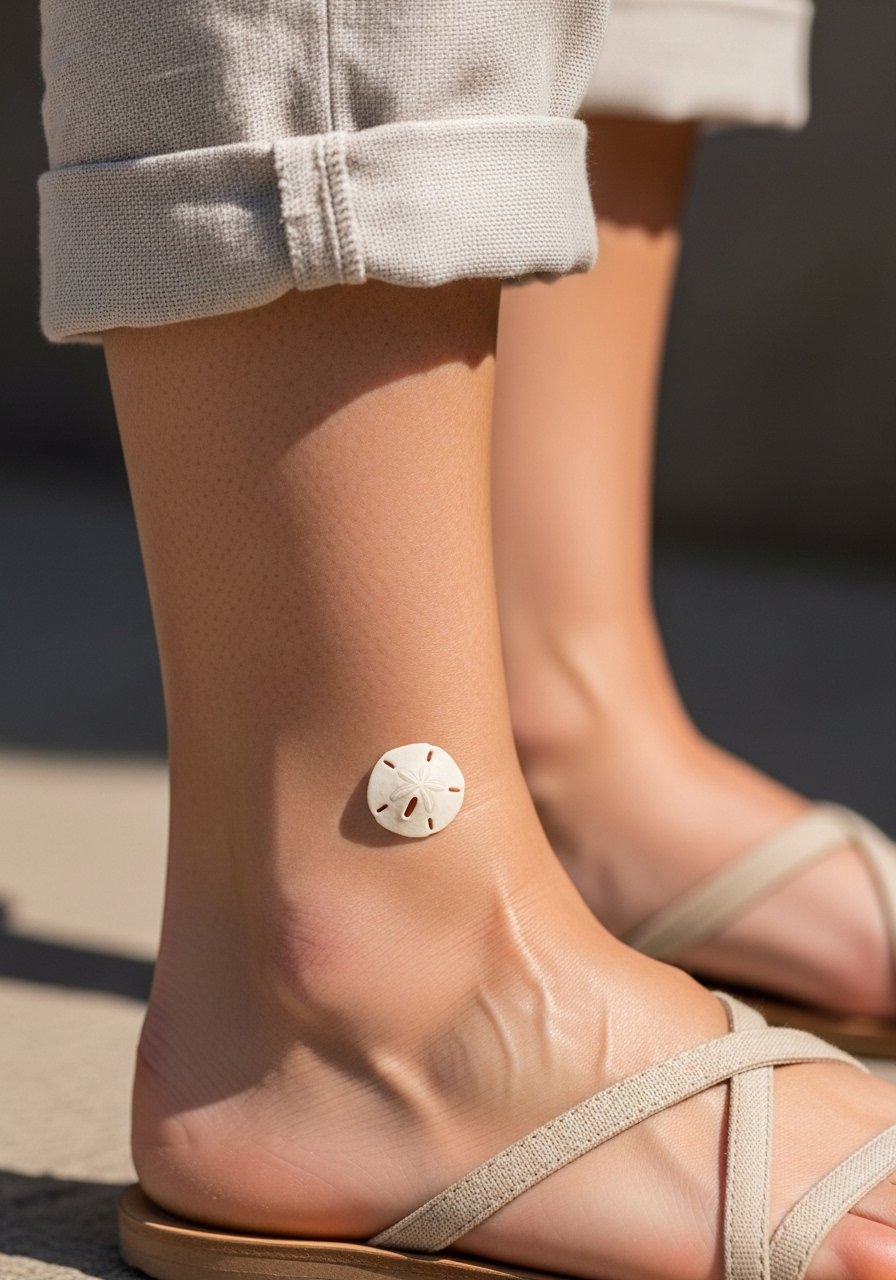
Ankle micro work is showy in summer but lives in a high-friction zone with socks, shoes, and repeated movement. For first-timers, pick a slightly bolder line weight than you would for the wrist so the petal edges keep definition. Session time is under an hour, and a common regret is choosing too-fine detail at a one inch size. If you plan for summer wear, a strappy flat sandal shows the design off and keeps pressure off the heal while it sets.
15. Flash Sand Dollar Sheet for Quick Walk-Ins
Flash pieces are the fastest route to a clean sand dollar at a lower cost, and conventions often host flat-rate sheets for first-timers. The trade-off is limited customization, so bring a note if you want petal spacing adjusted for longevity. Walk-in flash sessions usually run 30 to 60 minutes and come with straightforward aftercare instructions. The common error is assuming flash equals lower quality; many guest artists offer excellent work on flash sheets. If you want a classic summer calf or forearm flash, roll your chinos or wear shorts that let the artist position the stencil easily.
16. Geometric Blackwork Reimagined for the Forearm
Geometric reinterpretations bring a modern edge to the shell silhouette and the forearm is one of the most durable places for tightly stacked line work. Ask for open negative space and stipple shading instead of tightly packed parallel lines to avoid line merging over time. Sessions take one to two hours depending on complexity. One trap is compressing too many elements into a two inch area; give the pattern breathing room so it reads both fresh and healed. Pair the piece with a chambray shirt with rolled sleeves for a relaxed frame that keeps the forearm visible.
17. Hidden Growth Spine Base Placement That Emerges Over Time
Placing a shell at the spine base creates a piece that reveals itself with clothing and time. The area tolerates vertical compositions well but can shift with major body changes like pregnancy or weight fluctuation. Discuss stretch risk with your artist and consider spacing the design slightly larger if you expect future body changes. Sessions are usually under an hour for a small piece but plan for touch-ups if the area experiences significant stretching. For a reveal that feels intentional, choose open-back tops that frame the vertical axis without exposing more than you want.
Frequently Asked Questions
Q: Will a fine line sand dollar on my ankle blur faster than one on the forearm?
A: Yes, ankles are a higher friction zone because of shoes and socks, so fine line pieces there commonly soften sooner. Consider slightly thicker linework or a blackwork silhouette for the ankle, and expect a touch-up sooner than you would on a forearm.
Q: How should I prep clothing for a collarbone watercolor session?
A: Wear a strapless or off-shoulder top you can pull aside to expose only the collarbone area, and bring a loose button-down to change into if needed. An off shoulder top works well for both access and the reveal without creating unnecessary friction during healing.
Q: Are negative-space sand dollar designs better for darker skin tones?
A: They can be. Negative-space approaches let your natural skin tone define the star pattern while surrounding blackwork provides contrast that holds up. Ask for a test transfer on your skin and a small flash spot if you want to preview how the negative space will read after healing.
Q: Does watercolor around a sand dollar require different aftercare than blackwork?
A: Color pieces need careful sun avoidance during the first month to prevent early fading, and some artists prefer a slightly longer layering schedule so pigments settle. Follow the shop's specific instructions and be ready for a possible second short session for color layering after initial healing.
Q: How long should I plan a session for a realistic 2.5 inch sand dollar on the forearm?
A: Plan for one to two hours. Micro-realism with texture and subtle shading takes time for proper saturation. Bring a loose long-sleeve you can slide up and a water bottle for comfort.
Q: What should I ask my artist about touch-up expectations?
A: Ask how long they expect the specific style and placement to hold without a touch-up and what their touch-up policy is for small pieces. Asking this up front gives you realistic timelines and avoids surprises when the piece softens.
