
Fine line pieces rule social feeds, but the collarbone is a place where trends meet reality. The skin there is thin and sits against bone, so what looks delicate fresh can thicken into a soft blur if you go too tiny. These 21 collarbone ideas focus on spacing, line weight, and wardrobe choices that keep a minimalist, ethereal vibe while aging better than the average viral post.
1. Fine Line Crescent Moon Along the Collarbone

This tiny crescent reads like a whisper across the clavicle. I recommend asking your artist to use slightly heavier linework than the reference so the moon keeps definition at year two and five. Pain sits at a 4 out of 10 for most people because the bone is close, and a short 20 to 40 minute session is typical. Common mistakes are asking for hairline lines that disappear with normal skin movement or placing the curve too close to the sternum where it warps with breathing. For showing off, a thin chain pendant necklace sits just above the script without competing for attention.
2. Dot-Work Constellation Cluster
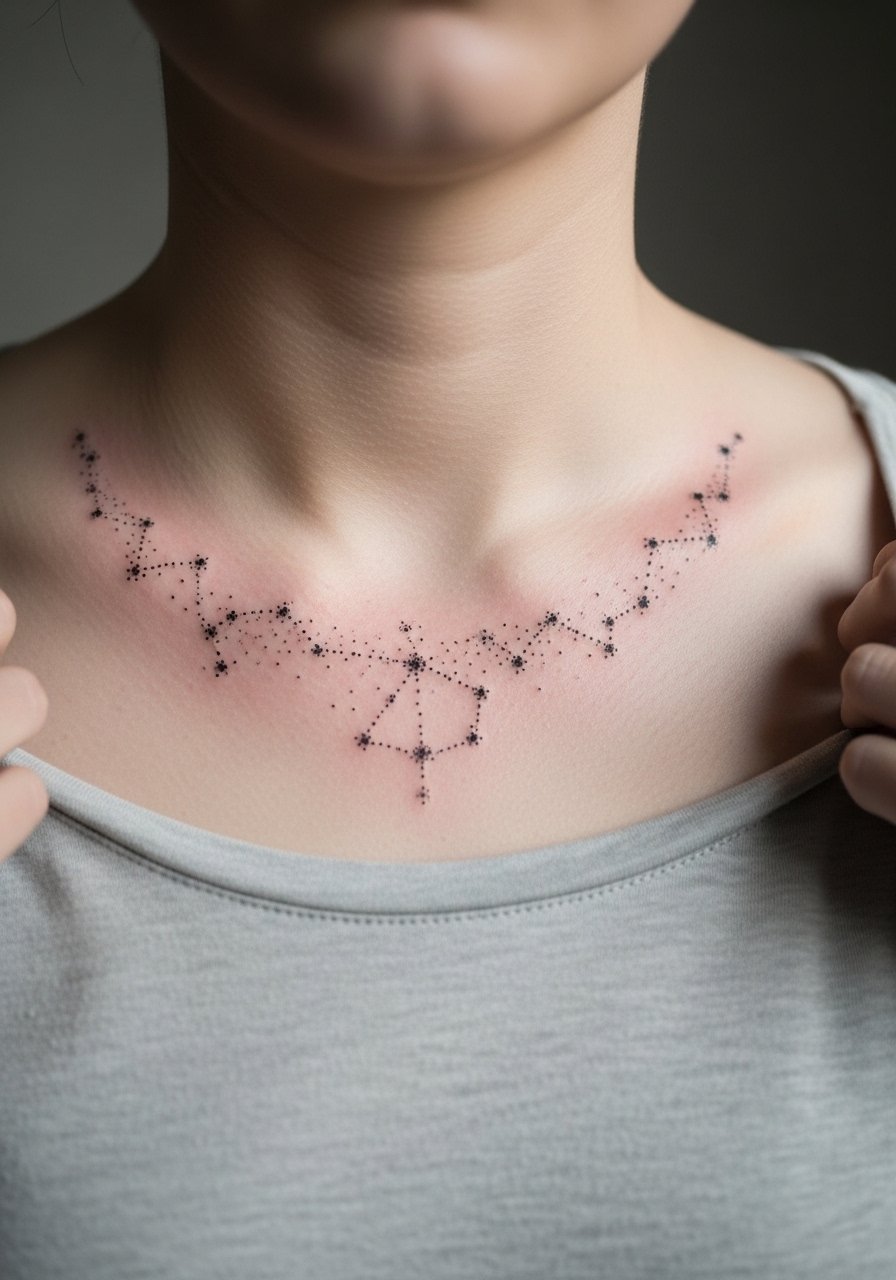
Dot work uses stipple shading to create air and depth without heavy saturation. Bring star maps or screenshots of exact constellation placements to your consultation and ask the artist to space dots so stars do not merge over time. Expect a 30 to 60 minute session and a touch-up at year two for dense clusters. Blowout risk increases if dots are placed too closely to the bone where the skin is thin. For evening looks, pair this with an open-back midi dress that leaves the collarbone visible and frames the cluster.
3. Single Word Script, Low and Curved
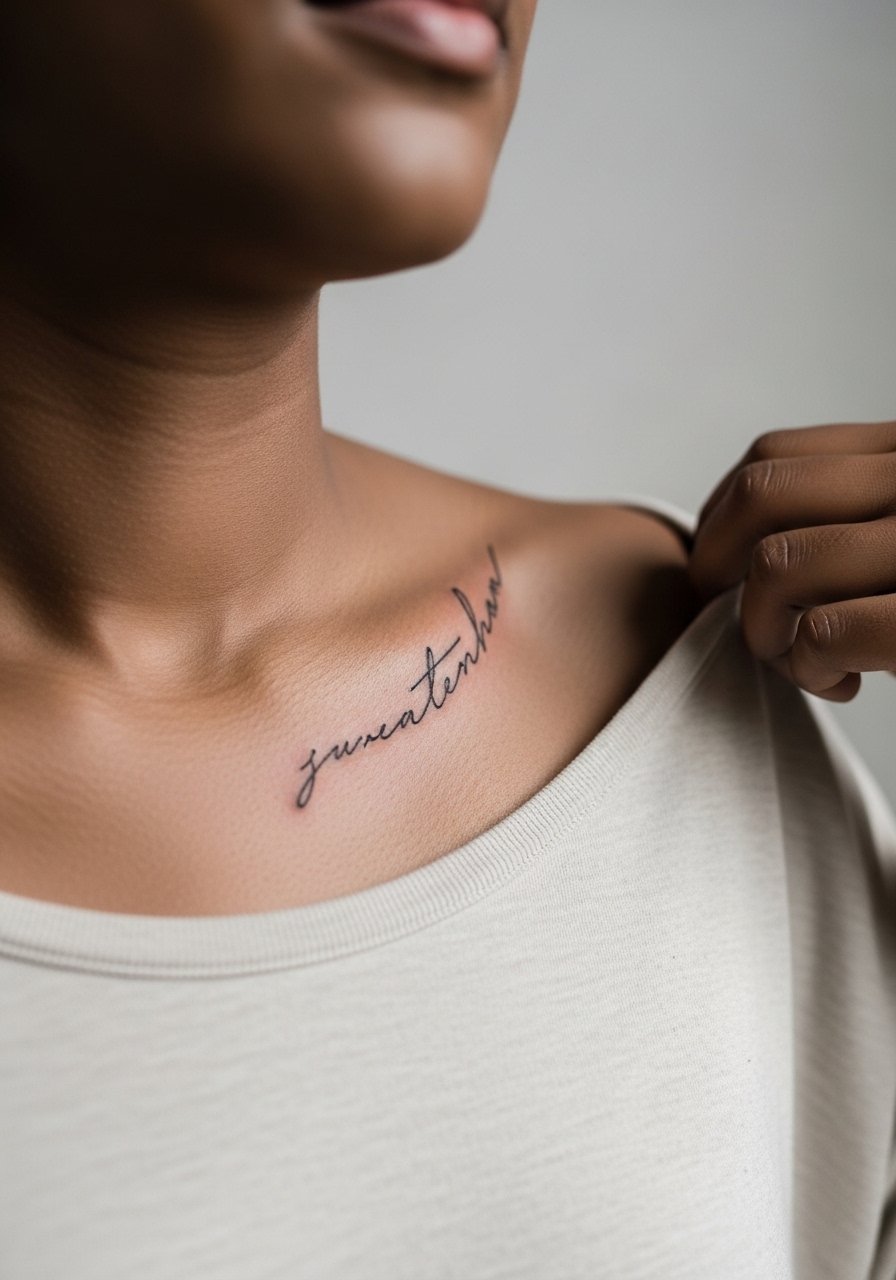
One-word scripts demand careful spacing and letter size. The biggest mistake is making the letters too thin or tightly kerned. Tell your artist to stencil the phrase and wear it for a few minutes so you can move and see how the text sits when you breathe and tilt your head. Expect moderate pain around the bone and a short session, roughly 30 minutes. Script ages differently across skin tones, so plan for a touch-up at year two or three if you want crisp edges long term. For styling, a delicate V-neck blouse keeps attention near the collarbone without obscuring the word.
4. Micro Floral Vine That Follows the Clavicle
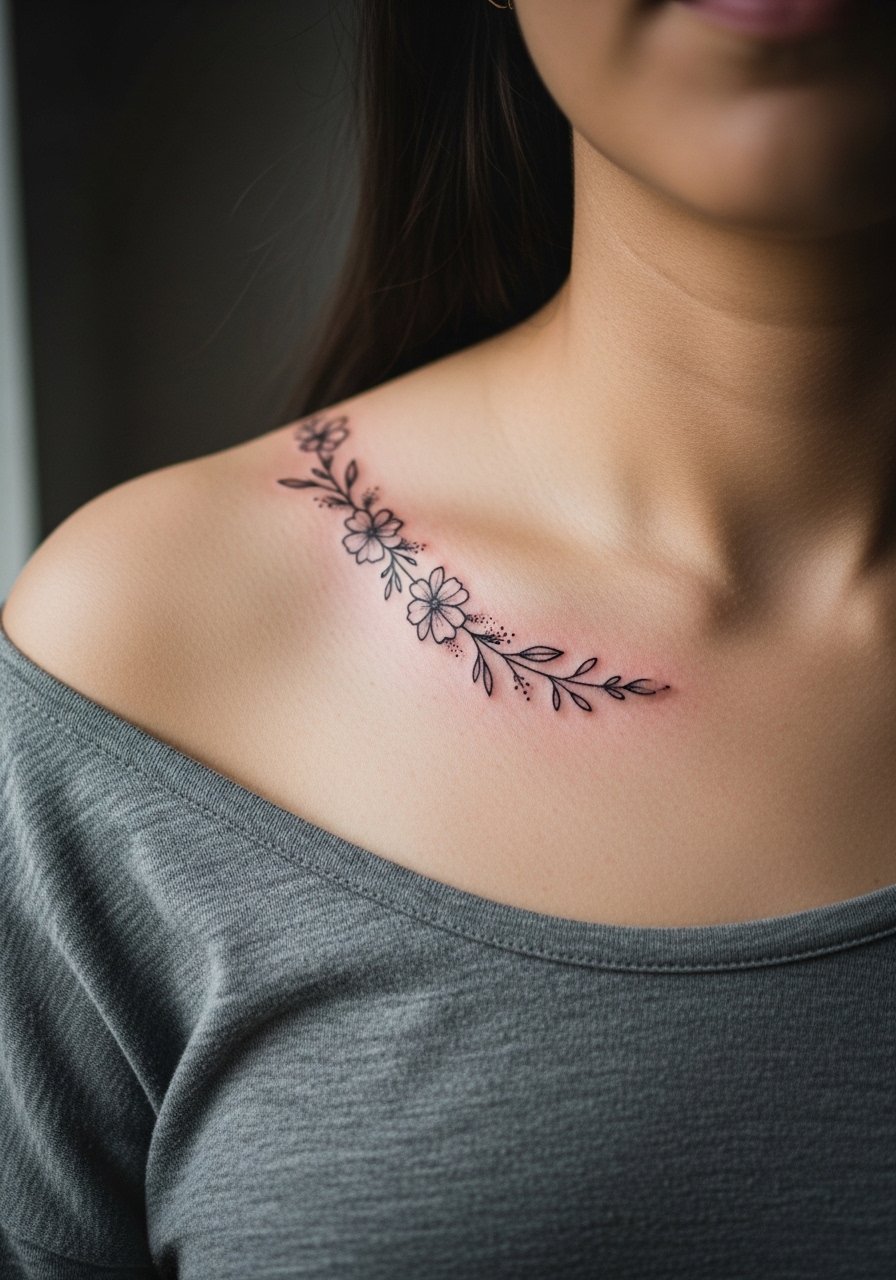
A tiny vine uses negative space to feel ethereal while staying readable. During consultation, ask for slightly spaced leaves and small stipple highlights rather than solid fill, because small filled areas on the collarbone can blur into a smudge over time. Sessions run about 45 to 75 minutes and often need a light touch-up at year three. Pain is a 5 for most people since the needle passes near bone. For daytime wear, pair the vine with a loose button-down shirt you can pull slightly aside for the session and for showing the tattoo off.
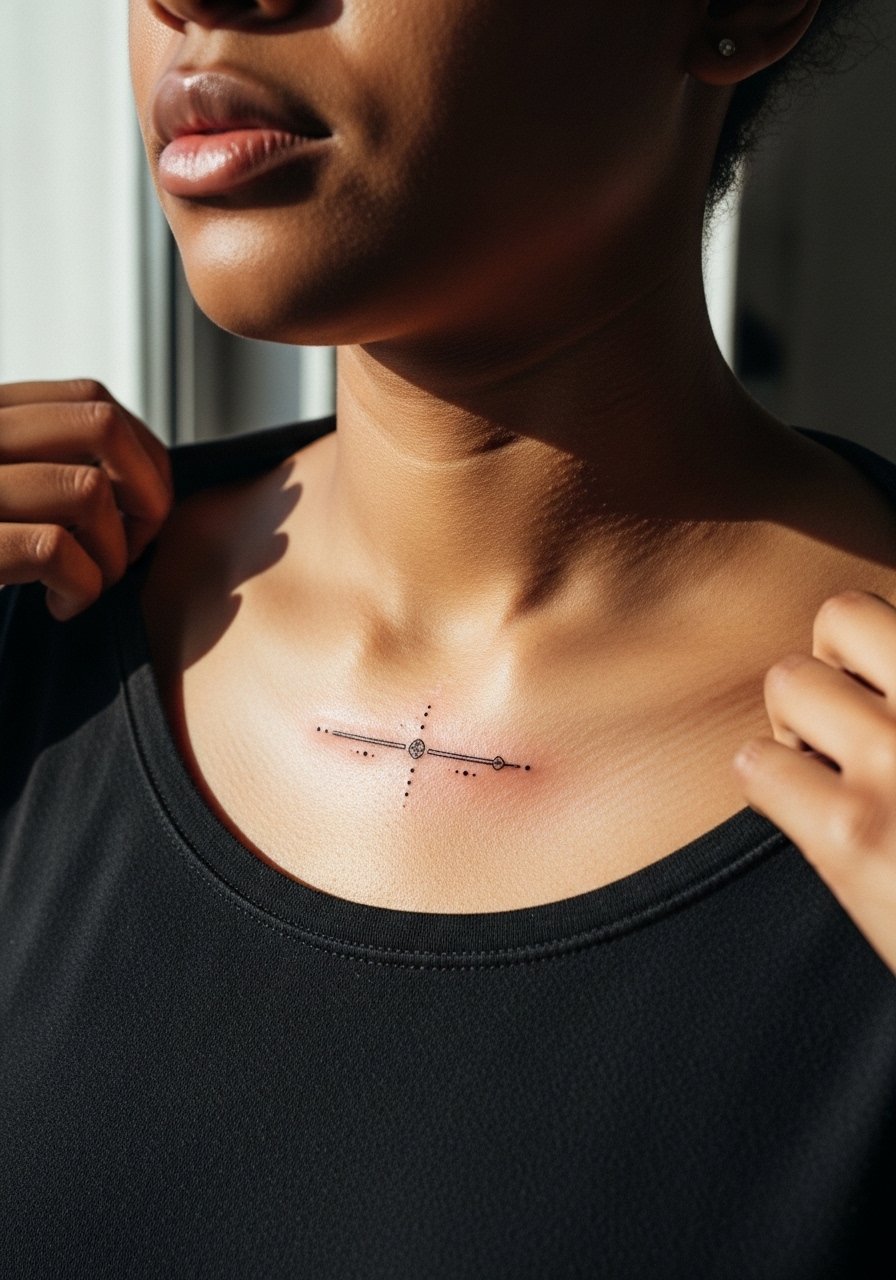
5. Geometric Crescent and Line Cluster
Geometric pieces need room to breathe, so avoid cramming many tiny shapes into a narrow band. Tell the artist you want measured spacing between elements to avoid future merging. A 45-minute session is common, and touch-ups may be needed around year three for fine intersecting lines. Some artists argue geometric pieces require bold lines to last, while others say precise shallow placement is enough. Name which approach your artist prefers before booking. Pair this with a square-neck top to frame the geometry in photos.
6. Watercolor Wash Behind Fine Line Silhouette

Watercolor on collarbone is divisive. One camp says watercolor fades unpredictably on high-mobility skin and is not worth the maintenance. The other camp argues that with controlled saturation and strategic spacing, muted washes can age gracefully. If you prefer the wash, ask for lower saturation and more negative space so the color becomes a soft halo rather than a solid block. Expect a longer session, often 90 minutes or more, and plan for color refreshes at year two to four. For outfits, an off-shoulder top shows the wash while keeping the look delicate.
Studio Day Picks
The collarbone pieces above involve thin skin and variable sizing, so a few targeted items make the session and early healing easier.
-
Stencil transfer sheets. Lets you check placement and curvature on the collarbone before needles touch skin, which matters for asymmetrical designs.
-
Disposable cooling gel packs. Useful immediately before and after a short session to reduce surface swelling near the bone.
-
Thin protective film roll. Keeps collarbone tattoos clean under clothing that might rub in the first few days.
-
Fragrance-free gentle body wash. Cleanses the area without stripping color during the initial healing window.
-
Aquaphor healing ointment. A thin layer in the first 48 hours helps prevent crusting for delicate linework while keeping pores clear.
7. Tiny Anchor or Nautical Symbol
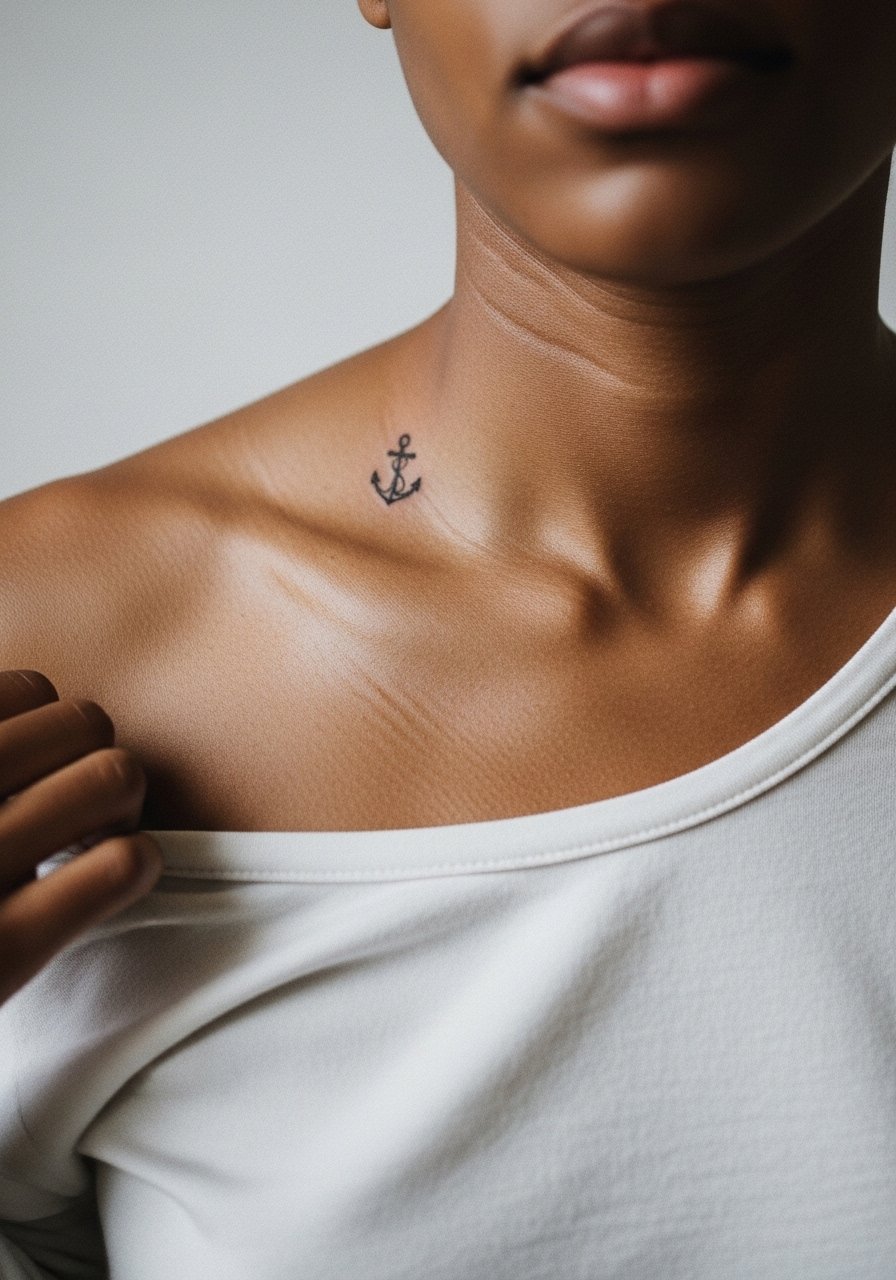
Small nautical motifs read crisp if the negative space is preserved around the symbol. The collarbone curves can skew symmetry, so during consultation ask for a mirrored stencil check while standing and while seated. Session time is short, 20 to 35 minutes, but the risk is asking the artist for hairline detail that fills in over time. Pain is moderate because the needle contacts bone. For show-off pairings, a boatneck sweater frames the collar area and gives the symbol a classic context.
8. Minimalist Arrow Following the Clavicle
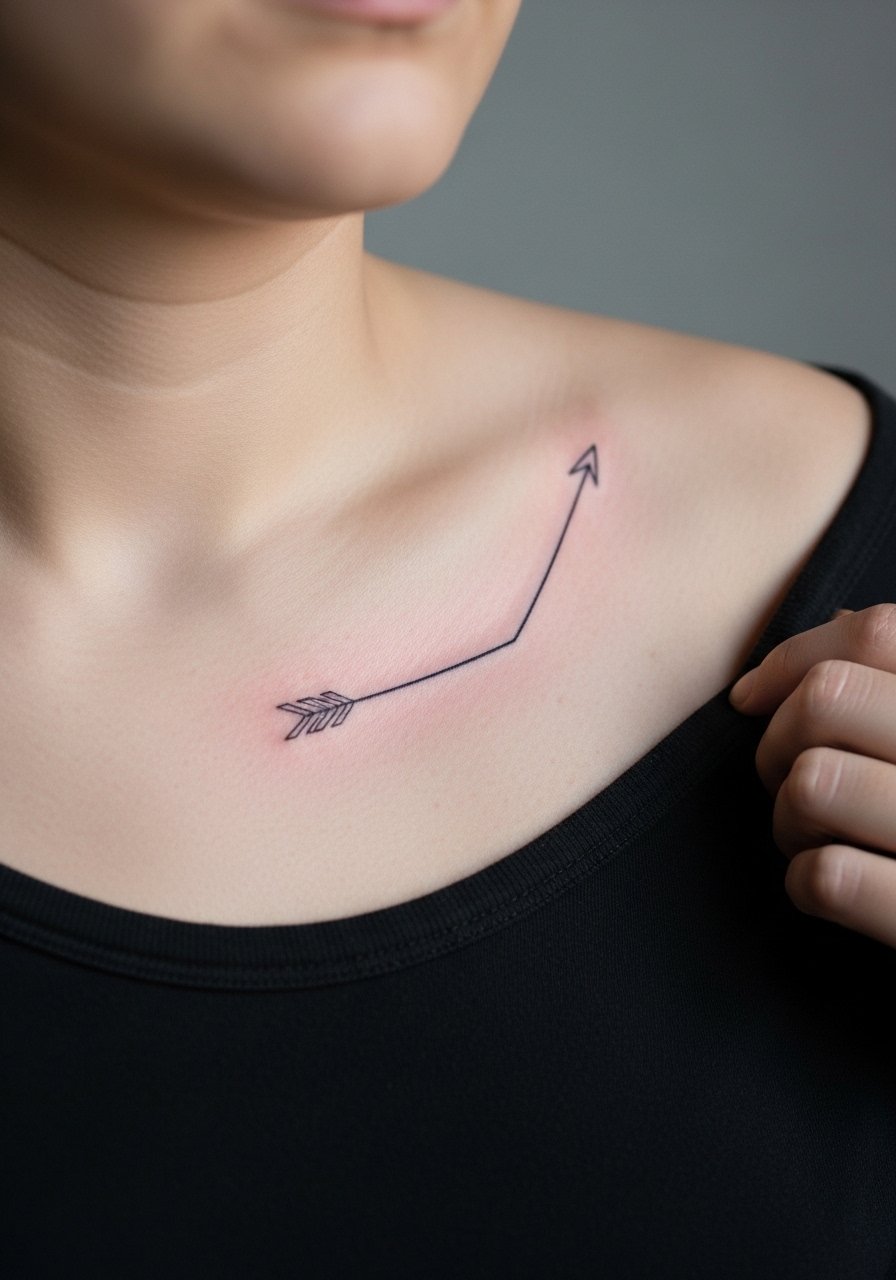
An arrow needs a clean starting and end point so it looks intentional rather than misplaced. The most common mistake is a too-short shaft that reads cramped. Ask for the stencil to be centered to your collarbone bone landmarks so it aligns when you move. Expect 30 to 45 minutes in the chair and a touch-up at year two for thin tips. For session comfort, wear a button-down shirt you can unbutton and pull aside easily.
9. Tiny Wing Motif Nestled by the Collarbone
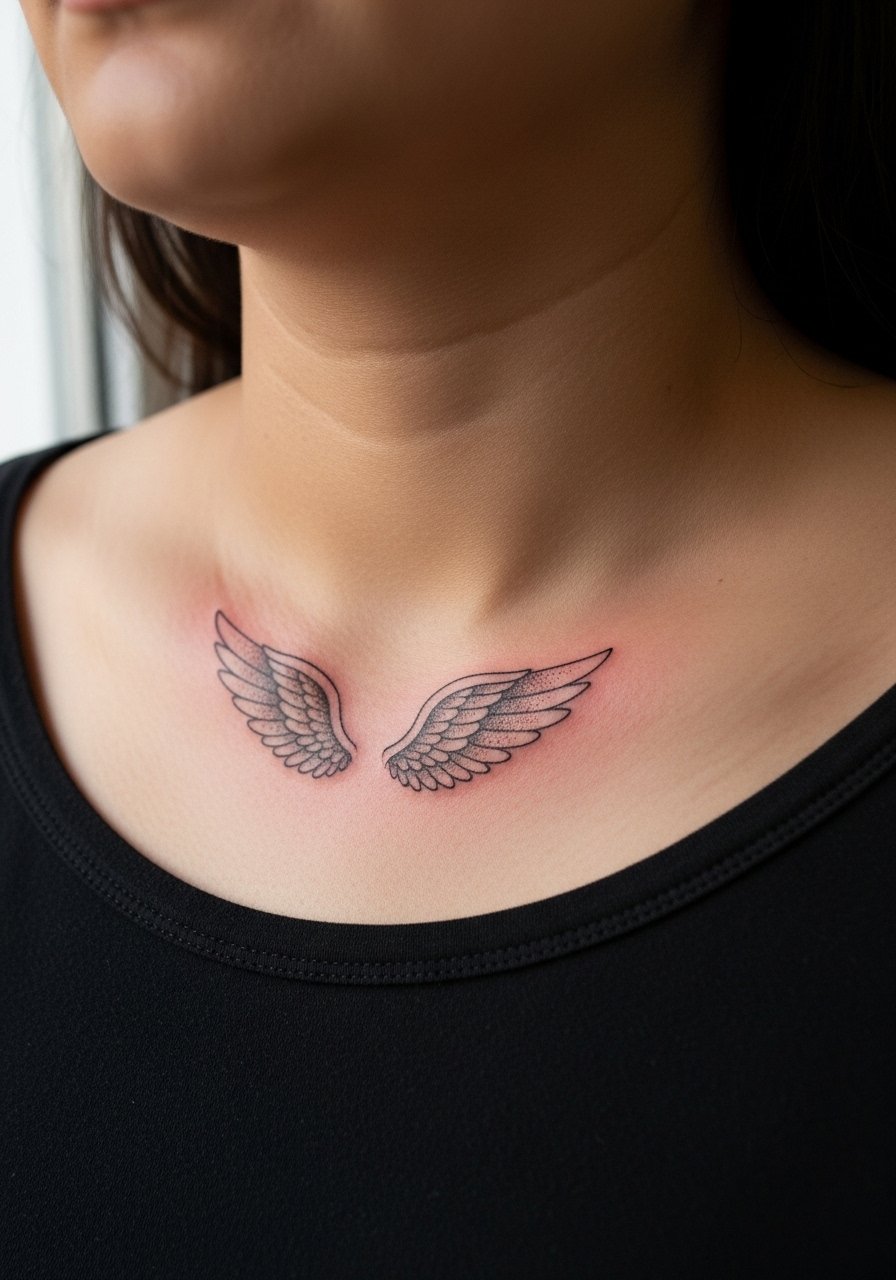
Wing motifs look ethereal when the feather spacing is deliberate. Tell your artist to emphasize the primary feather spacing rather than tiny feather detail that will blur. Pain is a 4 to 5 because of the shallow skin over bone, and sessions are often under an hour. A real mistake is centering the piece on one clavicle without checking how it reads with neck tilt. Pair the wing with a racerback tank for casual days when you want the motif visible.
10. Crescent Moon and Tiny Stars Symmetry
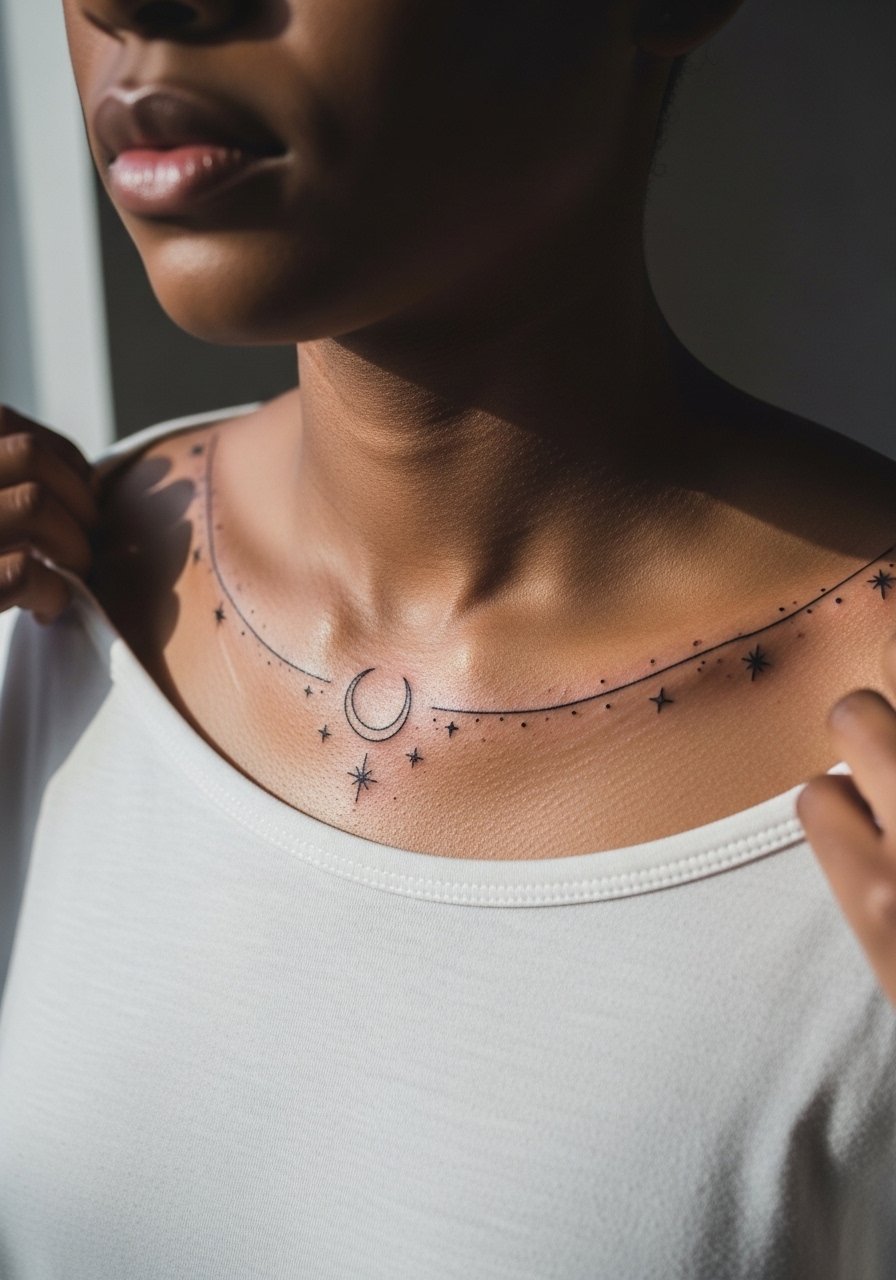
Mirrored elements across both collarbones need exact placement or they look lopsided. Ask for precise measurements from a midline reference and request the artist mark both stencils while you stand naturally. Sessions can take 45 to 90 minutes depending on star count. Expect touch-ups at year three if you want persistent crispness. For evening looks, a halter top highlights both sides without covering the clavicle.
11. Single Tiny Gemstone Outline

A gemstone outline reads clean when the facets are simplified. The common error is too many internal lines, which merge into a blob as the skin moves. Tell the artist you want open negative space inside facets and slightly heavier external lines for longevity. Sessions are quick, 25 to 45 minutes, with a likely touch-up at year two. Style it with a delicate chain pendant that sits above the gem and complements the shape.
12. Micro Portrait Silhouette
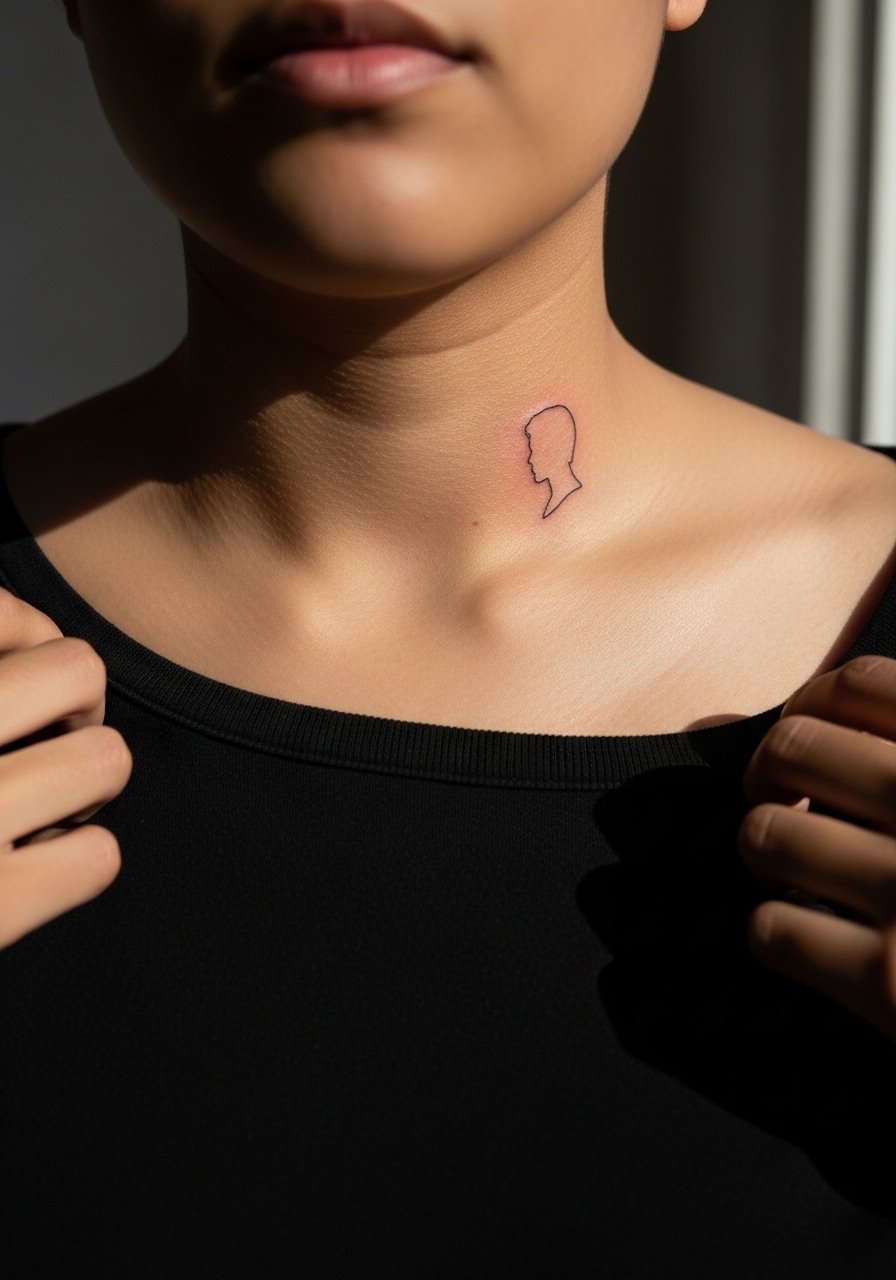
Micro silhouettes are all about contrast and scale. They fail when clients ask for photographic detail at a tiny size. During your consult, show the exact silhouette you want and ask the artist for a scaled test to ensure recognizability. Sessions vary from 45 minutes to two hours depending on complexity. Portrait silhouettes on the collarbone may require an artist experienced in micro realism adaptations for small spaces. For professional contexts, consider where the clavicle sits under your typical wardrobe.
13. Minimalist Geometric Sunburst
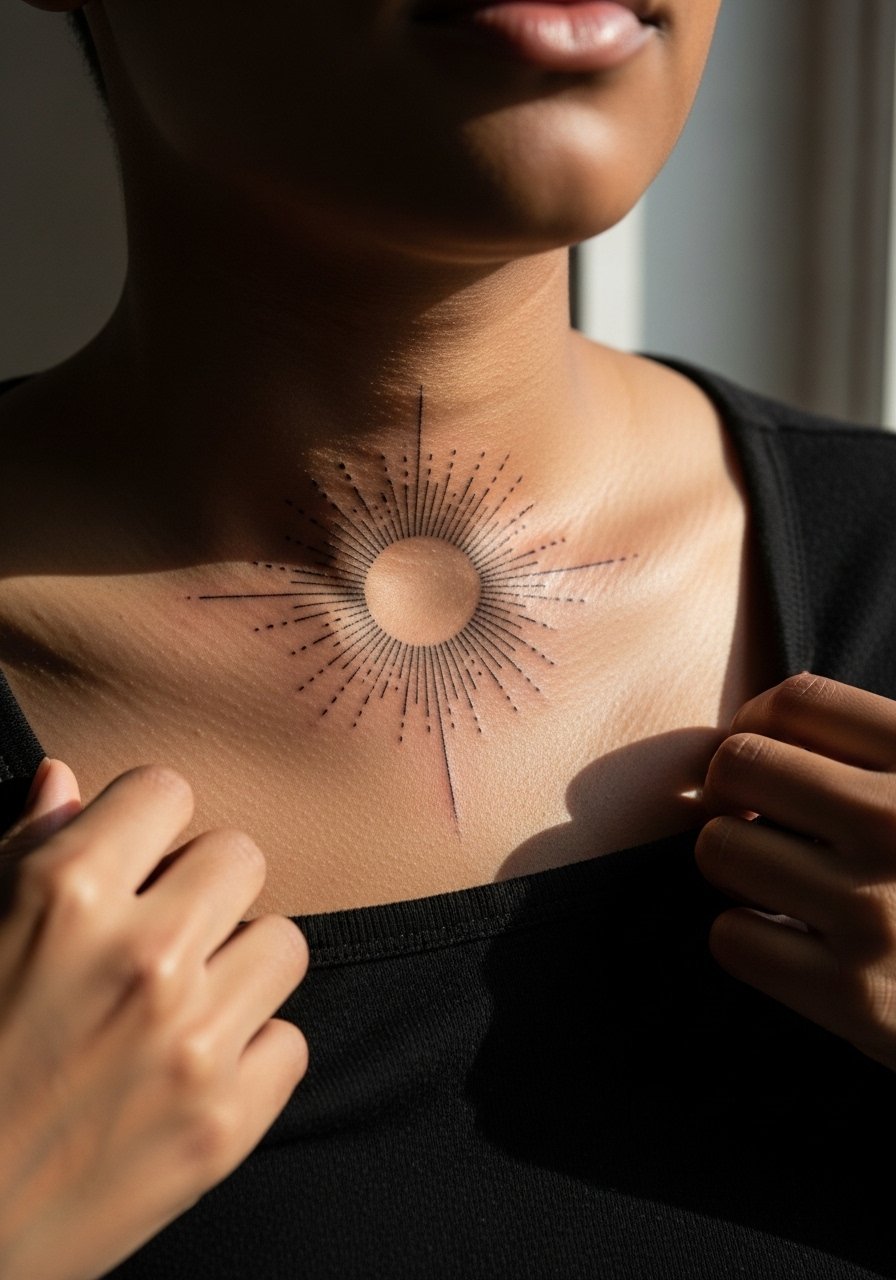
Sunbursts are effective when spokes get breathing room. The error is squeezing too many rays into a small radius, which invites merging. Ask for fewer longer rays with consistent spacing so the shape reads at arm's length. Expect a one hour session and a touch-up at year three for the finer rays. For outfits, a square-neck dress keeps the sunburst visible and frames the décolletage.
14. Tiny Botanical Sprig, Angled
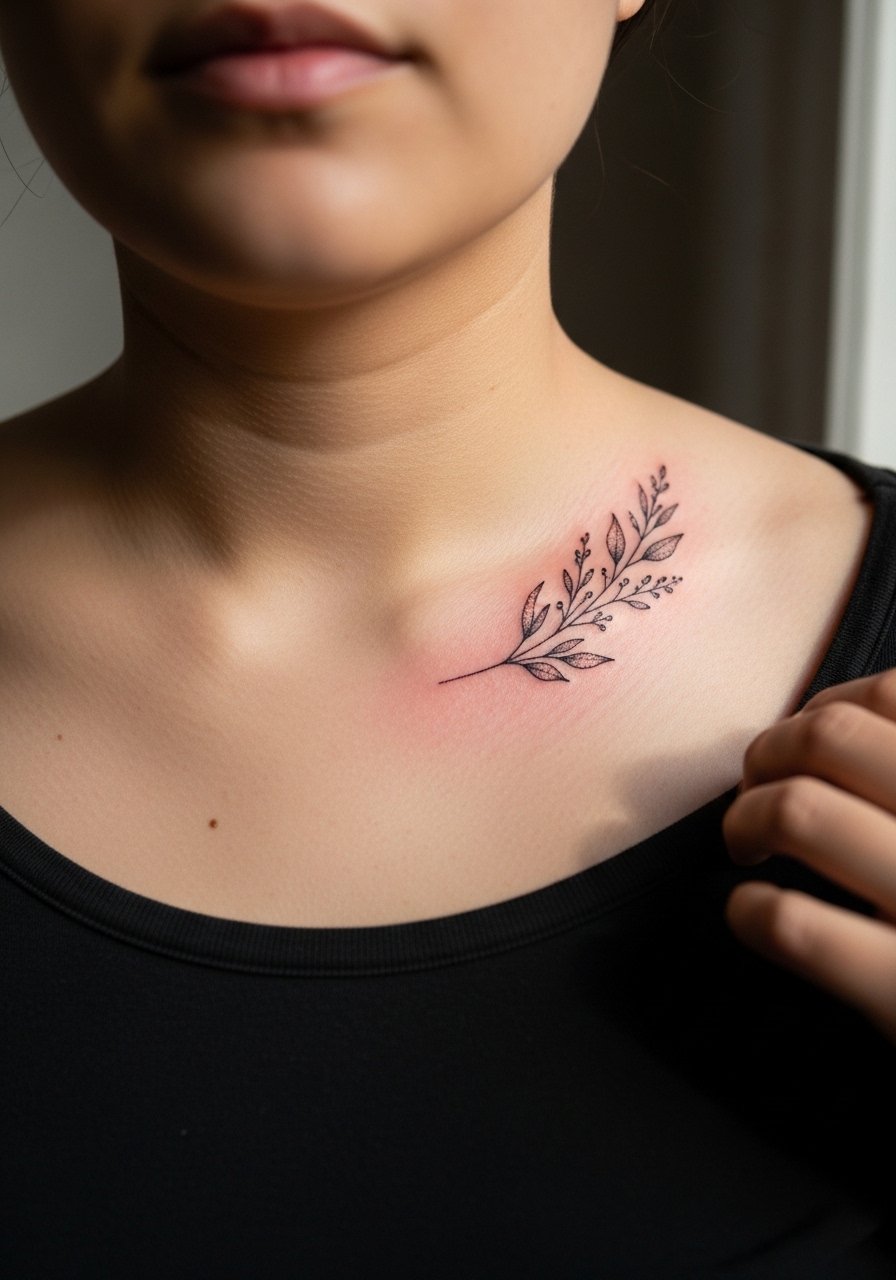
A sprig reads organic when angled to follow the clavicle curve. Avoid heavy leaf fill near the bone because solid areas on thin skin can blur. Tell the artist you prefer linework leaves with small open veins and subtle dot shading. The session is usually 40 to 70 minutes and touch-ups every few years keep the sprig crisp. Pair this with a loose linen shirt for a natural, wearable look.
15. Tiny Geometric Heart Outline
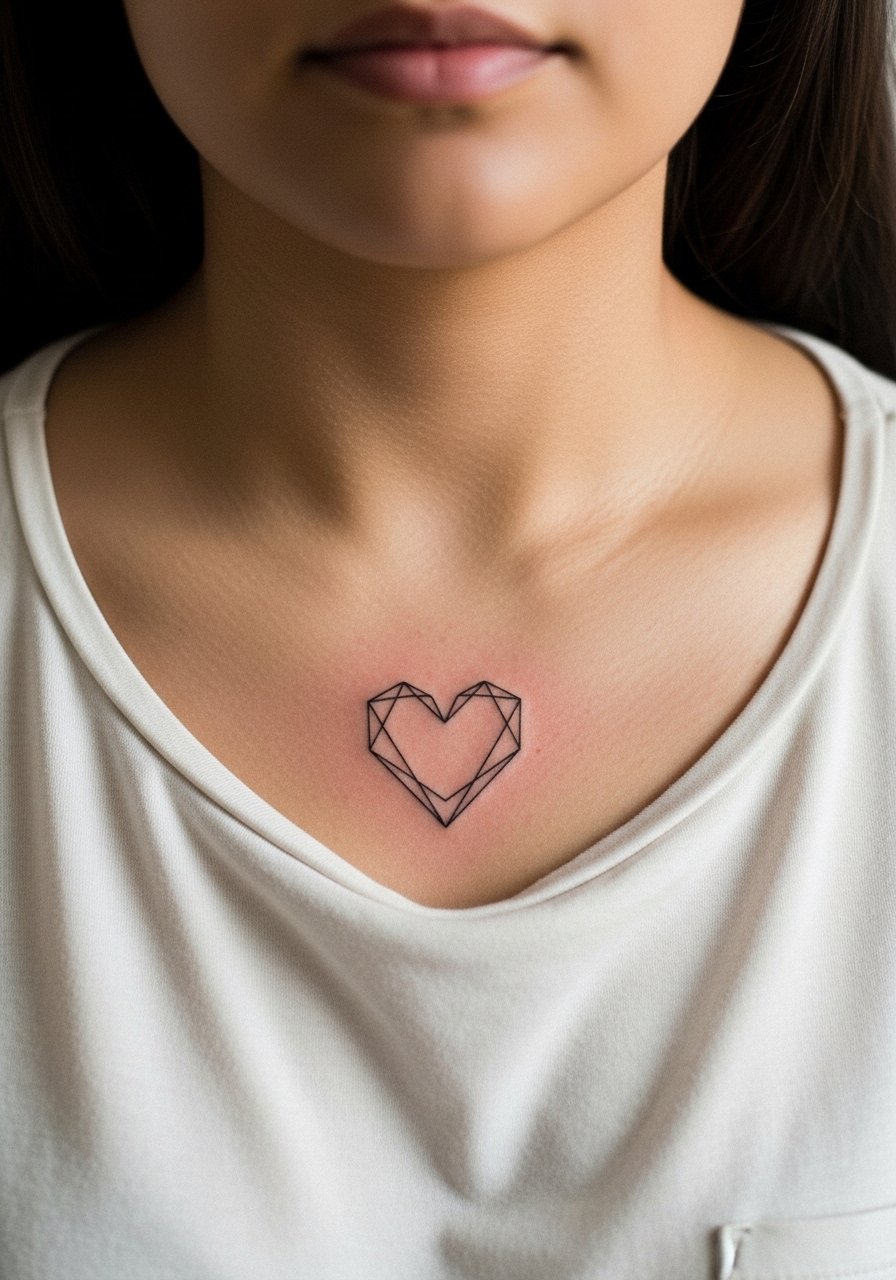
Hearts are deceptively tricky because symmetry matters more than size. The mistake is making one side thicker than the other or placing it where clavicle movement distorts the shape. Ask for a scaled stencil and to see it with a gentle smile so the artist can adjust for motion. Sessions are brief, 20 to 40 minutes, and touch-ups at year two are common. A thin chain pendant necklace sits nicely above a small heart.
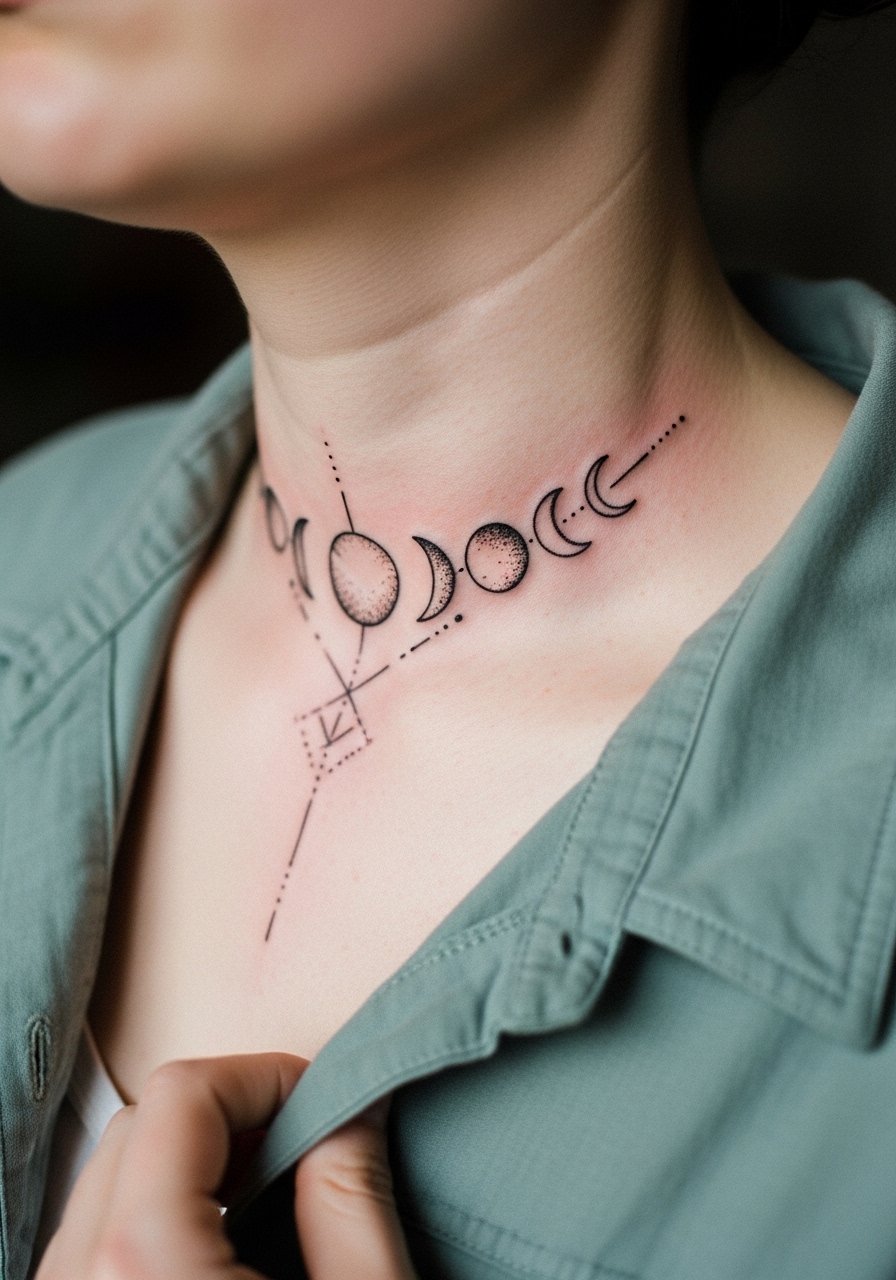
16. Minimal Moon Phase Row Along the Clavicle
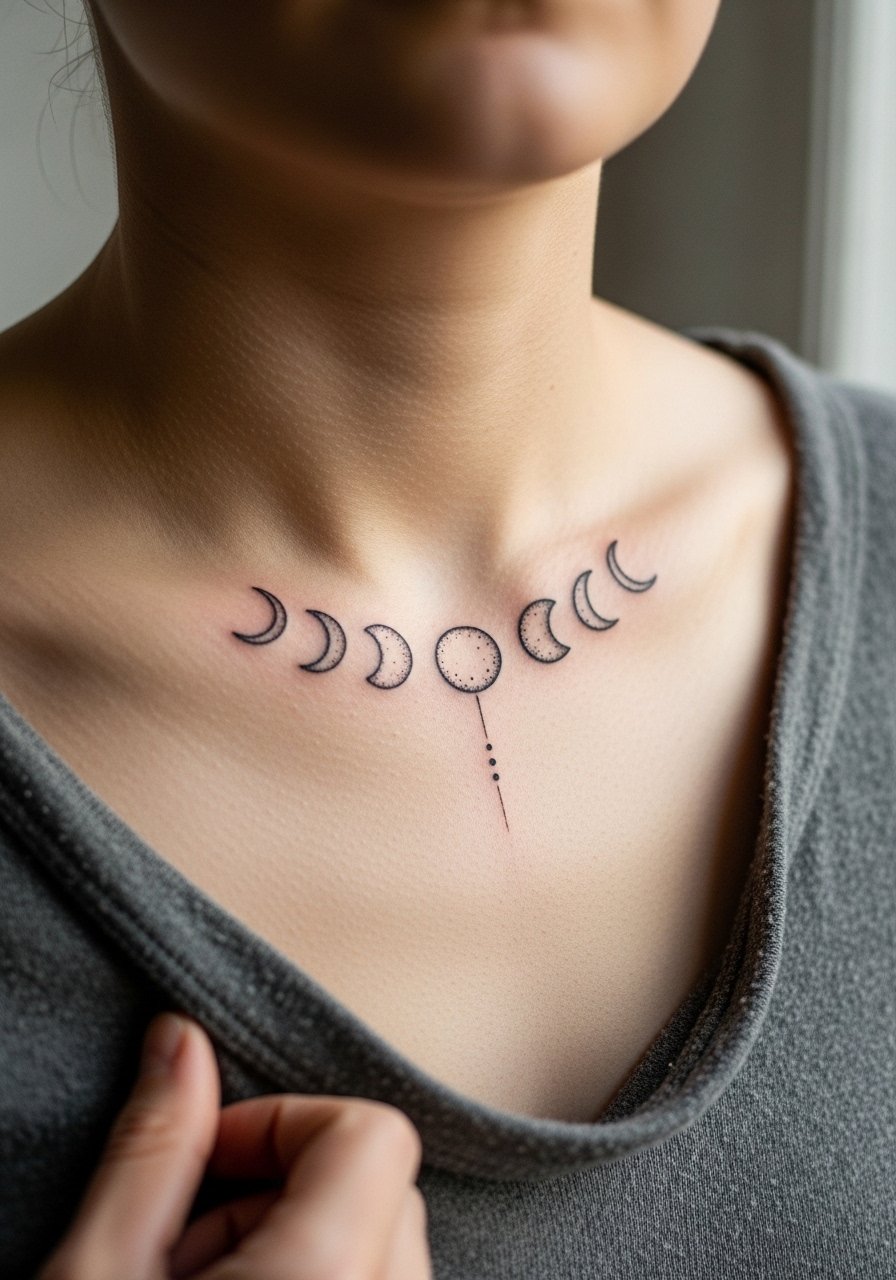
Moon phases need even spacing so the rhythm reads when you tilt your head. Common mistakes include mismatched sizes between crescents and full circles. Ask your artist to print the phase row at actual size and tape it on while you move. Sessions often take 45 to 75 minutes. Expect a touch-up at year three if you want the tiny crescents to remain crisp. For photos, an open-collar shirt frames the sequence without covering it.
17. Micro Arrow Trio, Parallel
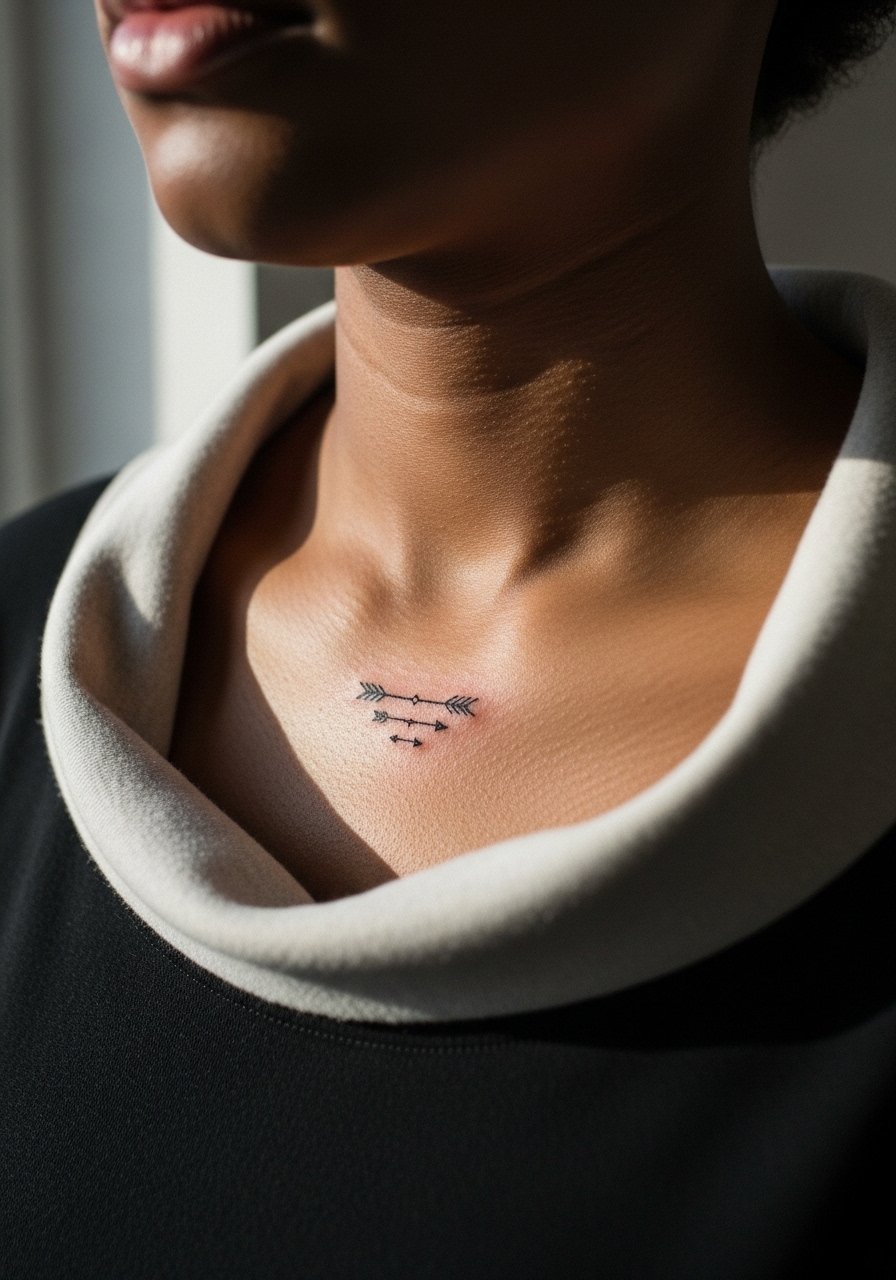
Parallel arrows require consistent line weight and spacing to avoid looking amateur. The main error is uneven placement along the curved clavicle. During your consultation, request alignment checks while you stand naturally and while you raise your shoulders. Sessions run 30 to 60 minutes with a likely touch-up at year two for thin shafts. For styling, pair the trio with a crew neck tee with a slightly wider neckline to reveal the arrows.
18. Tiny Script Coordinates
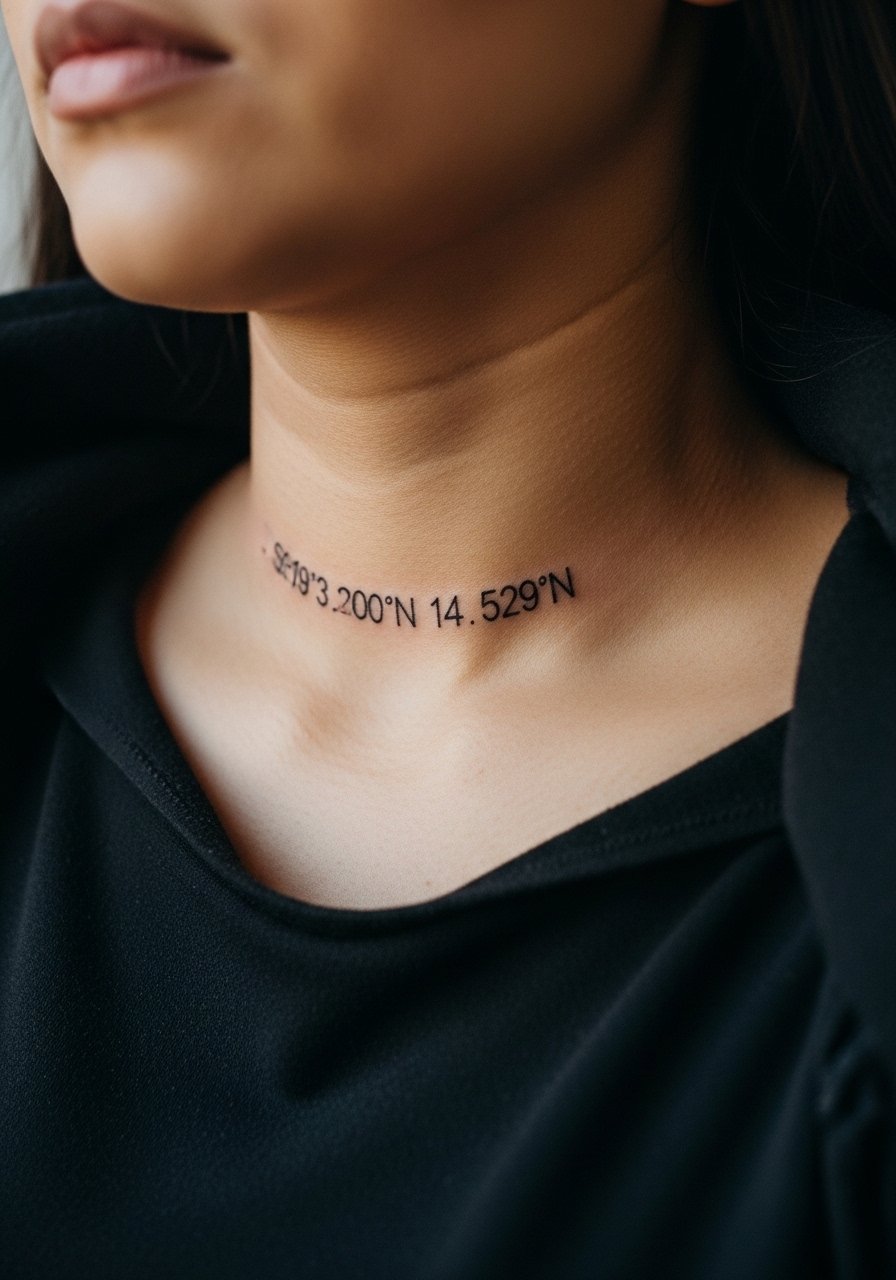
Coordinate tattoos must use exact text to avoid gibberish and to ensure legibility. Provide the exact string you want and request a stencil check in both standing and lying positions since clavicle movement can warp alignment. Sessions are usually 30 to 45 minutes. A common mistake is choosing a script that is too ornate at small sizes, so opt for clean monospaced or simple serif fonts. Show the coordinates off with a vintage button-down shirt left slightly open.
19. Tiny Mandorla Frame with Dot Accents
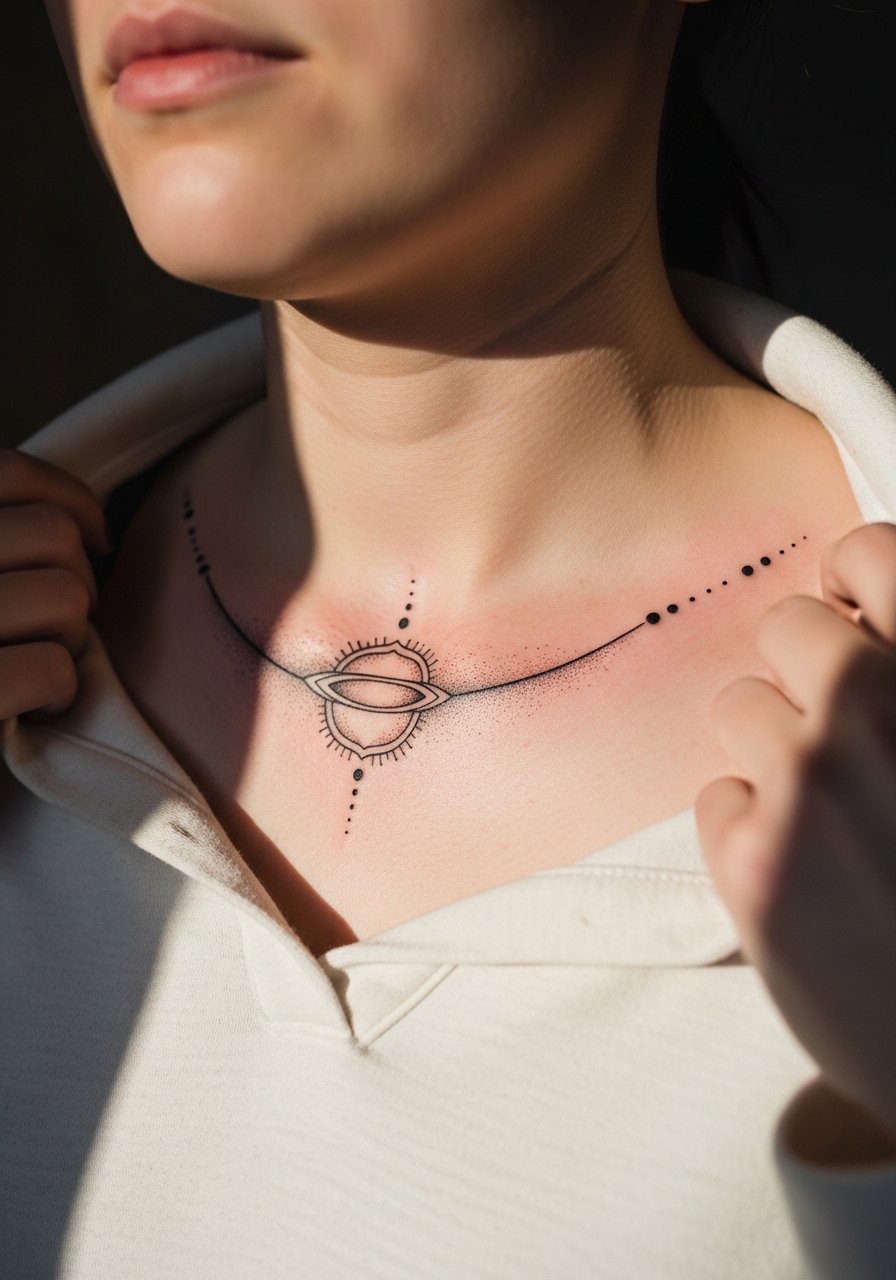
The mandorla is a simple lens shape that benefits from balanced negative space. Too many decorative dots inside the frame will lose their identity with time. Tell the artist to place dots as accents only and to keep the outer lines slightly bolder for longevity. Sessions run 30 to 60 minutes and a touch-up at year three is common. Pair this with an open-back top for evenings when you want a subtle focal point.
20. Delicate Bar with Tiny Gemstone Accent
A horizontal bar needs a steady hand and consistent depth. The frequent mistake is a bar that looks uneven after healing because of inconsistent needle depth across the bone. Ask to see healed photos of similar bars from your artist and request a slight internal taper that reads intentional. Sessions are brief, around 20 to 40 minutes. For showing it off, a strapless dress with a slight scoop keeps the clavicle area in focus.
21. Tiny Scripted Single Letter Accent
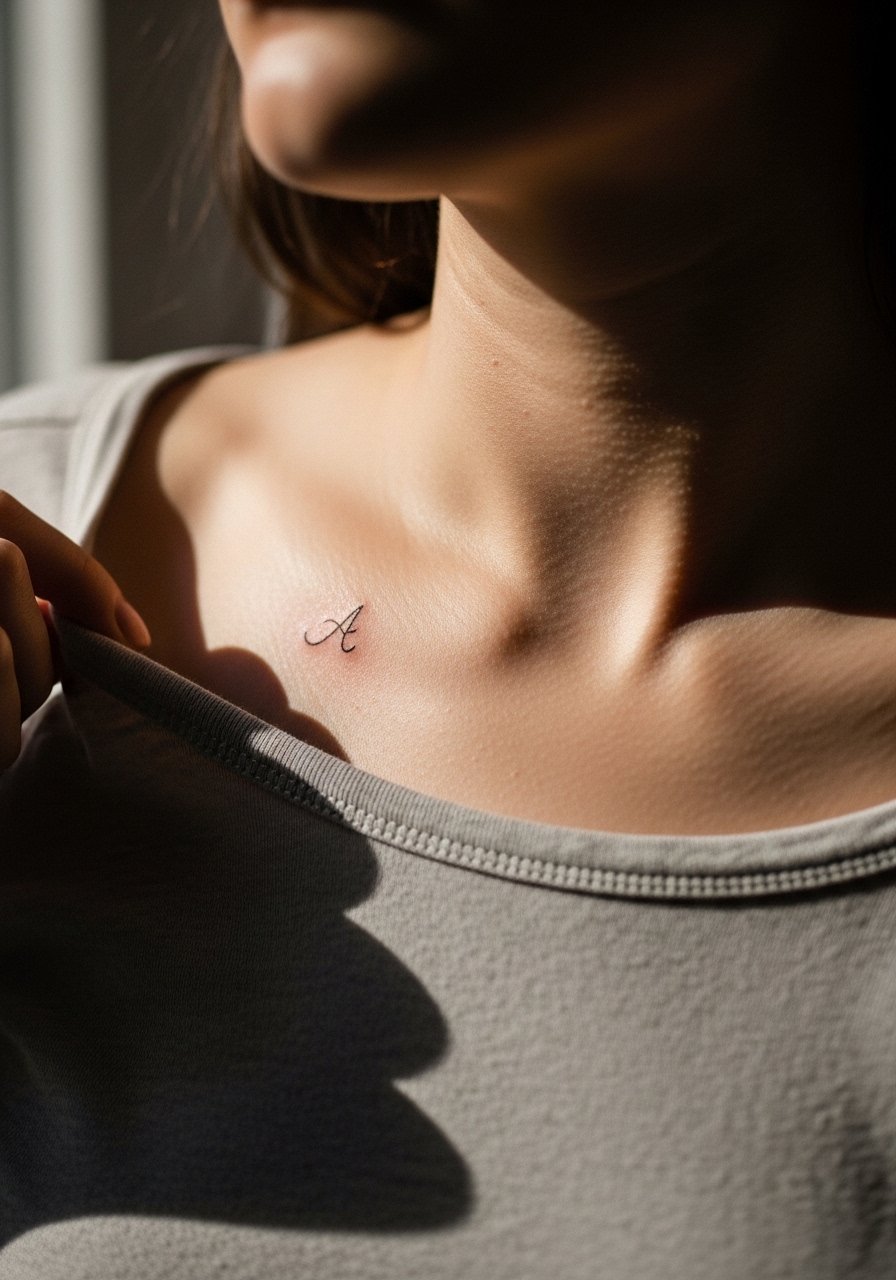
Single-letter tattoos rely on scale and font clarity. The usual error is choosing a cursive that becomes unreadable at micro sizes. Ask your artist to draw the letter in multiple sizes and test the stencil on your skin while you move. Sessions take 15 to 30 minutes and a touch-up at year two is common for very thin strokes. A minimalist pendant necklace works well above a single-letter mark without stealing attention.
Frequently Asked Questions
Q: Will fine line collarbone tattoos blur faster than bolder pieces?
A: In my experience, yes, fine line work on the collarbone tends to soften sooner than bold work because the skin is thin and moves with breathing. The fix is to ask for slightly stronger line weight at the start and to plan a touch-up at year two or three. Also limit sun exposure since UV is a main factor in line loss.
Q: How should I dress for a collarbone session so the artist has clear access?
A: Wear a wide-neck or button-down shirt you can pull aside rather than a tight tee. That way the artist can cleanly access just the clavicle without you removing much clothing. A loose button-down shirt is an easy option for most studios.
Q: Do watercolor washes near the collarbone require different care or touch-ups?
A: Watercolor-style color tends to need more frequent refreshes because the pigments are lighter and sit more superficially. Expect color refreshes sooner than solid black line touch-ups. Ask the artist about their approach to saturation and whether they recommend lower pigment to avoid patchy fading.
Q: Are there career or visibility concerns with collarbone tattoos?
A: Collarbone tattoos are often visible with low necklines, so think about how they appear with your typical professional wardrobe. In many creative fields they are acceptable, while some conservative workplaces still prefer covered upper chests. Consider placement and size if visibility is a concern.
Q: How long do sessions usually take for these minimalist collarbone pieces?
A: Most collarbone minis run from 15 minutes to about 90 minutes depending on detail and color. Single-line symbols are on the short end, while watercolor washes and micro portraits take longer and may need multiple passes. Plan for brief breaks during longer sessions to reduce shoulder tension.
