
Fine line work and cryptic band imagery have dominated saved boards for months, but what looks right on a screen often needs rethinking on skin. Trends that photograph well can blur or patch out faster than you expect. Below are 27 Twenty One Pilots inspired aesthetics that take both the band vibe and long-term wear into account, with what to ask your artist and how to style each piece so it reads like you meant it.
1. Minimal Clique Logo on Inner Forearm
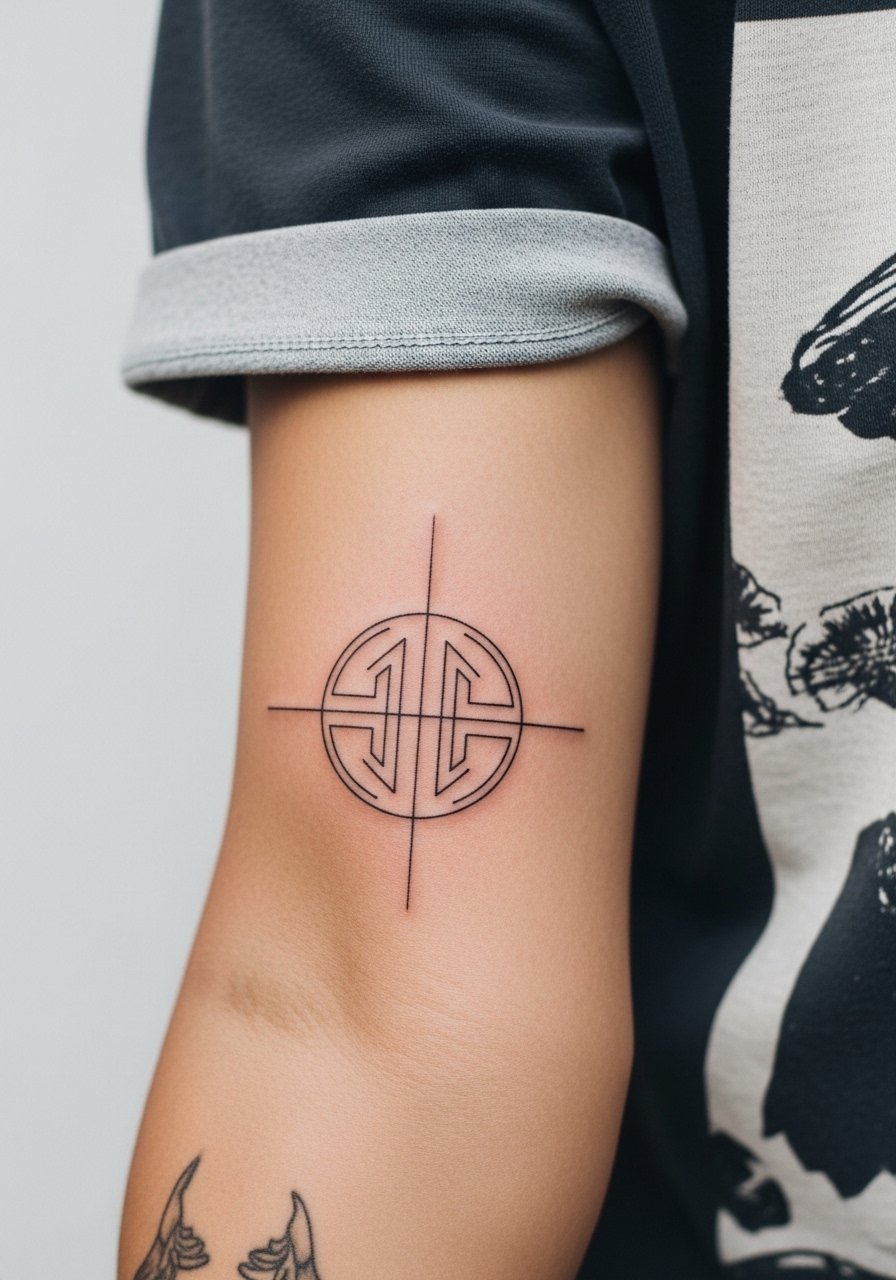
Start this one when you want a subtle nod to the band without full-on flash. Ask your artist for slightly bolder lineweight than a typical micro piece so the tiny emblem keeps its edges at year two. Fair warning, the inner forearm sees daily friction from desk work, so expect a touch-up at year three if you prefer the lines pristine. For the session, wear a loose button-down shirt you can roll or pull aside. Pain is low and the session often runs under an hour. Avoid requesting hairline-thin versions of this emblem or the lines may merge with time.
2. Scripted Lyric Along the Ribcage
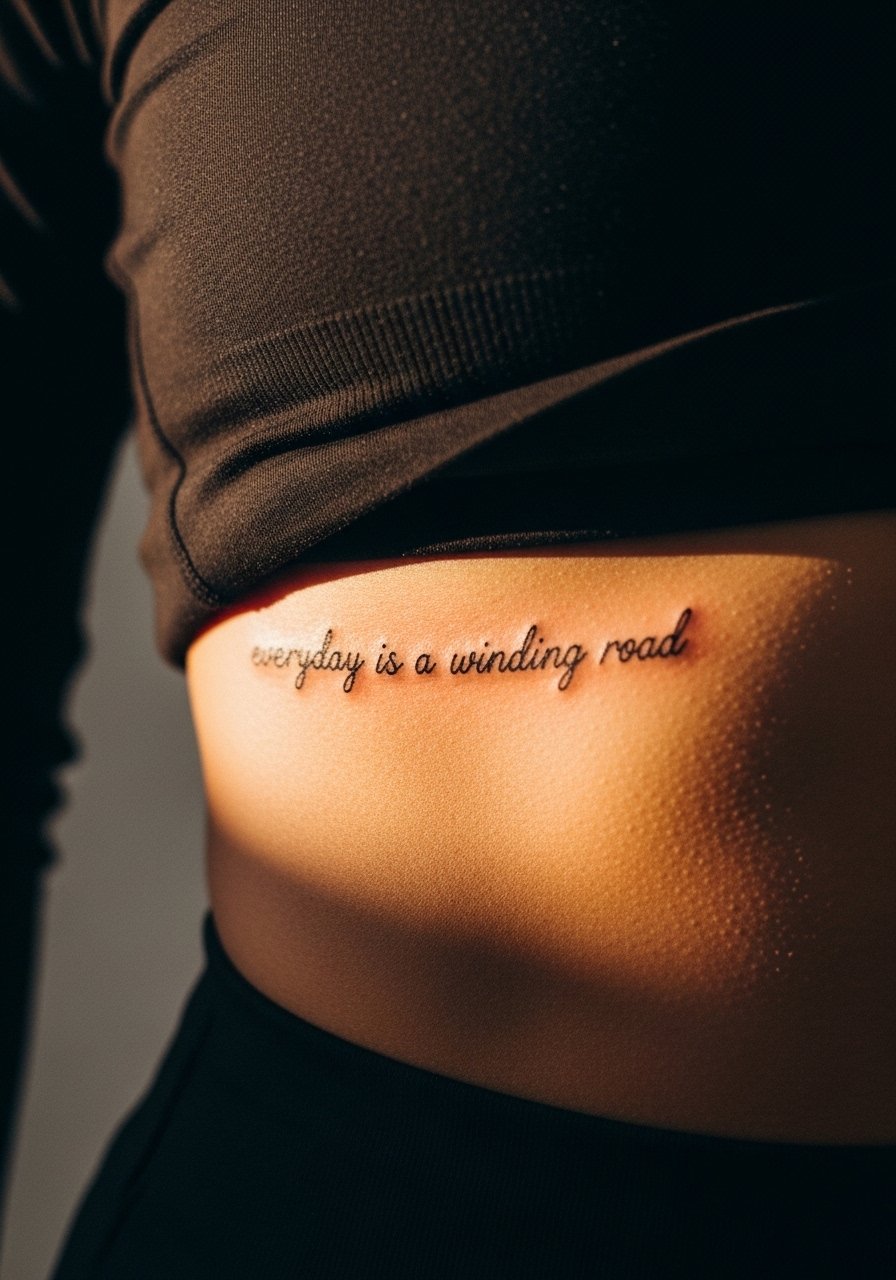
This placement reads intimate and dramatic when scaled properly. Artists split on fine line on ribs. One camp says the skin stretch blurs lines within two years. The other camp says with proper depth and spacing it settles fine. When you book, show exact font size and spacing and ask for a slightly larger x-height than you think you need. Expect a sharper look at six months, softened by year two. Bring a zip-up hoodie for the session so you can stay warm and provide easy access. Pain is higher here, and sessions may need breaks.
3. Half-Mask Blacked-Out Circle on Upper Arm
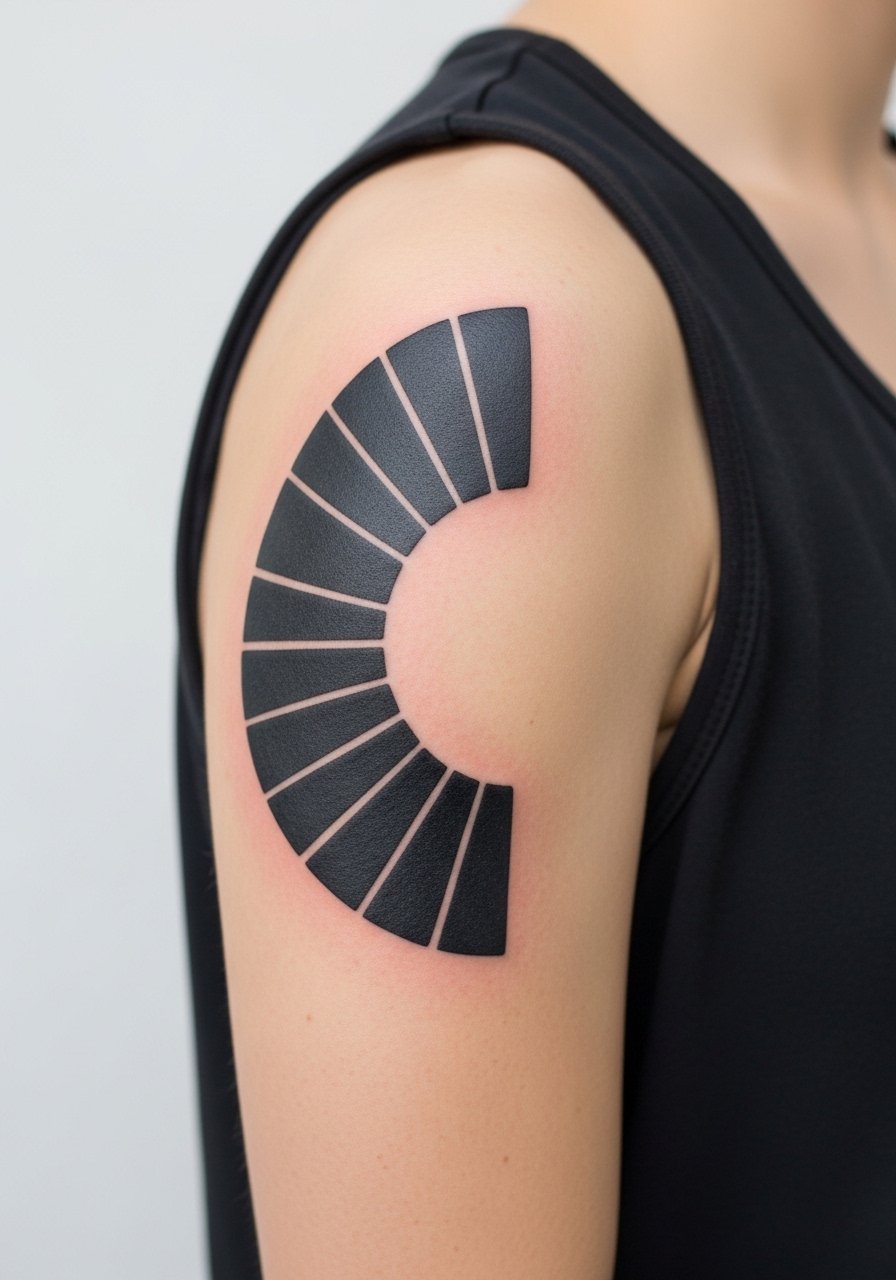
A dense black half-mask plays off the band’s graphic imagery and ages predictably when saturated well. Tell your artist you want block saturation rather than a textured fill. That lowers blowout risk on softer meat of the arm and keeps touch-ups rare. Sessions feel buzzy but quick, usually under two hours for a modest size. Pair this with a loose racerback tank to show off the negative space when you wear sleeveless. Avoid tiny black fills that attempt to mimic a bold look at needle-scale; small black blocks often heal patchy.
4. Watercolor-Reef Back Piece
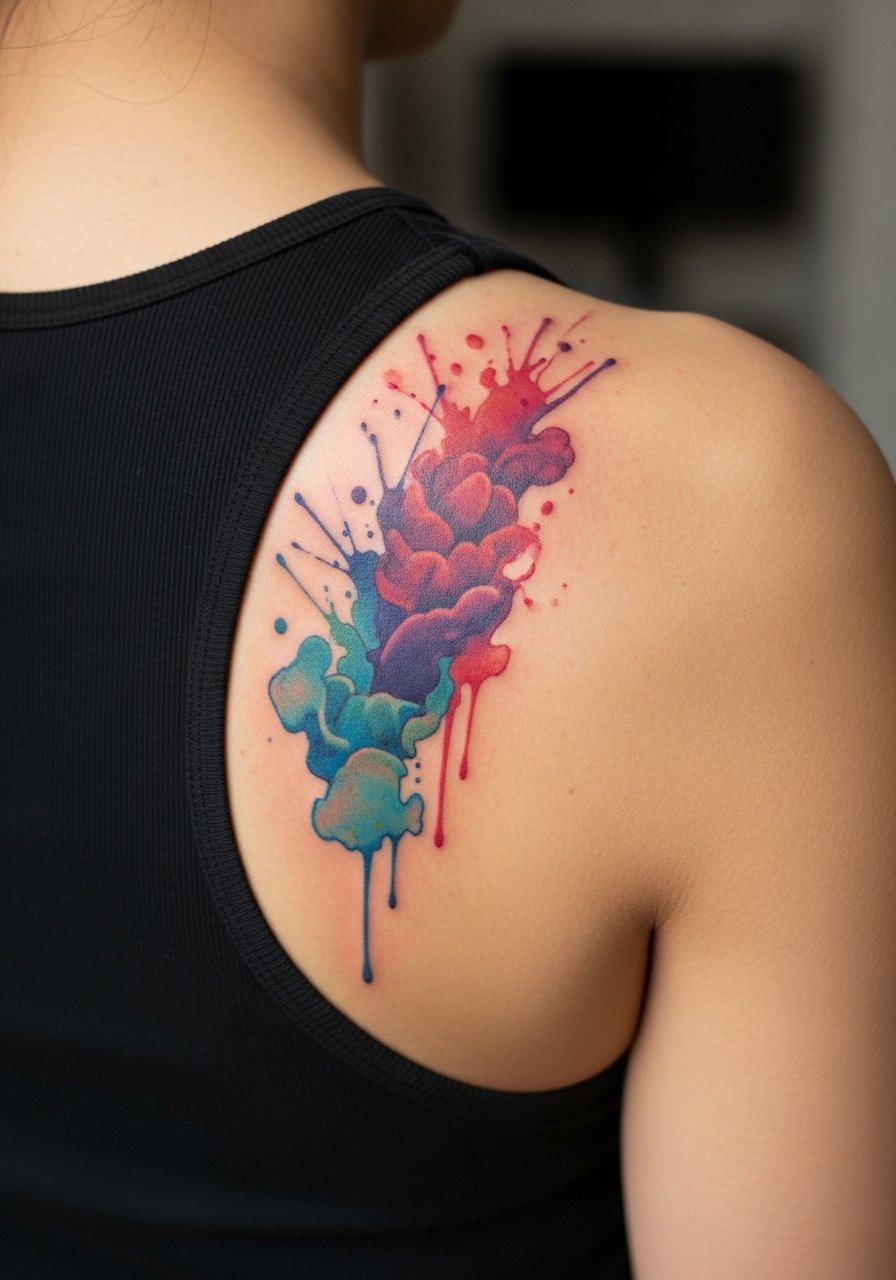
Watercolor pieces wear differently than line-based designs. The loose color fades faster near the shoulder where sun exposure happens, so ask for slightly stronger saturation initially and plan on a refresh at year three. Session time is moderate to long depending on the area covered. For the studio day, a tank top you can slide down a shoulder keeps access clean. A common mistake is asking for watercolor with too much delicate detail; that detail can lose definition faster than blocky color.
5. Tiny Skeleton Key Behind the Ear
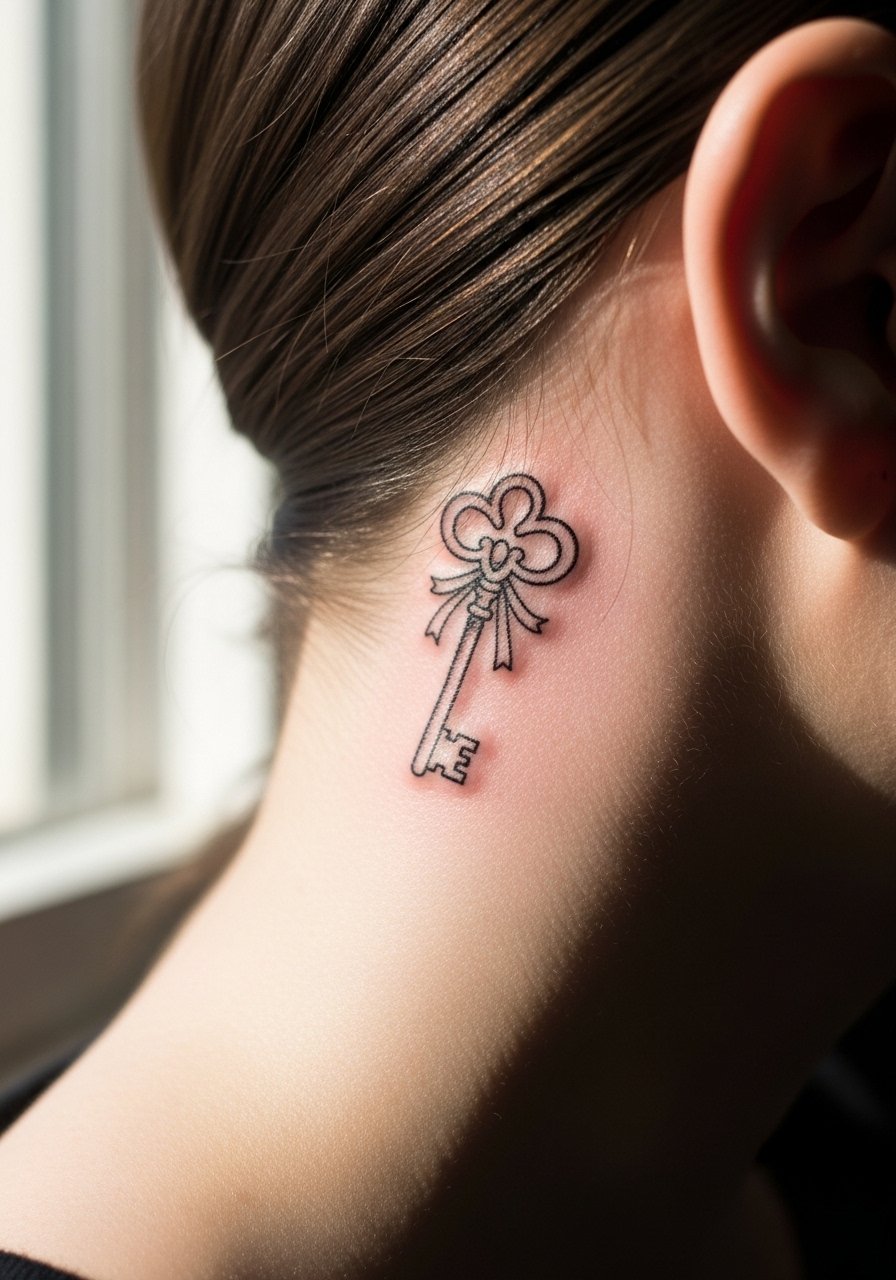
Behind-the-ear placements are discreet but need a specific approach. Show the artist exactly where you want the key relative to your hairline and ears. Pain is low to moderate and the session is short. Expect some blurring by year three if the lines are too light. For professional settings where neck visibility matters, think about placement under hair or just behind the hairline. A common mistake is making the motif too detailed for the tiny canvas. The result looks crisp when simplified to basic contour and a central hole.
6. Geometric Hourglass on the Calf
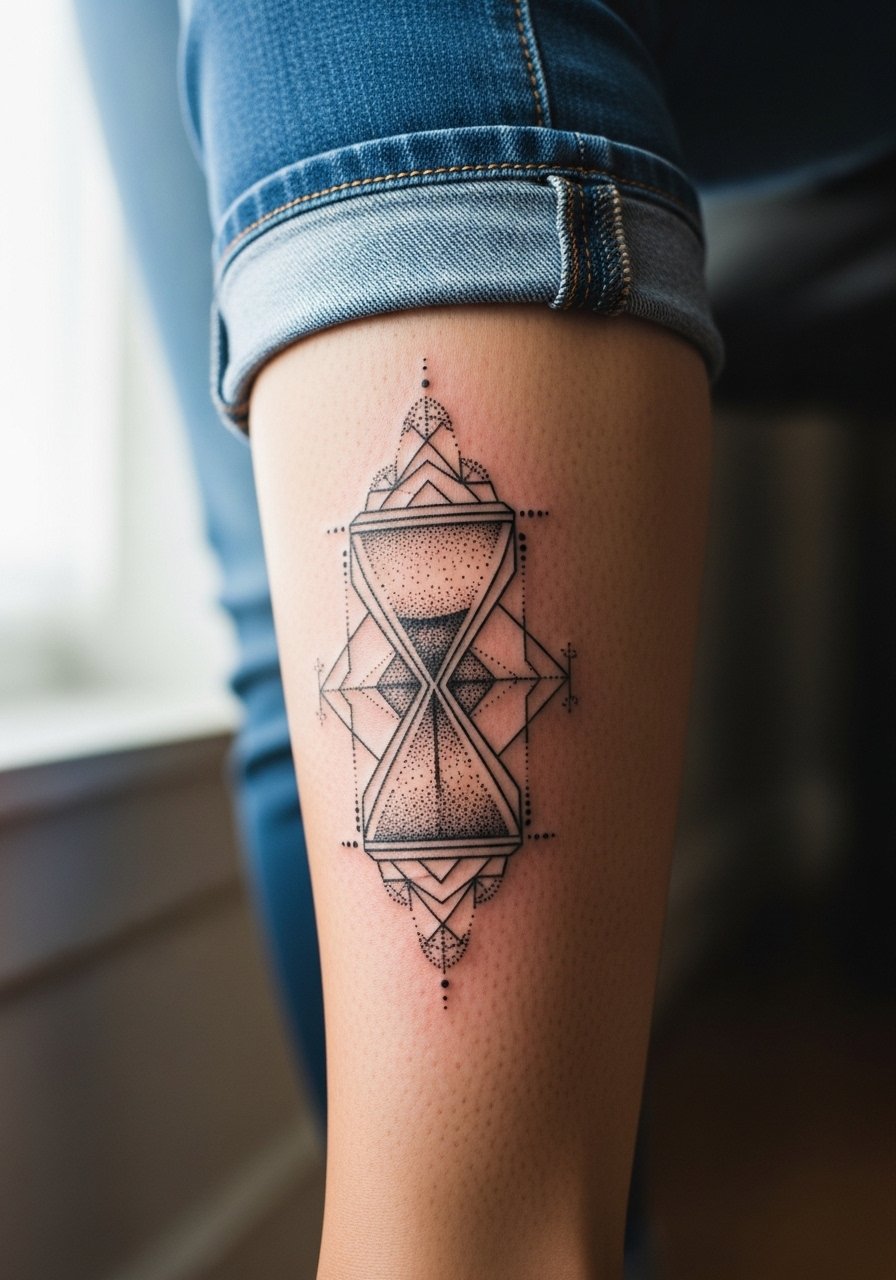
Calf placements handle stipple and geometric detail well because the skin is stable and friction is low. Ask for clear spacing between parallel lines so negative space survives over years. Sessions are comfortable and often done in a single sitting. For showing the piece, rolled-up jeans or high-top sneakers with cropped pants keep attention on the calf. Avoid cramming concentric details into a tiny hourglass; the rule of thumb is give lines room.
Pack Smart
The rib and upper chest ideas above need different prep than forearm or calf work. These picks smooth the session and the first week without complicating tattoo healing.
-
Stencil transfer paper kit. Lets you preview placement on skin before the needle so a rib script or forearm emblem sits where you expect.
-
Topical numbing cream. Use per instructions about 45 minutes before the session to ease sharp rib or sternum sensitivity.
-
Thin protective film roll. Keeps wrist and finger pieces cleaner during the first week of frequent handwashing and typing.
-
Fragrance-free body wash. Gentle cleansing matters when fine line work needs minimal irritation.
-
Aquaphor healing ointment. A thin layer for the first few days locks in moisture without suffocating the needle channels for delicate line pieces.
7. Minimalist Drum Set on the Sternum
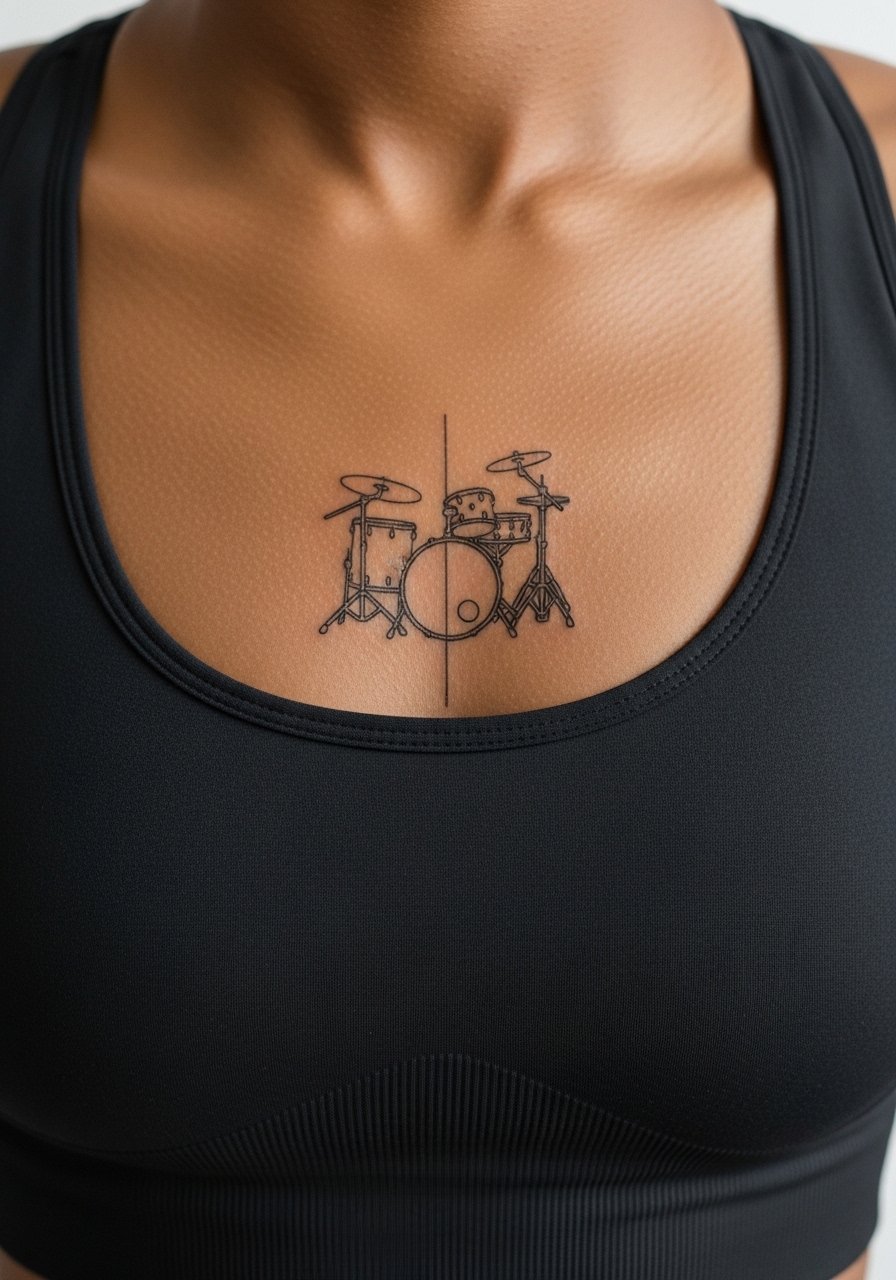
Sternum placements are intimate and demand a focused consult. Ask that the central axis of the drum set align with your sternum center so the piece reads symmetrical. Pain is higher and sessions may require breaks. The biggest mistake is making the linework too thin for the movement of skin in that area. For the session, a fitted sports bra or bandeau eases artist access. Expect the piece to look tight and crisp at six months, then soften subtly by year three. Consider modestly stronger lineweight up front for longevity.
8. Split Mask Wrist Band
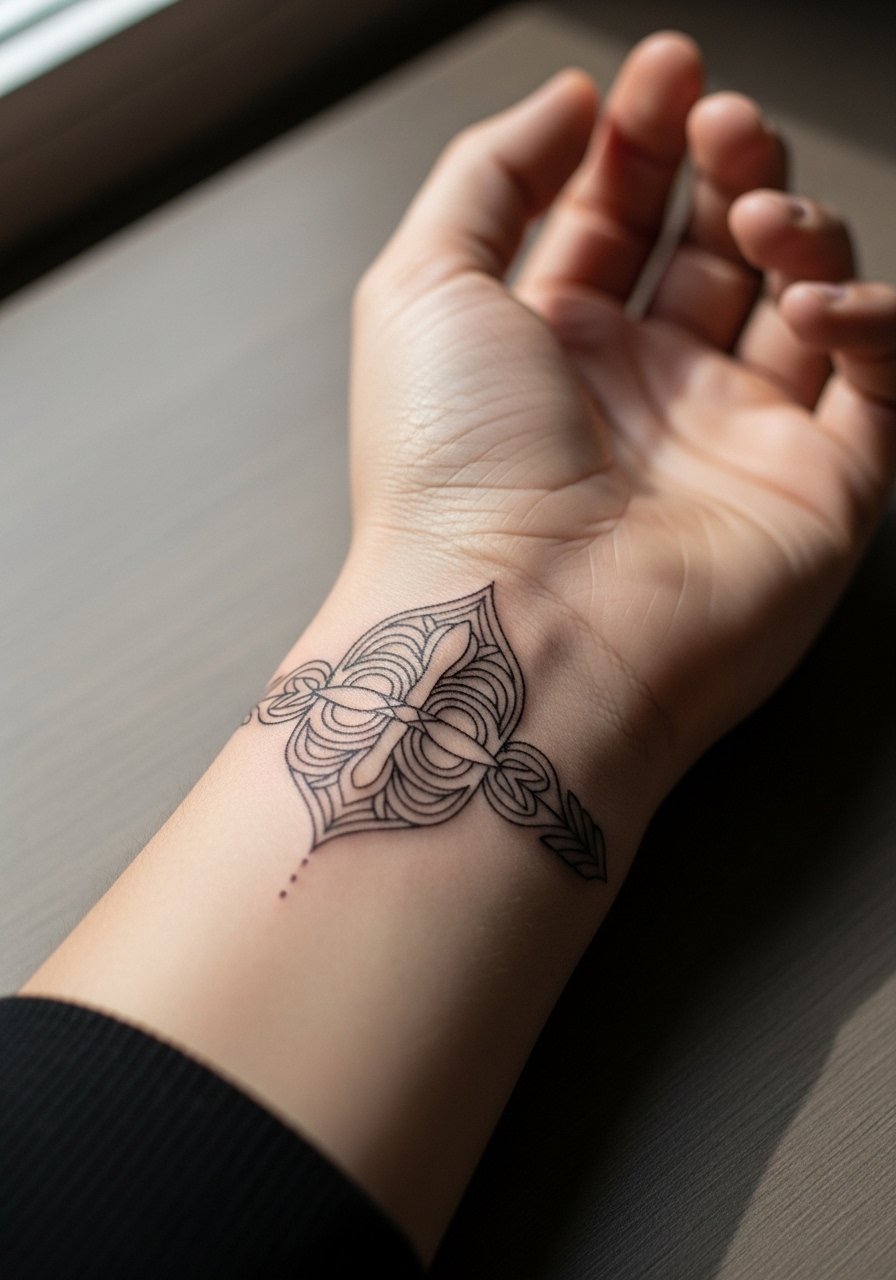
Wrist bands read like jewelry. For the split mask motif, ask for consistent negative space so the band does not appear to bleed into itself over time. Wrist skin is high friction from clothing and watches and may need a touch-up sooner than the same work on the forearm. Wear a thin chain bracelet to complement the band without crowding the negative space. Sessions are brief and discomfort is moderate. A frequent error is requesting the band too tight around the wrist; give it a hair more room to sit comfortably.
9. Micro-Realism Portrait Pin on Upper Arm
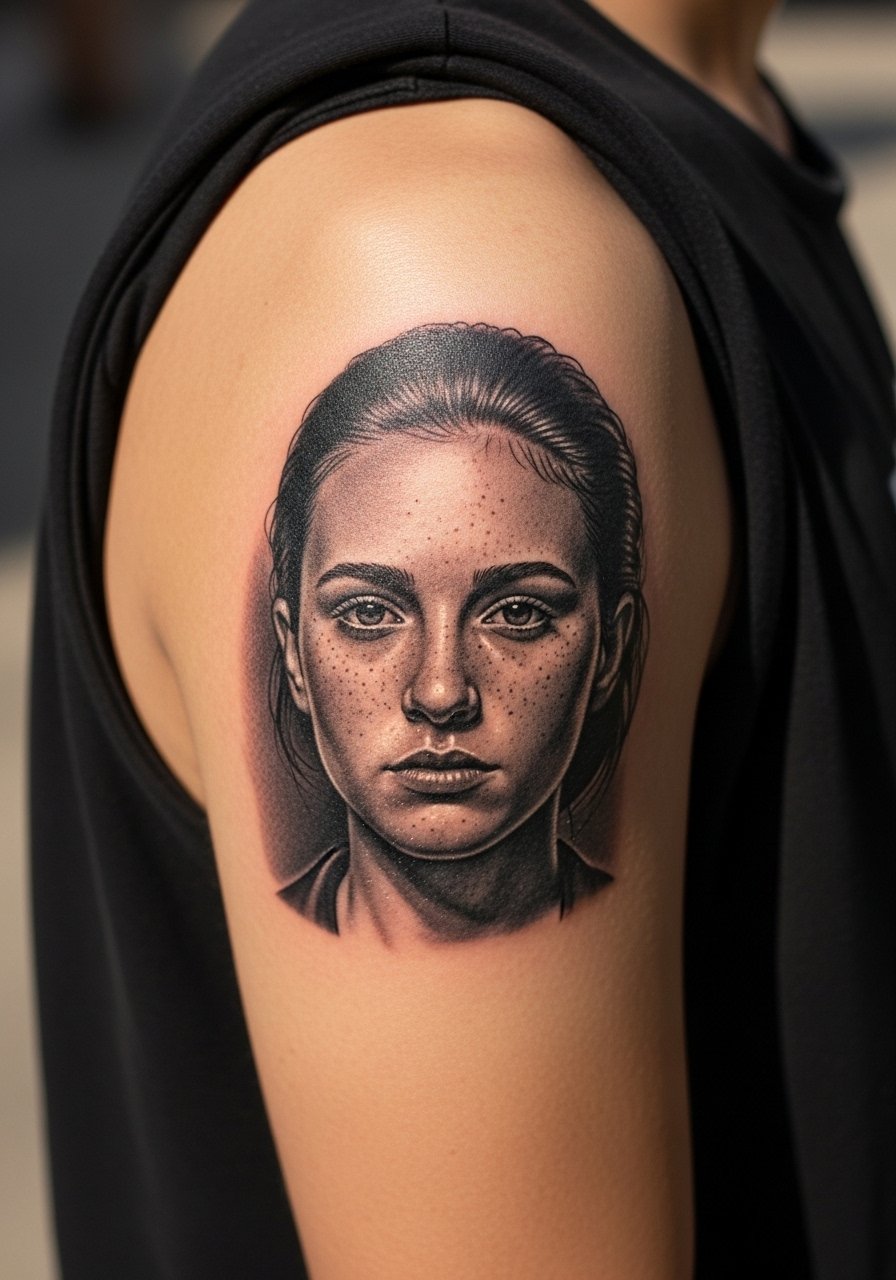
Micro-realism reads best on stable flesh like the outer arm. Ask your artist for a reference showing the intended scale so facial detail doesn't collapse in healing. Expect a longer session and a higher chance of needing a touch-up at the six to twelve month mark. A common mistake is requesting photographic detail too small. For evenings out, this piece pairs well with a sleeveless cotton tee that keeps the arm visible. Pain is manageable and touch-ups depend on how much stipple shading was used.
10. Constellation Finger Stack
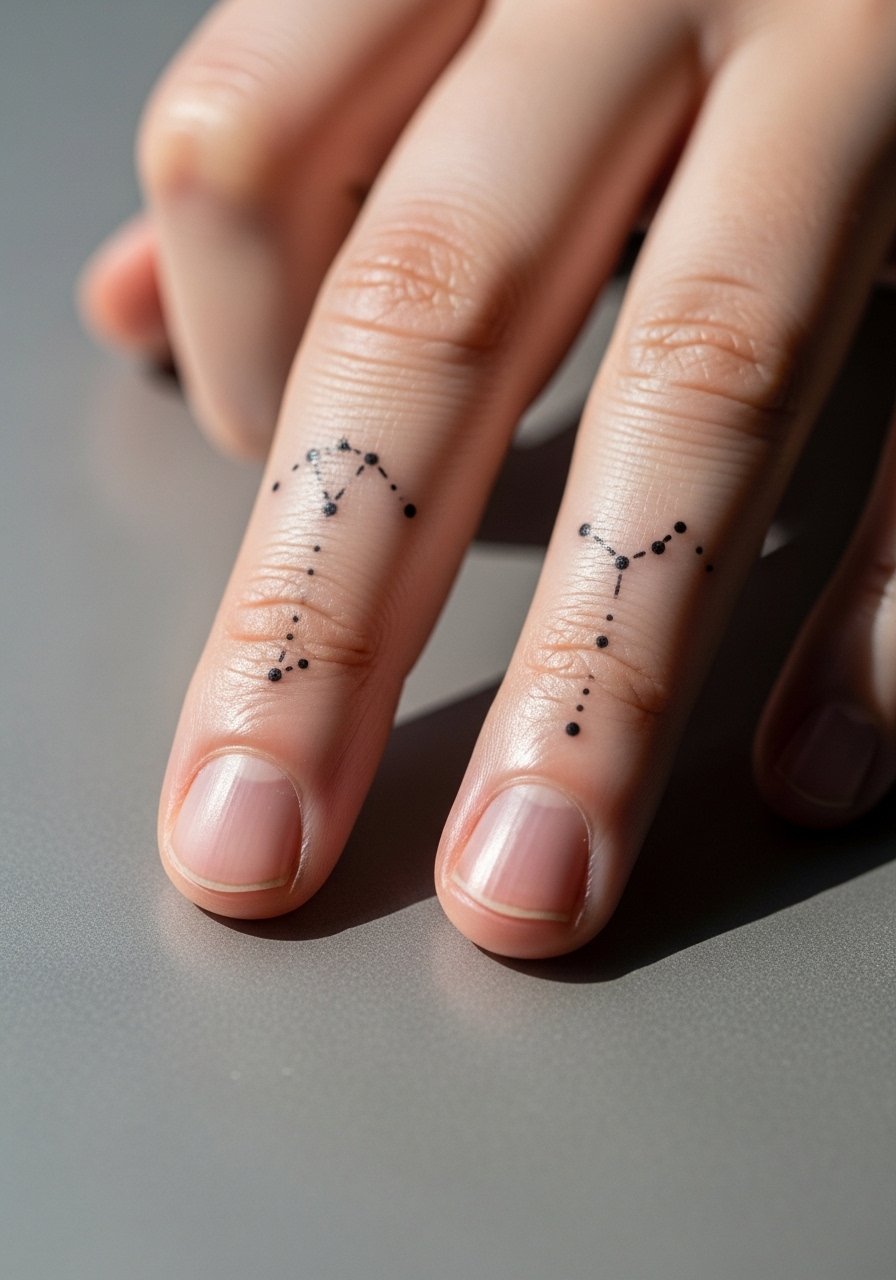
Finger tattoos are notorious for fading because of skin turnover and constant washing. If you want a constellation stack, plan on annual refreshers. Tell your artist you prefer slightly bolder dots and short connector lines so the design endures. Sessions are short but painful due to thin skin and bone proximity. For showing this off, dainty stacking rings and a thin band ring set draw attention without covering the ink. Avoid fine script on fingers; small letters often blur.
11. Half-Note Collarbone Accent
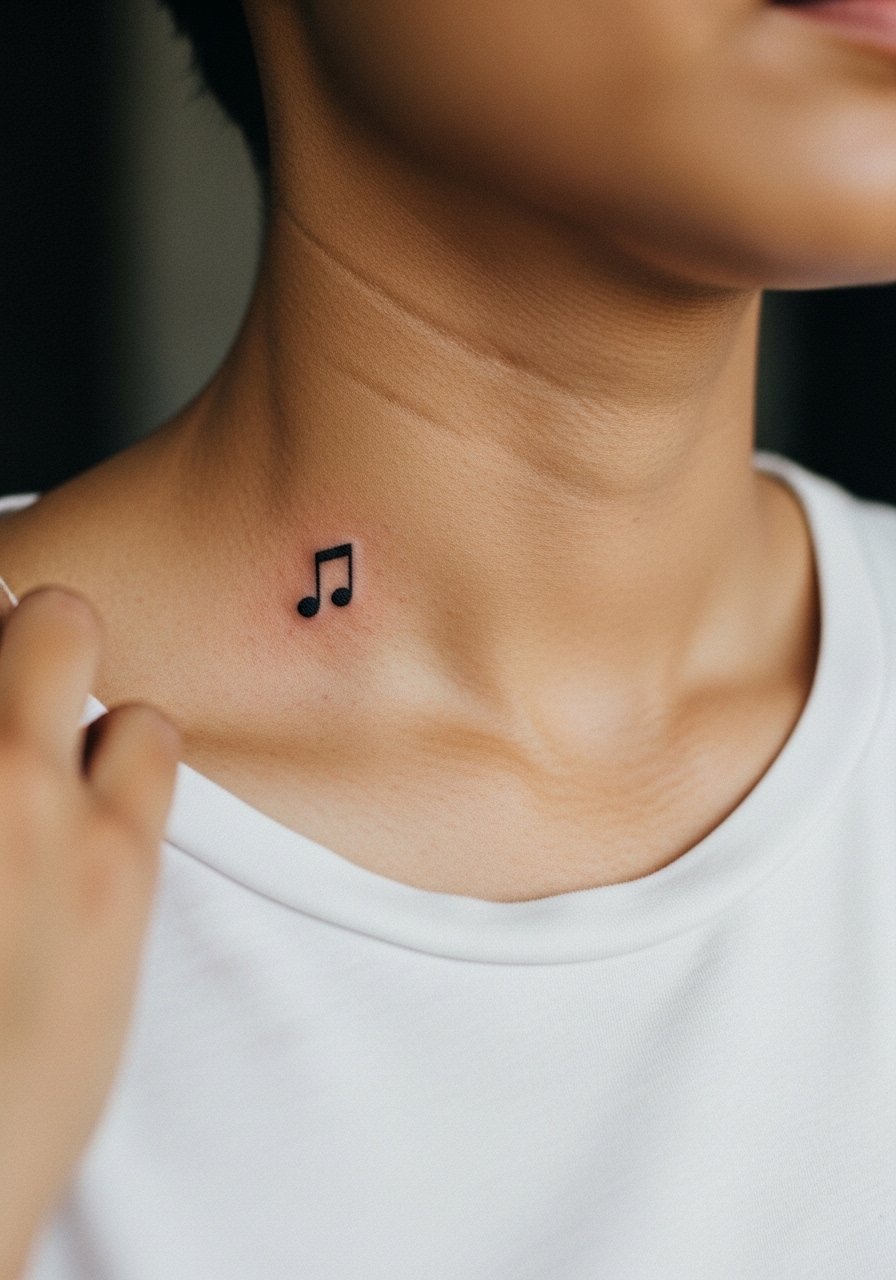
Collarbone placements look elegant but require placement precision. Show the artist exactly how close to the bone you want the note to sit. Pain is moderate at the bone edge and sessions are quick. Expect crispness at six months but slight softening by year three if the note is thin. Pair with a thin chain pendant necklace that sits above the script so it frames but does not crowd the symbol. Avoid requesting micro detail that lands on the bone; it tends to fade into feathering.
12. Paper Plane Ankle Outline
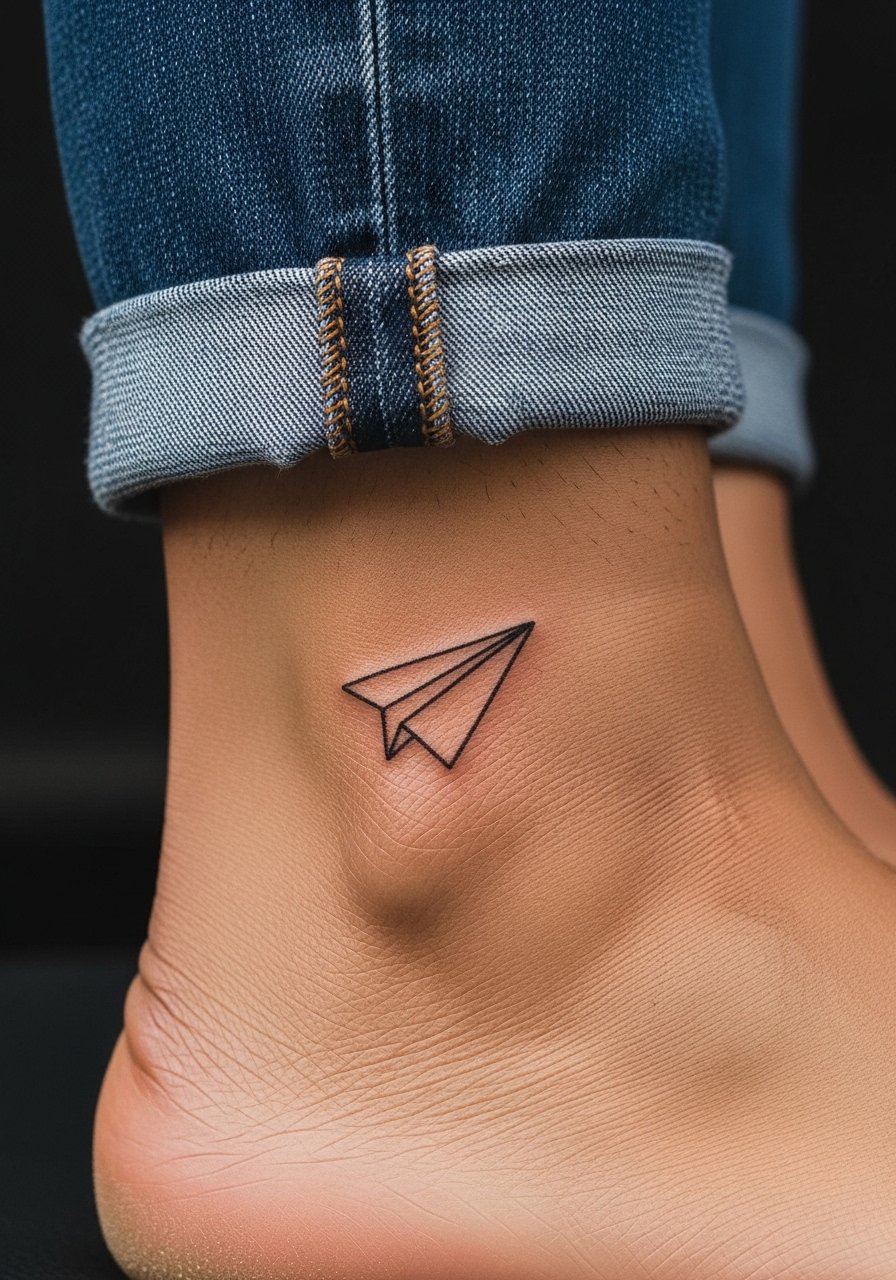
Ankle tattoos face frequent rubbing from socks and shoes. For a paper plane outline, ask for slightly stronger outer line rather than gossamer strokes. Sessions are short but the area is sensitive. For the session and to show off the artwork, roll up jeans or wear a pair of sandals that keep the ankle visible. Watch for blurring along the curve of the ankle; avoid overly tight curvature in the design. Expect touch-ups in the second or third year.
13. Binary Code Rib Ribbon
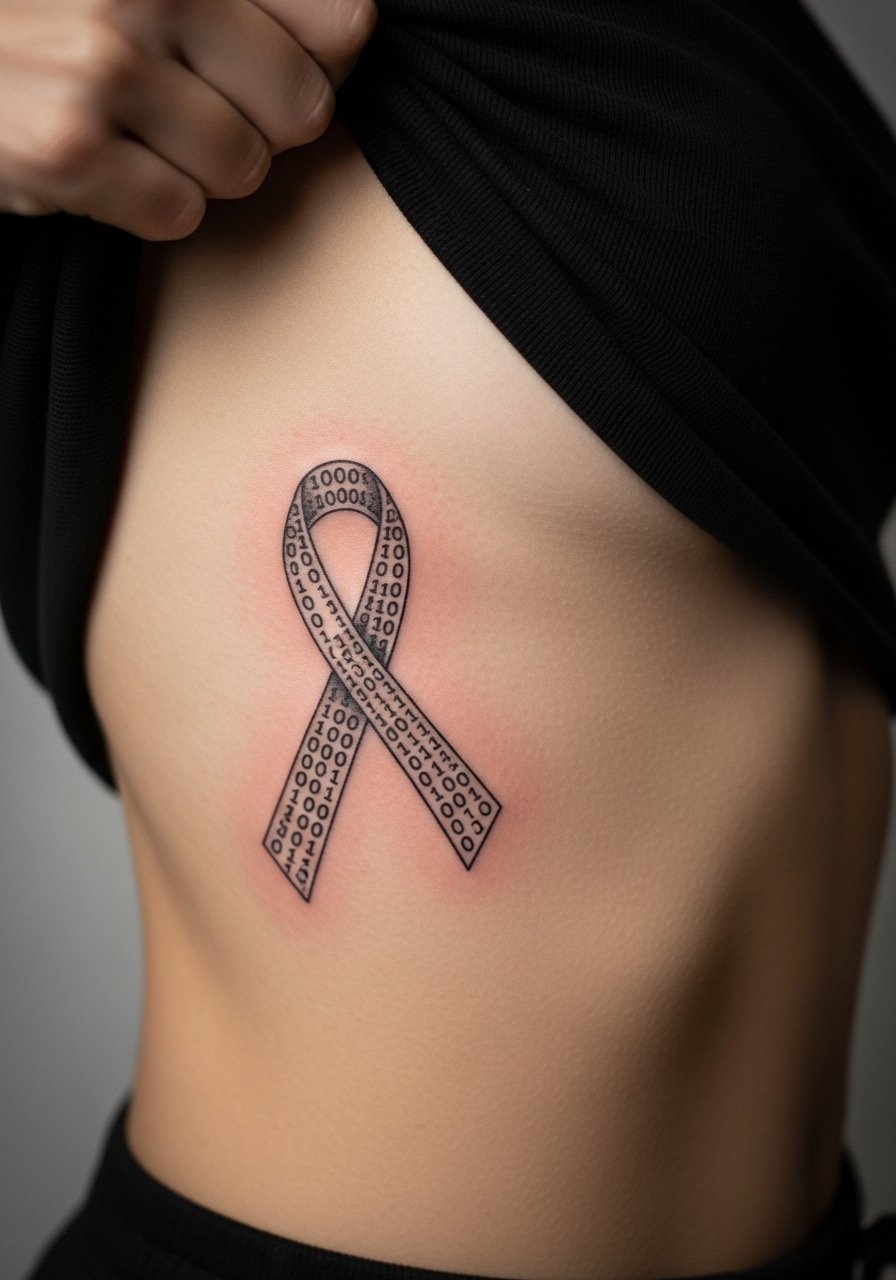
Text-based rib work needs extra caution on scale. Binary code reads best with clean spacing and moderate lineweight. If you want numbers or letters visible, specify exact font height in millimeters during consults. Pain is high and sessions may be split. Artists debate fine line on ribs often; name both camps and ask where your artist stands before booking. For modest coverage during the session, a cropped athletic top is practical. Avoid cramming long strings into a narrow band; it becomes illegible as it ages.
14. Minimal Drumstick Behind the Ear

Small shapes behind the ear are subtle but effective. Keep the motif reduced to an icon-scale silhouette so it survives skin movement and washing. Session time is minimal and pain is low. A frequent error is requesting tiny crosshatching that loses form. For the session, tuck hair or wear it up so the artist sees the canvas clearly. Expect the piece to need touch-ups later if you wear headphones or hats that rub the area.
15. Torn Ticket Upper Thigh
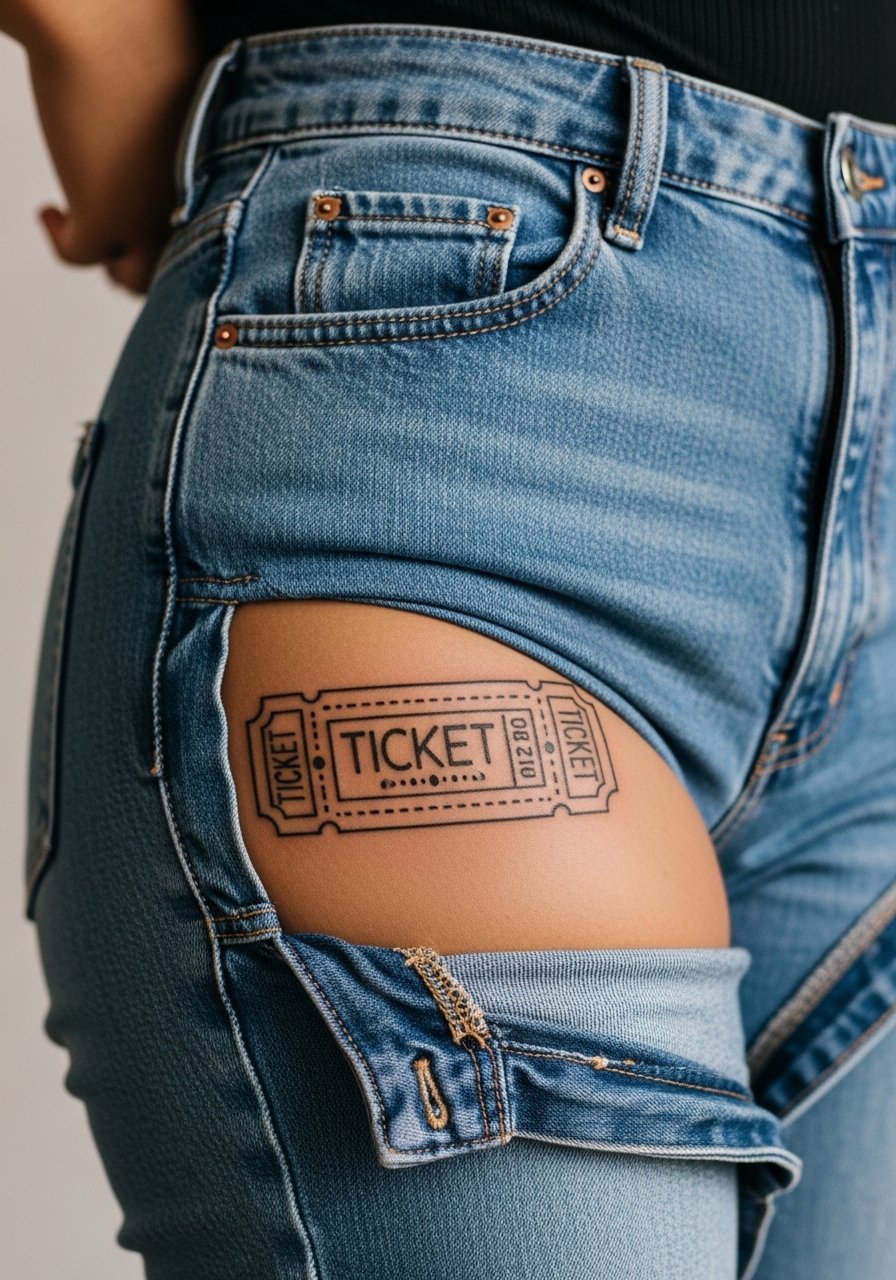
Upper thigh is forgiving for detail and a good spot for personal motifs referencing band shows. Ask for slightly denser dots in shaded areas to keep contrast after healing. Sessions are comfortable and healing is sheltered from sun. For the session wear high-waisted shorts or a wrap skirt you can shift to expose the area. Avoid ultra-fine perforation details if you plan to show the tattoo regularly; some textures blur over time.
16. Split Color Mask Sleeve Accent
Color accents near sleeve edges should account for fabric rub. Ask the artist to place the motif a little farther from where a shirt sleeve rests so daily wear does not abrade pigment. Sessions for small colored motifs are short. For showing off, sleeveless tops or a loose linen shirt keep the piece visible without tight fabric. The common mistake is putting saturated color too close to a seam or cuff; that speeds fading.
17. Single-Line Skyline Across the Wrist
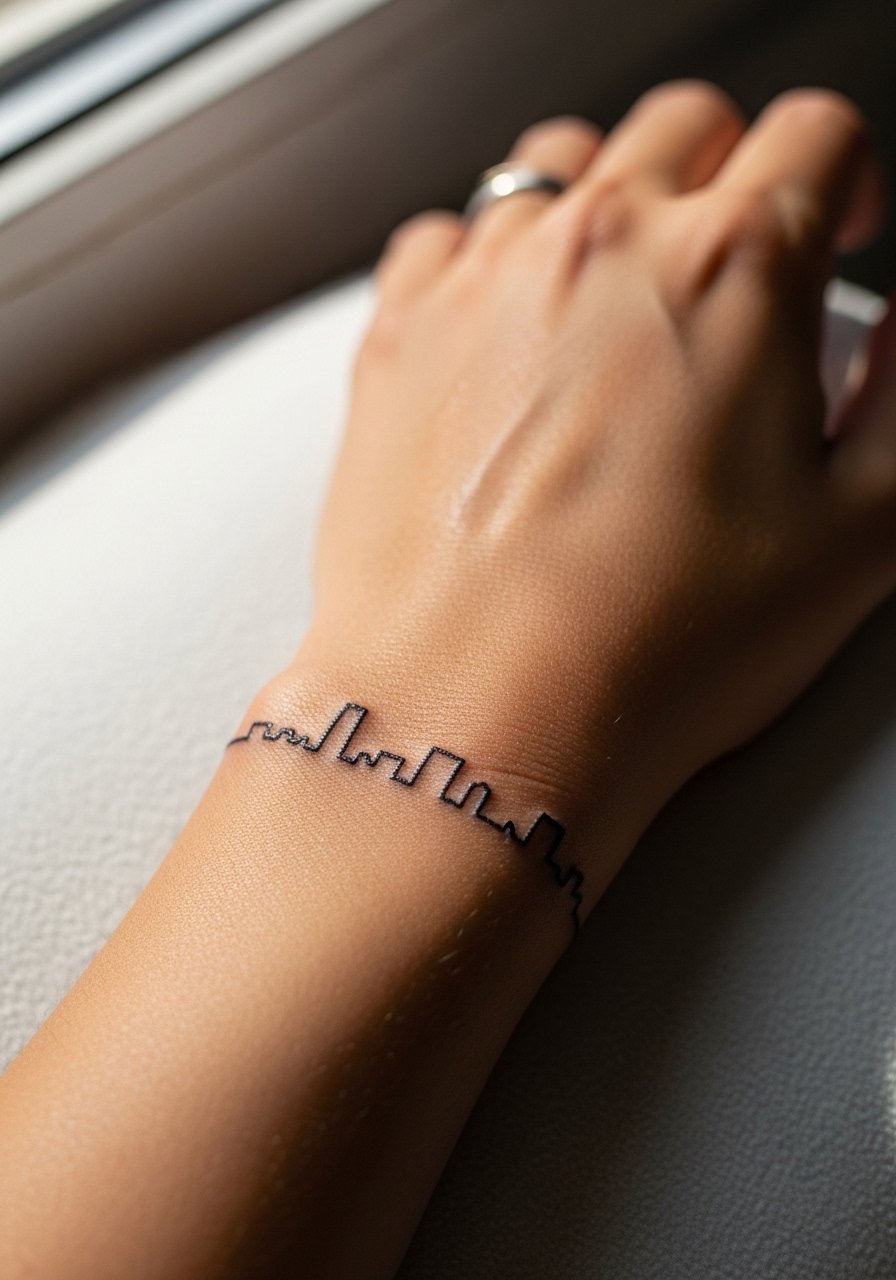
A continuous single-line reads elegantly but the wrist is a high-wear zone. Ask for modest line weight and slightly more space between peaks so the skyline retains shape by year two. Pain is moderate and sessions are brief. For styling, stack with a minimalist watch that sits opposite the skyline so it frames the wrist without pressing on the ink. Avoid ultra-thin connectors that can fade to a faint gray.
18. Hollowed-Out Triangle on the Nape
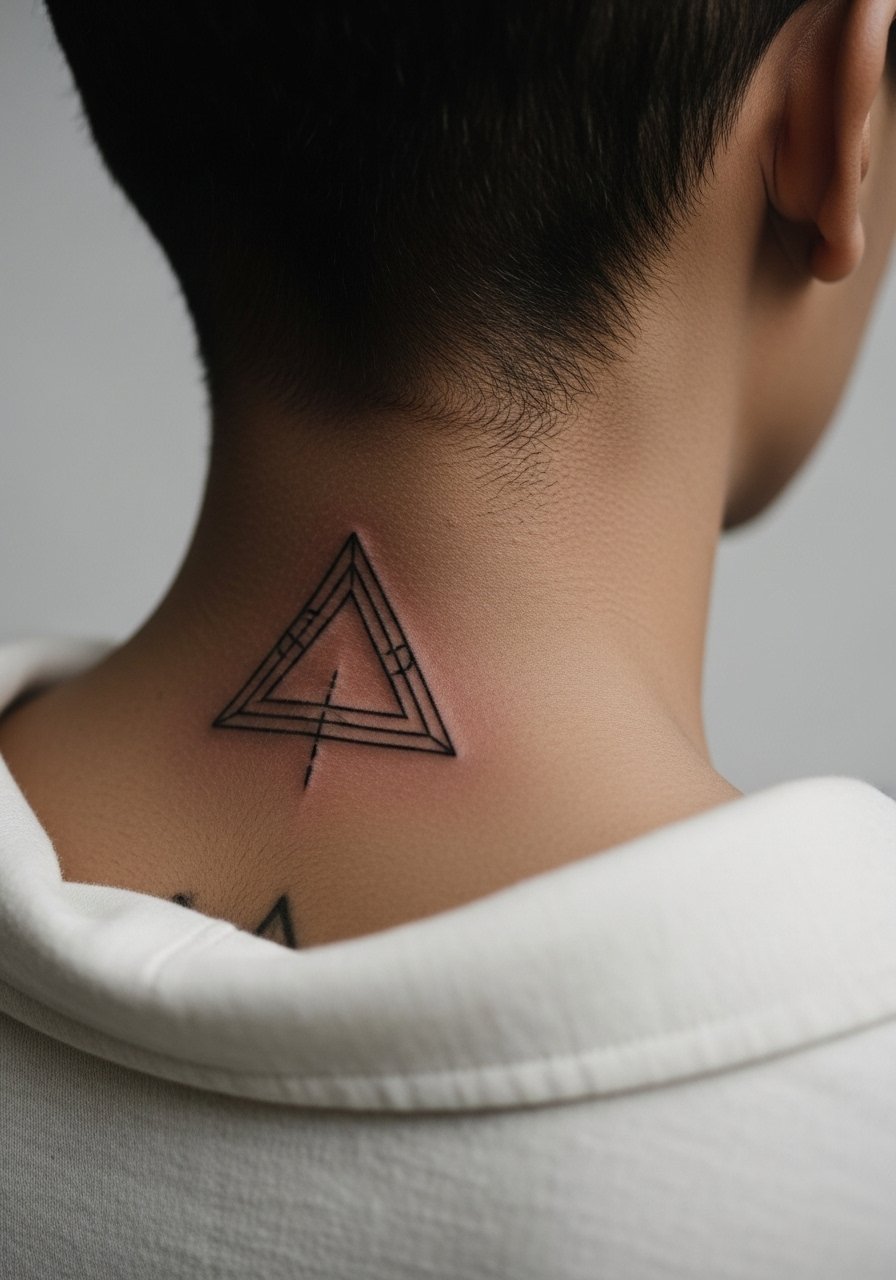
Nape placements are visible with certain hairstyles. Ask your artist about the exact vertical placement relative to hairline and clothing collars. Sessions are short and pain is low. For showing this off, wear a wide-neck tee or a half-up hairstyle. A mistake is centering too low where shirt collars rub; placement a centimeter higher often improves longevity.
19. Paper Folded Heart on the Chest
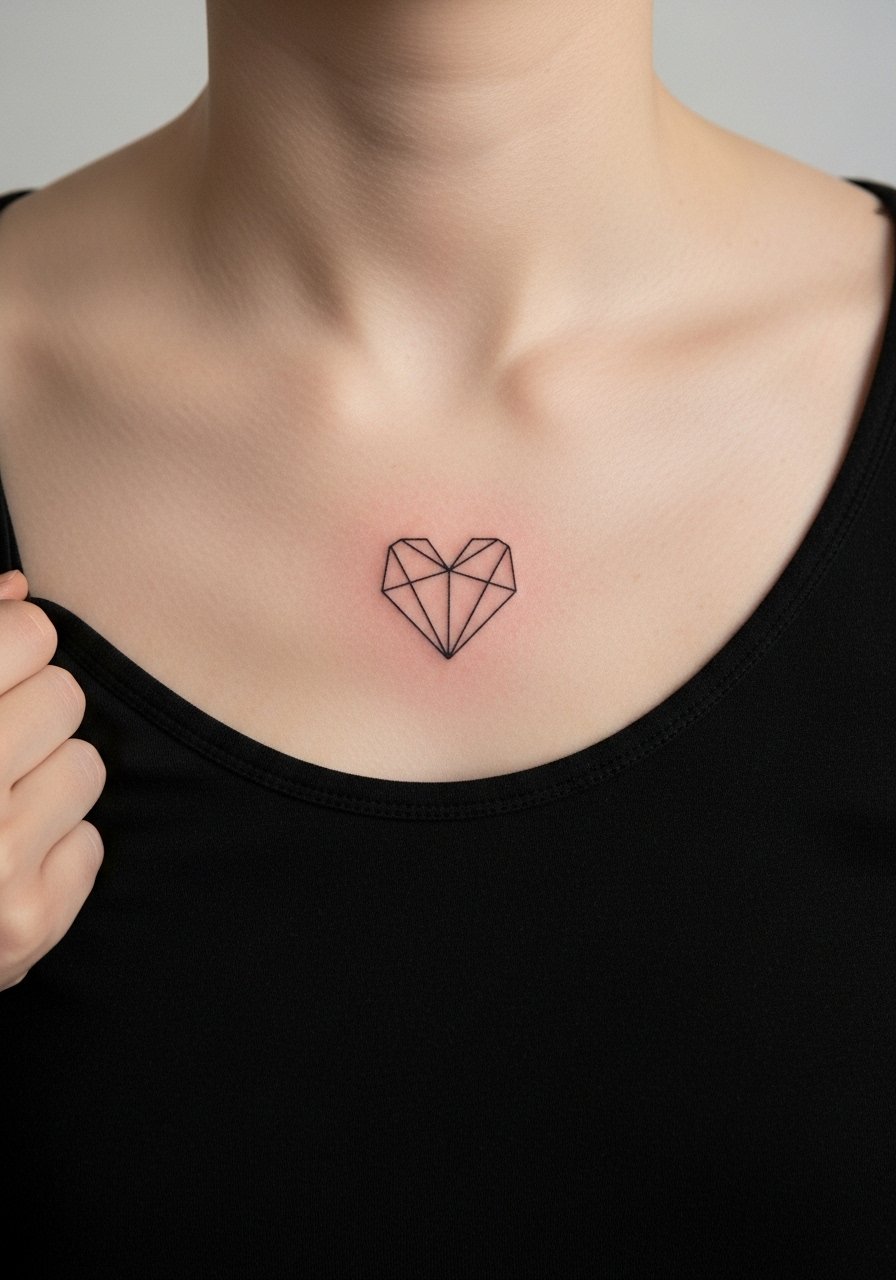
Upper chest motifs sit near bone and skin tension zones. Ask for a slightly stronger outline so the origami folds read at year two. Pain at the bone is moderate and sessions are concise. Pair this with a thin pendant necklace that sits above the heart for a subtle frame. Avoid tiny interior hatch marks that can blur into a dark shape; simplify for longevity.
20. Echoed Barcode Along the Side Wrist
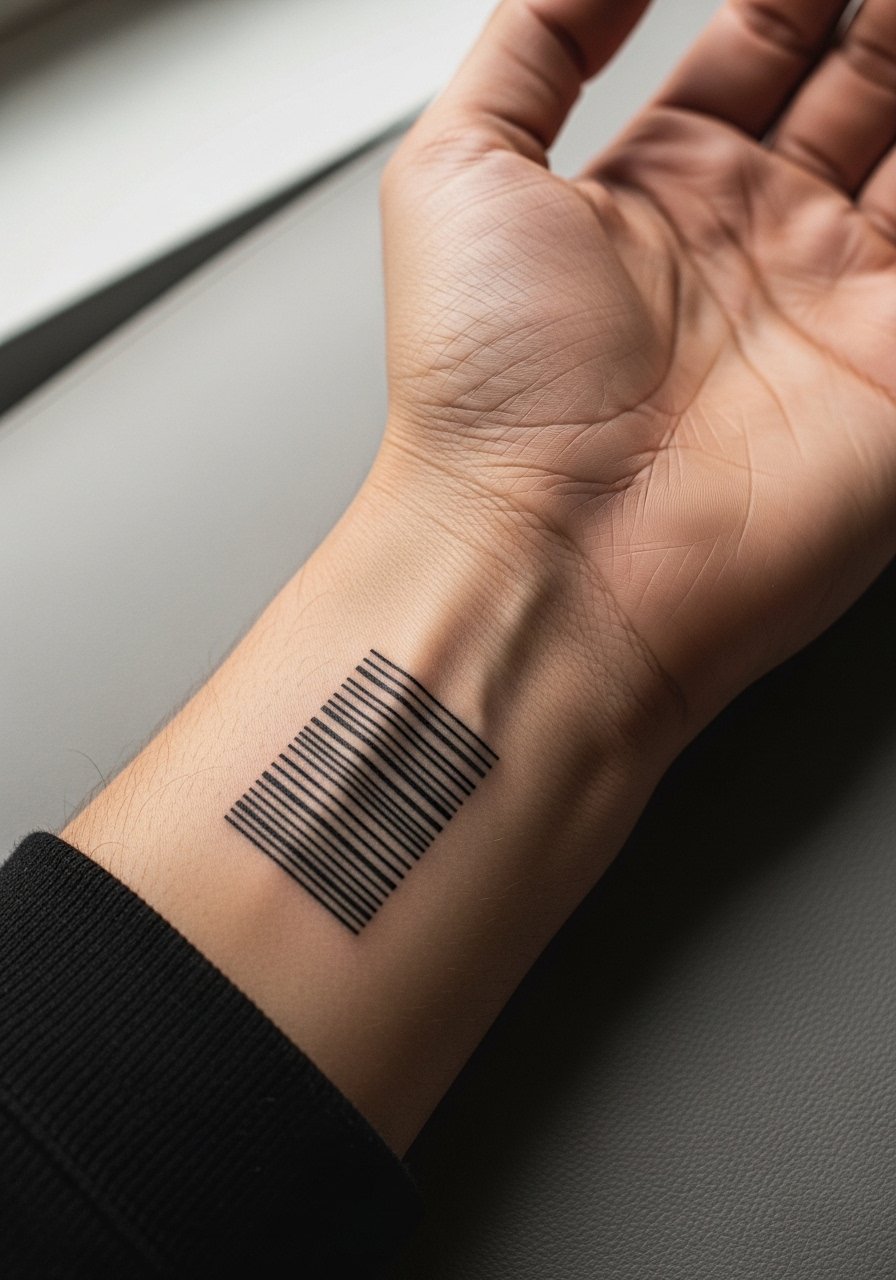
Barcodes need precise spacing to stay legible. Tell your artist you want increased gap width between the darker bars. This reduces the risk of bars merging as the skin ages. Expect annual touch-ups if you wash hands frequently or wear bracelets. For showing the piece, a slim leather cuff worn opposite the barcode helps balance the wrist without shading the lines. Avoid instructing the artist to make the bars too thin.
21. Tiny Bass Clef behind the Thumb
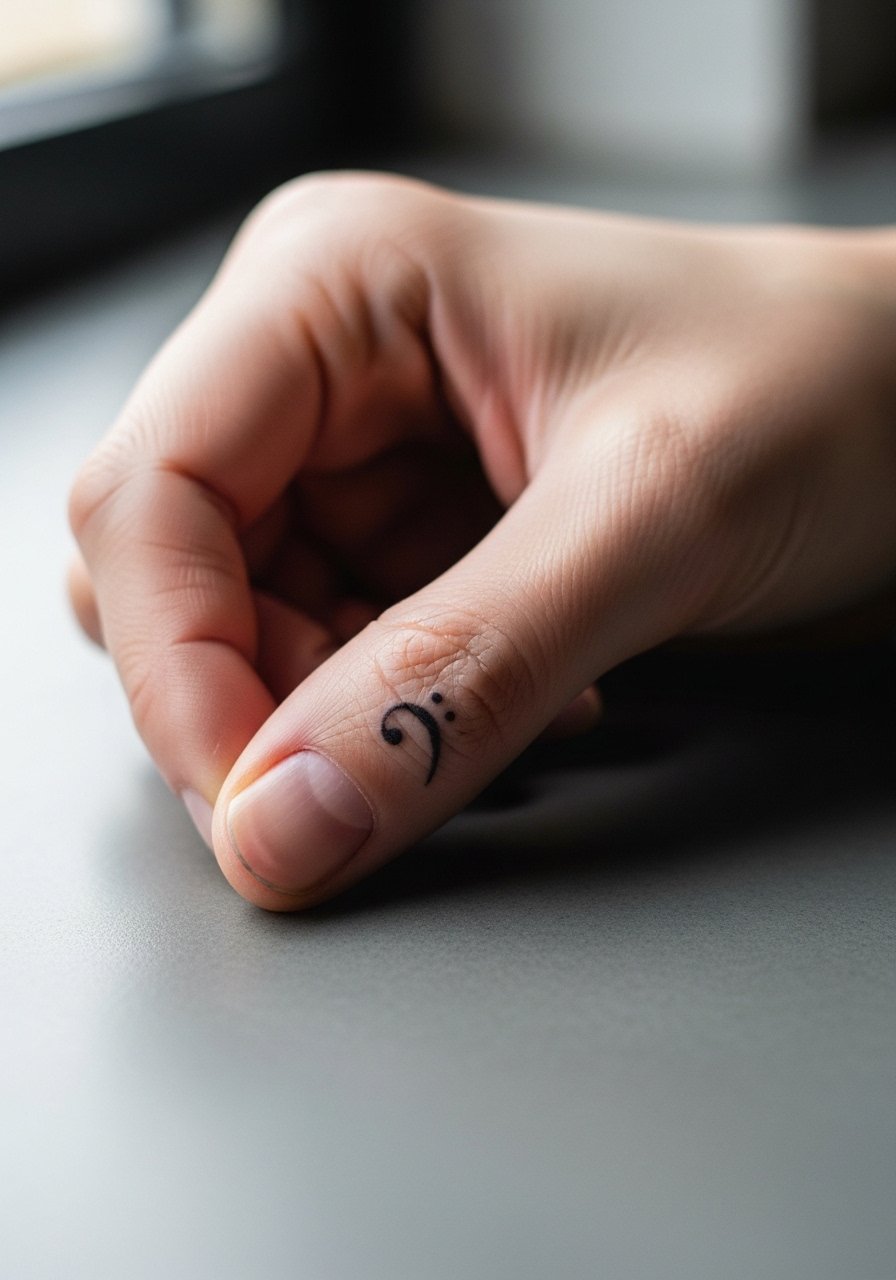
Thumb-base placements take constant washing and movement. Keep the motif simplified to a clear curve and dot. Sessions are quick but healing is touchy. Expect this to require more frequent touch-ups than an upper arm piece. For showing, a minimalist ring set complements the space around it. A common mistake is over-detailing such a small area; simplicity preserves the shape.
22. Split-Lined Stadium Across the Ankle

Ankle silhouettes can be bold or minimal. For longevity, ask for slightly heavier outer lines so the silhouette reads from a distance. Sessions are short and sensitivity is moderate. Roll-up pants and a pair of slip-on sneakers make this easy to show off. Avoid tiny interior texture that will fade quickly from rubbing.
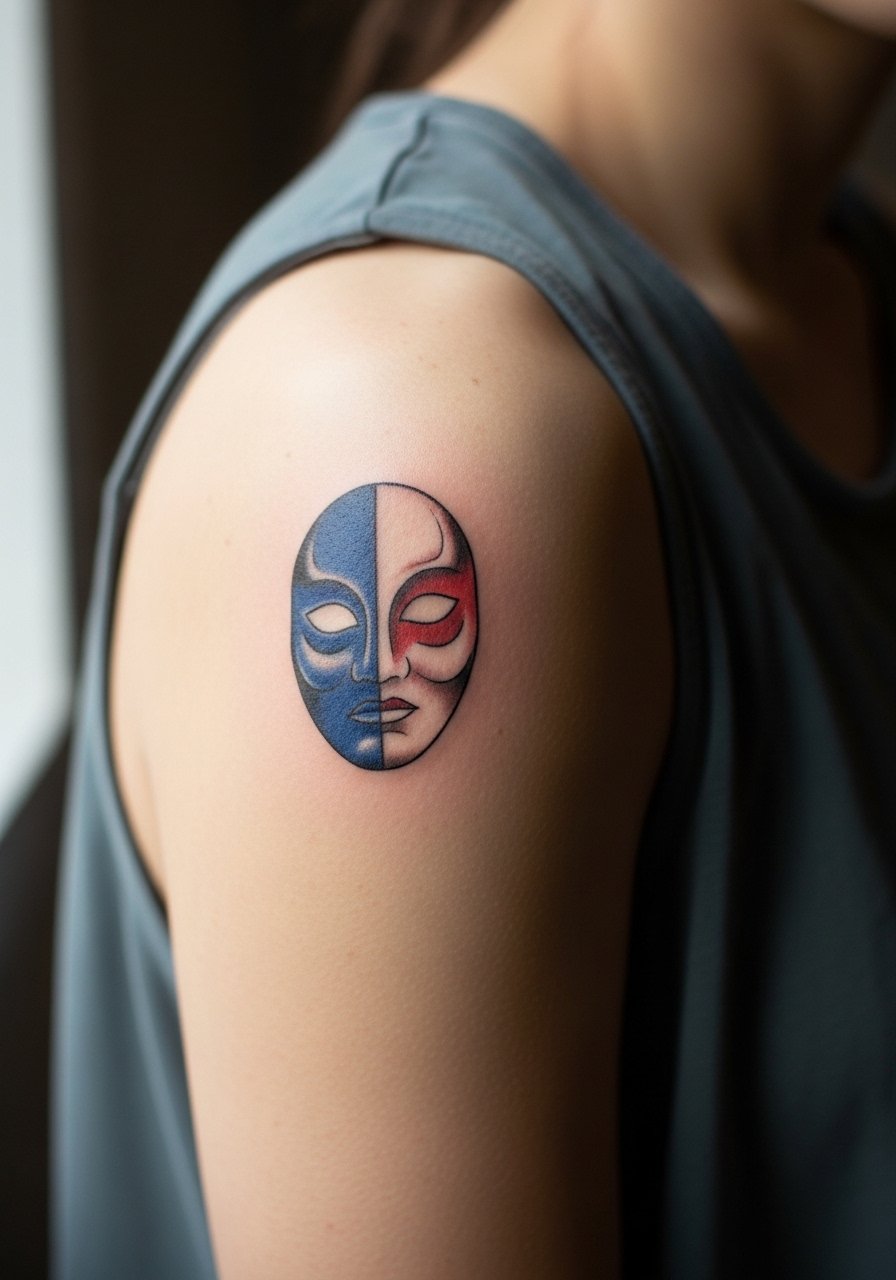
23. Minimal Masked Face on the Inner Bicep

Inner bicep skin can move more during healing. Ask your artist to avoid extreme detail and to center the piece on the fullest part of the muscle. Pain varies and the session often requires arm positioning that feels awkward after an hour. For the session, a loose tank top is easiest. Expect this area to soften in contrast slightly by year two, so plan for a light touch-up if you want high contrast long term.
24. Page-Turn Booklet Along the Spine
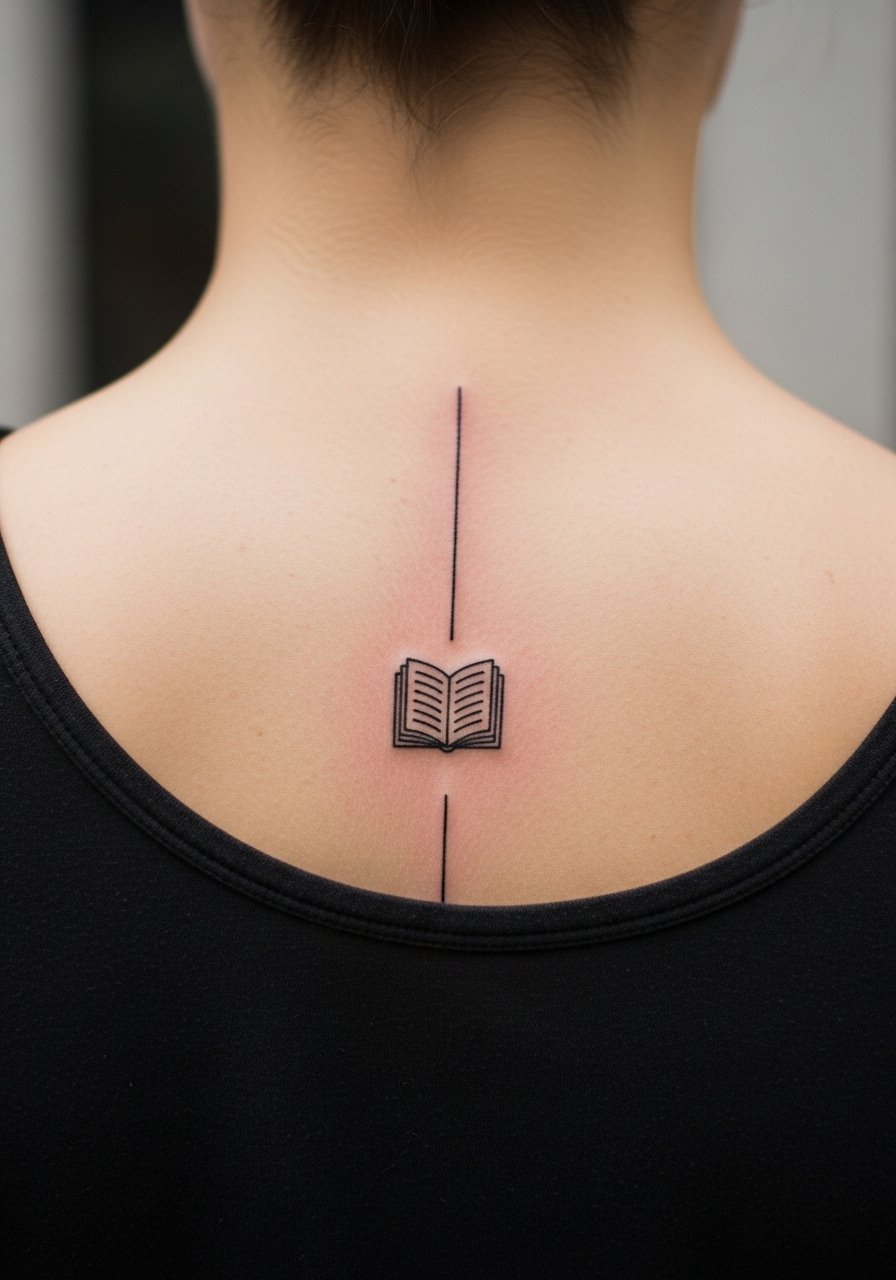
Spine pieces need careful vertical alignment. Bring a reference and marker points to the consult so the artist can draft a straight axis. Pain on the spine ranges high near bone but sessions can be short if the piece is narrow. For showing this piece, open-back tops or a backless dress alternative reveal the column without full exposure. Avoid long dense text along the spine; the area tends to blur if letters are tiny.
25. Stylized Rope Micro Wrap on the Finger
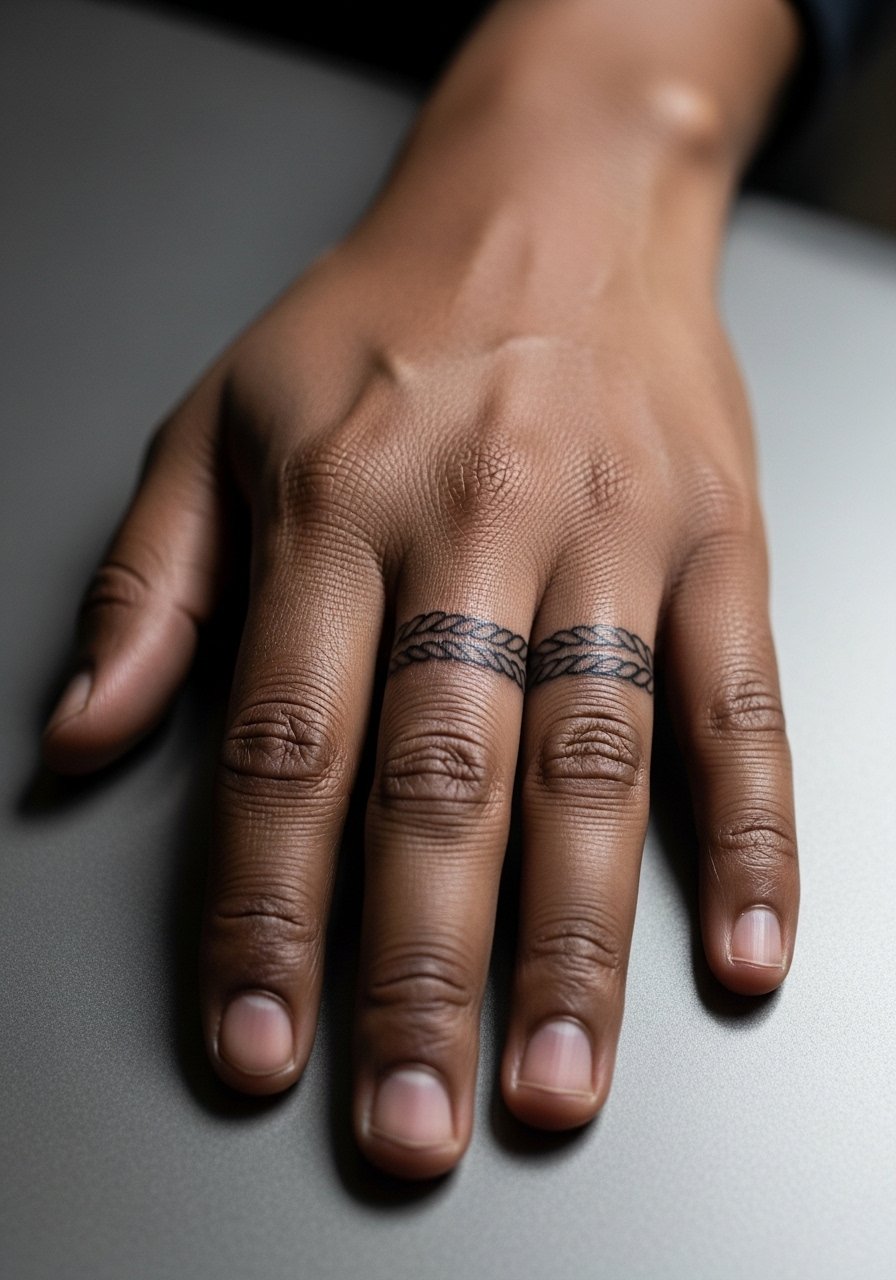
Finger wraps are essentially jewelry, so plan for maintenance. Ask for a slightly bolder rope edge so the twist survives frequent washing. Sessions are fast but the area heals in a high-motion environment. For visuals, stack with a thin stacked ring set on adjacent fingers so the wrap reads intentional. Avoid tiny knot details that age into a smudge.
26. Negative Space Lightning on the Thigh

Negative space designs require thoughtful placement on the thigh so shadows and fabric do not deform the shape. This area is forgiving for scale so make the bolt large enough to hold its silhouette at five years. Sessions are comfortable and healing is sheltered. For studio comfort, wear loose drawstring shorts you can adjust easily. Avoid requesting a tiny bolt that gets lost against skin texture.
27. Minimal Masked Micro Sleeve Accent on Shoulder Blade
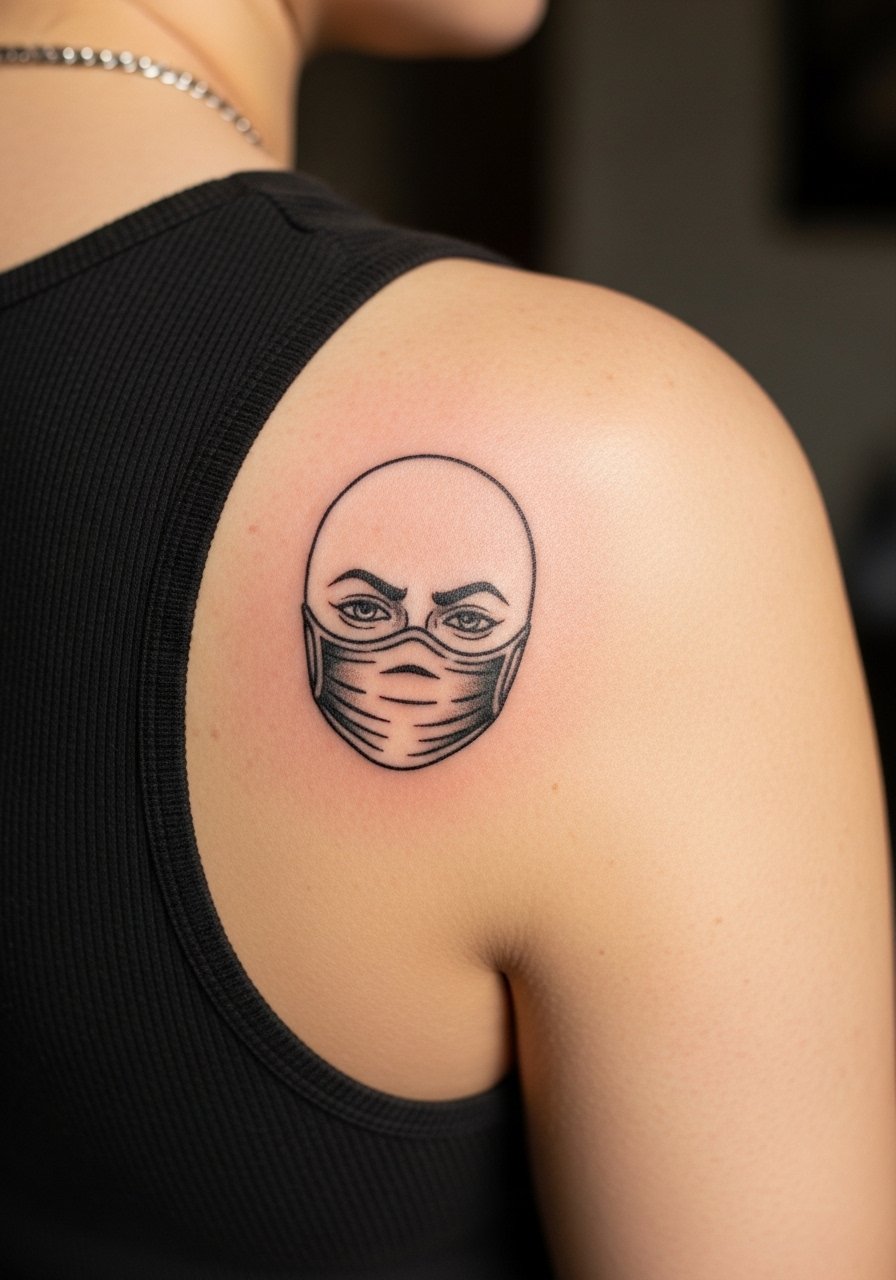
A small accent near a potential sleeve spot anchors larger work without committing to full arm coverage. Ask your artist about future expansion if you think you may add pieces later. Sessions are short and pain is low. For showing the area, a spaghetti-strap top keeps the blade visible. A common mistake is placing the accent where a bra strap will sit; reposition slightly toward the outer edge to avoid chronic friction.
Frequently Asked Questions
Q: Will fine line rib and sternum work hold up, or should I choose bolder work for longevity?
A: Fine line in high-movement or thin-skin areas tends to soften faster, so many people pick slightly increased lineweight or more spacing for ribs and sternum. One camp believes fine line blurs quickly there and another thinks careful depth and spacing solves it. Ask your artist how they handle depth and spacing for those placements.
Q: How often will small wrist, finger, or hand pieces need touch-ups compared with upper arm or calf tattoos?
A: Expect wrist and finger pieces to need touch-ups more frequently, often every one to three years, because of washing, friction, and skin renewal. Upper arm and calf pieces usually keep contrast longer. Choosing slightly heavier lines from the start reduces refresh frequency.
Q: For band-referencing pieces, how do I find artists who understand both micro detail and long-term wear?
A: Use local shop directories, convention guest lists, community subreddits, and portfolio searches. Look for portfolios that show healed photos rather than only fresh work. Ask the artist about healed pieces on similar placements during your consult.
Q: What should I wear to an appointment for a sternum, rib, or upper chest tattoo?
A: A fitted sports bra or wide-neck shirt you can pull aside makes access simple and keeps you covered. If you prefer actual options, a fitted sports bra is a reliable studio choice and keeps the area exposed only as needed.
Q: Are there any cultural sensitivities I should consider when using mandala or ritual imagery in a Twenty One Pilots aesthetic?
A: Yes. Some motifs trace to religious or cultural traditions. Many people choose to adapt motifs respectfully rather than copy sacred iconography directly. Discuss origin and intent with your artist and consider subtle personalization to avoid appropriation.
