
Fine line white ink can look like a secret language on skin, soft enough to read close up and subtle enough to disappear in certain light. That subtlety is the appeal and the problem. Placement, touch-up expectations, and how much contrast you want all shape whether the piece still reads as design after a few years. Read on for sketches that work with white ink instead of against it, starting with a forearm piece that proves the point.
1. Delicate White Ink Laurel on Inner Forearm
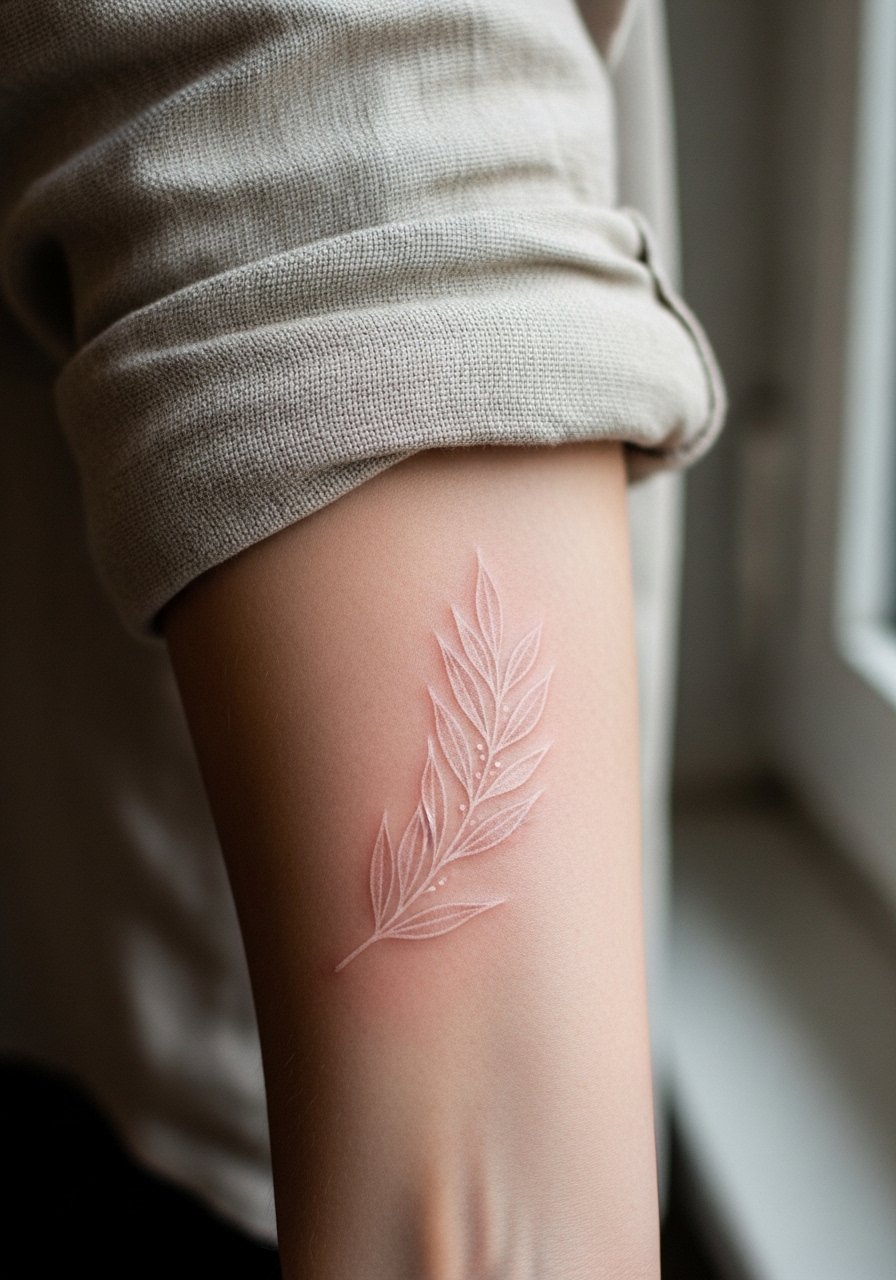
I recommend this when you want something visible up close but discreet across a room. Fair warning, the inner forearm gets sunlight often, so expect some loss of contrast by year two without sunscreen. In consultation ask for slightly heavier linework than you think you need and a touch of stipple shading around the leaves to give the white ink something to catch against. Session feel is calm, mostly a three out of ten on pain, and the session usually runs under an hour. A common mistake is asking for ultra-thin hairlines that vanish after six months. For showing it off, roll sleeves and pair with a minimalist thin chain bracelet that keeps attention near the forearm without overpowering the laurel.
2. Tiny Constellation on the Wrist
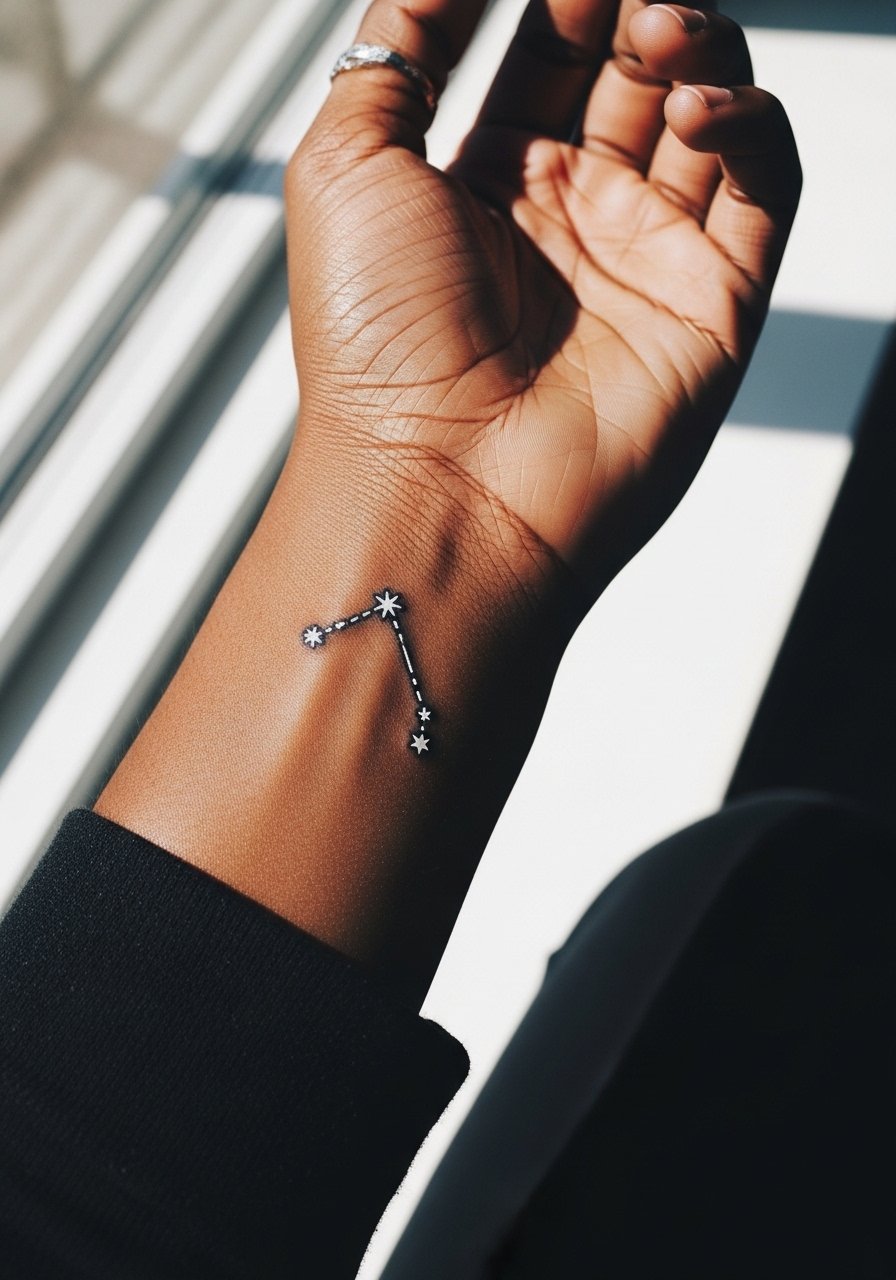
The wrist is great for delicate white ink but it rubs against clothing and watches. Expect touch-ups earlier than on low-friction sites. When you sit for this, ask for slightly higher saturation in the stars and a faint grey dot work halo so the constellations read longer. Pain is moderate, about a four, because of bone proximity. A mistake people make is requesting a full band of stars too close together which merges over time. During the session wear a loose button-down shirt you can pull aside so the artist has clear access to the wrist. For career considerations, remember wrist tattoos are more visible during interviews.
3. White Script Along the Collarbone
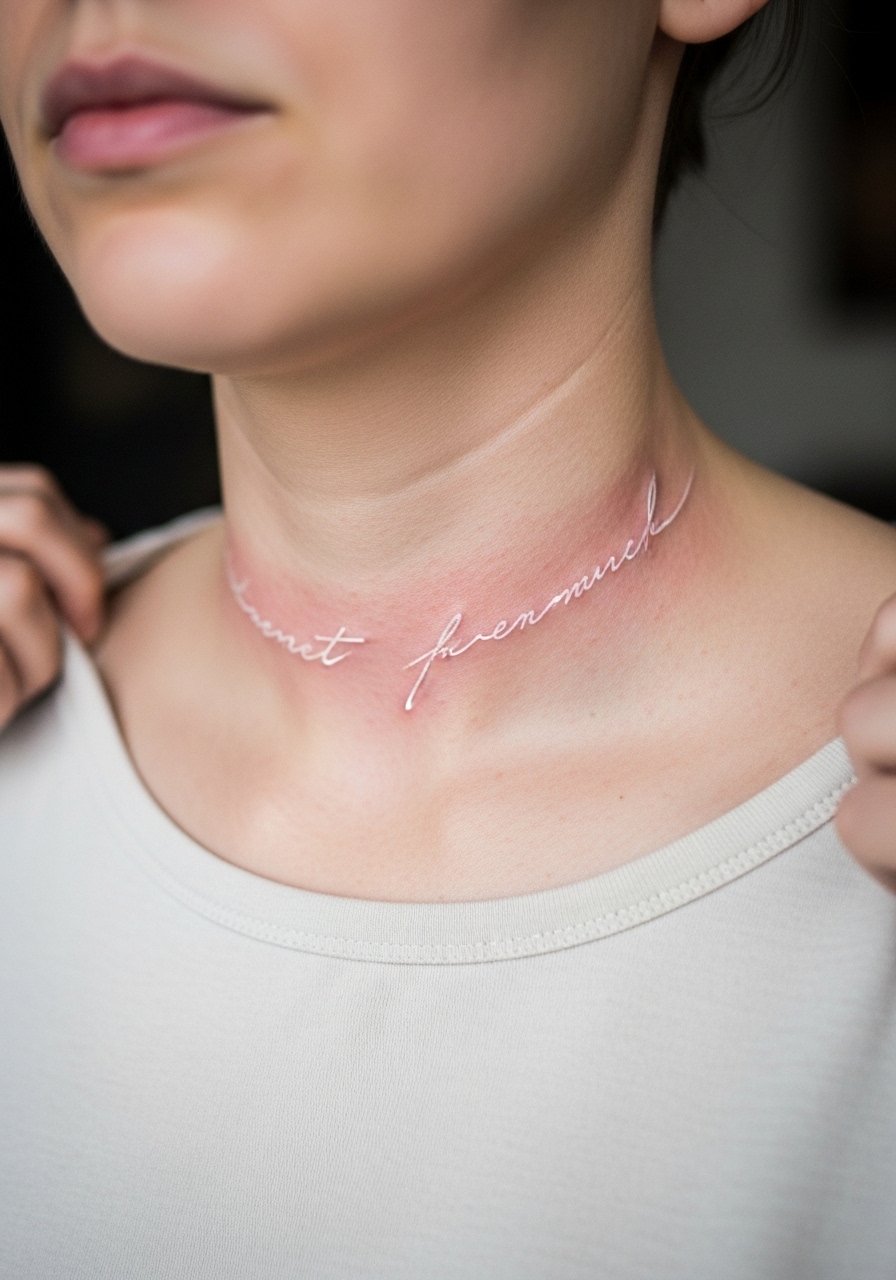
Collarbone white ink reads delicate and romantic. The skin there moves with breathing so ask your artist to preview the script while you breathe and lift the chest to confirm line placement. Expect the session to take 30 to 45 minutes and the pain to be a five for most people. One camp argues white script is too subtle and fades into gloss within a year. The other camp insists that precise placement and micro-saturation make it last. Ask where your artist stands. For showing it off, try an open-back midi dress for evenings or a wide-neck tee for daytime.
4. Micro Floral Cluster on the Ankle
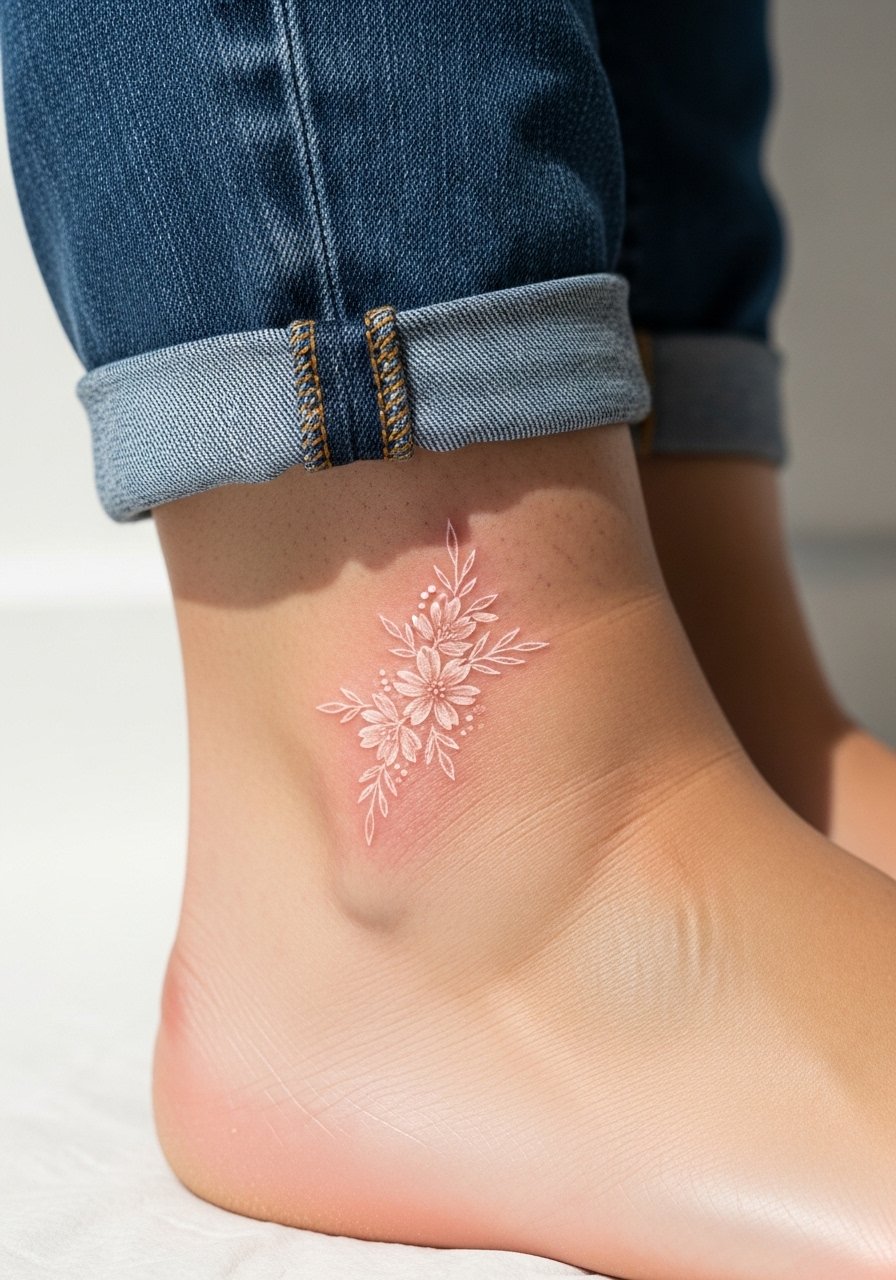
Ankle placements face friction from shoes and socks so the healing window matters. I tell clients to expect a one-hour session and mild to moderate pain around a five. During consultation ask for slightly raised stipple shading beneath petals to add dimension so the white ink keeps shape as it weathers. A common mistake is placing the cluster where shoe straps will rub directly across it. For the session wear loose pants you can roll up, like loose drawstring linen pants so the artist can work without pressure. If you plan to wear sandals often, the ankle can be a great show-off spot.
5. Subtle Crescent Behind the Ear
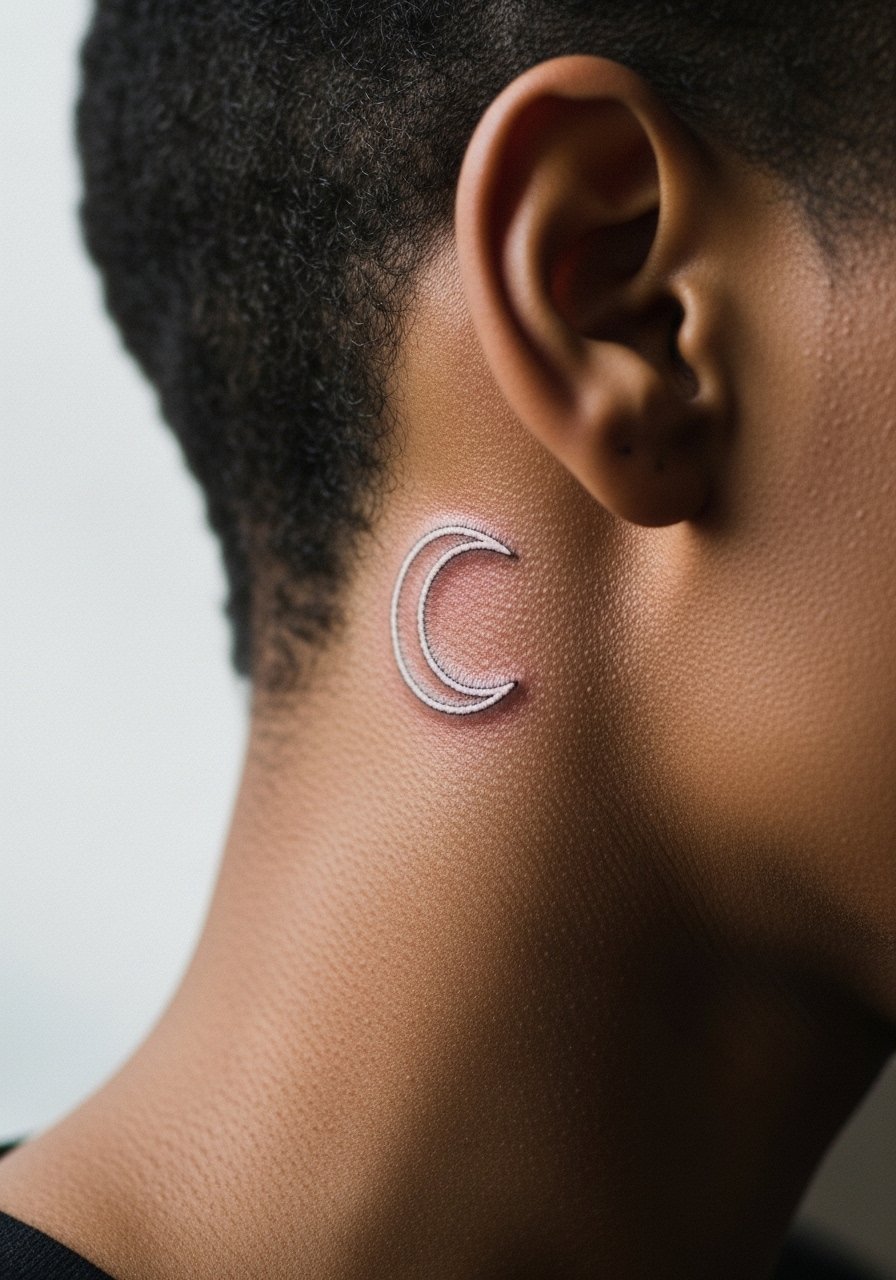
Behind-the-ear work is tiny and private. The area heals fast but needs a specialist who understands hairline proximity. The session is brief and the pain is low. A typical error is asking for too much detail in a tiny crescent which becomes a smudge. During consultation ask the artist to place the design slightly lower if you wear your hair up a lot. Professional considerations matter because neck-adjacent tattoos are still judged in some workplaces. For the session pick a hairstyle that makes access easy and bring a loose top since you will want your hair clipped away during the appointment.
6. White Ink Lace Panel on the Sternum

Sternum pieces look delicate but the skin there can be erratic. The truth is artists split into two camps about white ink on the chest. One camp says the oily skin and constant movement blur white lines quickly. The other camp says careful depth and light stipple shading let white ink hold on sternum skin. Ask your artist where they stand before booking. Sessions here feel more intense because the chest is sensitive and breathing affects stencil placement. Wear a fitted sports bra that the artist can work around and expect the session to last one to two hours. For evenings, an open-front blouse frames sternum work well while keeping coverage in everyday life.
Studio Day Picks
The small, visible pieces above need different prep and protection than larger back or thigh work. These picks help with access during the session and reduce friction in the first week.
- Stencil transfer paper kit. Lets you preview line placement, which is especially useful for wrist and collarbone scripts from the ideas above.
- Topical numbing cream. Apply as directed about 45 minutes before to blunt sensitivity around the sternum and ankle without affecting how the artist sees saturation.
- Thin protective film roll. Helpful for wrist and finger pieces that face daily washing and typing, it reduces irritation during the first days.
- Fragrance-free gentle body wash. Cleans the area safely during showers so fine white linework keeps its initial clarity.
- Aquaphor healing ointment. Thin layers in the first three days lock in moisture without smothering the delicate channels that white ink occupies.
7. White Ink Geometric Dot Work on the Upper Arm
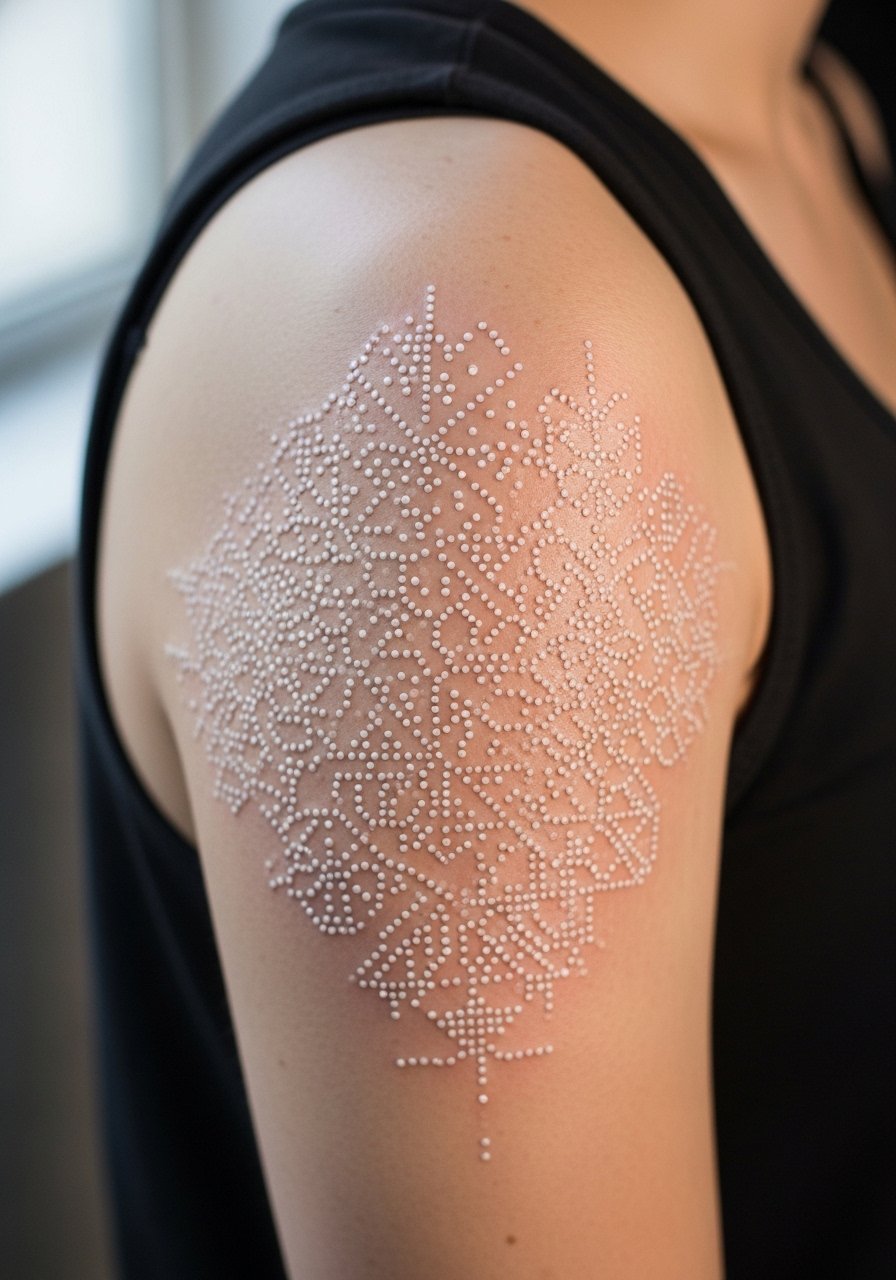
Geometric dot work with white ink reads like texture rather than line. It is a good choice when you want pattern without high contrast. Ask for slightly larger dot spacing than you think you need so the pattern does not merge at year two. The session runs one to one and a half hours and the pain is a three to four. A common mistake is asking for extreme density in a small patch which flattens into a blur later. For show-off pairing, rolled sleeves and a racerback tank top keep attention on the arm and make the dot work catch light without distraction.
8. White Ink Tiny Horse on the Shoulder Blade
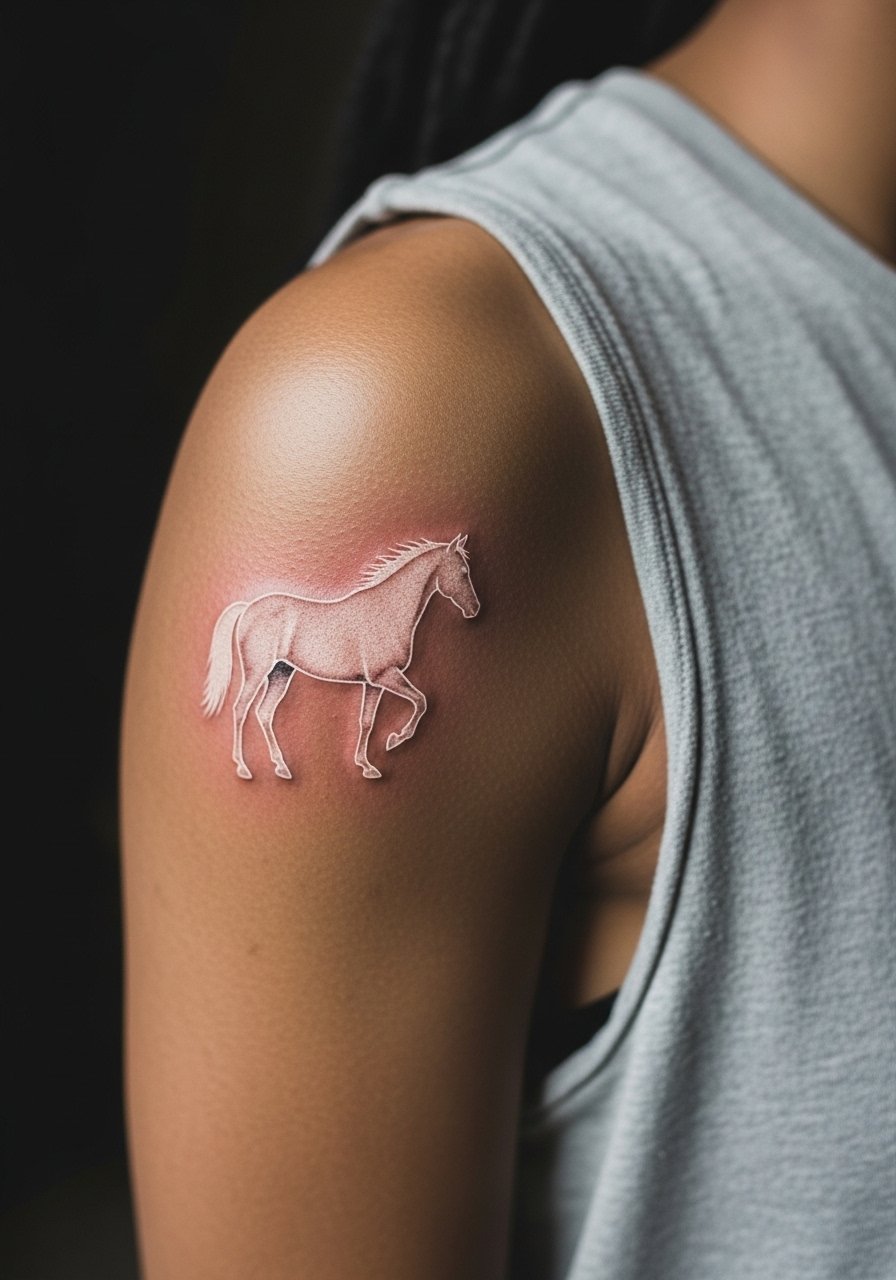
Shoulder blade placements are low friction and tend to hold white ink better than hands. The session is pleasant for most and feels like a four on pain scales. Tell your artist you want the silhouette to read at a slight distance, not only up close. A frequent error is cramming micro detail that disappears as the skin shifts. For session wear bring a loose tank top that you can pull aside so the artist has clear access. If you want a show piece for open-back tops, this placement looks great with halter or open-back dresses.
9. White Ink Mandala on the Ribcage

Ribcage tattoos are beautiful and painful in equal measure. Fair warning, the rib area rates high on pain scales. The controversy around fine white mandalas on ribs is clear. One camp says thin white lines on the ribs blur with skin movement and breathing within two years. The other camp argues that proper spacing and light stipple backing keep the pattern intact. Ask the artist for photos of healed rib work before you commit. Sessions here can last two to three hours with breaks. For the session wear a cropped top you can lift easily and expect to schedule a touch-up in year two for dense white work.
10. White Ink Minimalist Moon on the Finger Side
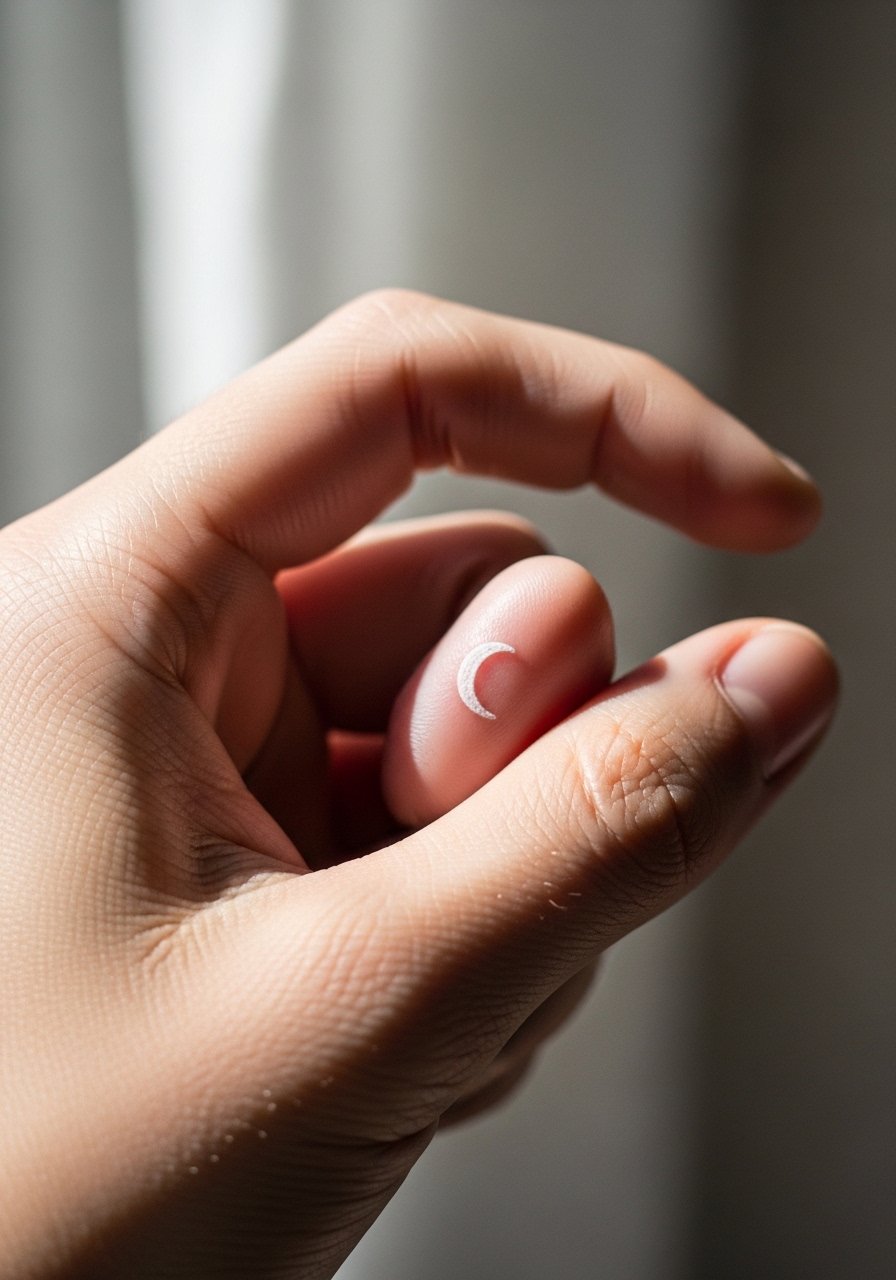
Finger placements are tempting but high maintenance with white ink. The skin there renews quickly and friction from daily tasks erodes saturation. Expect a short session and strong likelihood of touch-ups within a year. During consultation ask for a slightly bolder silhouette so the crescent keeps shape. A common mistake is placing tiny white elements on the palm side where wear is worst. For showing this off consider stacking with a thin ring that puts viewer focus on the finger without rubbing the tattoo constantly.
11. White Ink Filigree on the Lower Back

Lower back skin can be forgiving, which helps white ink maintain contrast longer than very exposed sites. The session is moderate and you should plan for an hour or so. Tell your artist you want gentle stippling under the filigree to prevent the white from floating visually on bare skin. The usual mistake is asking for extremely fine tendrils that do not hold under clothing pressure. If you plan to wear low-rise outfits sometimes, this placement is an elegant show-off spot for open-back tops and pairs nicely with a delicate waist chain.
12. White Ink Tiny Bee on the Back of the Hand
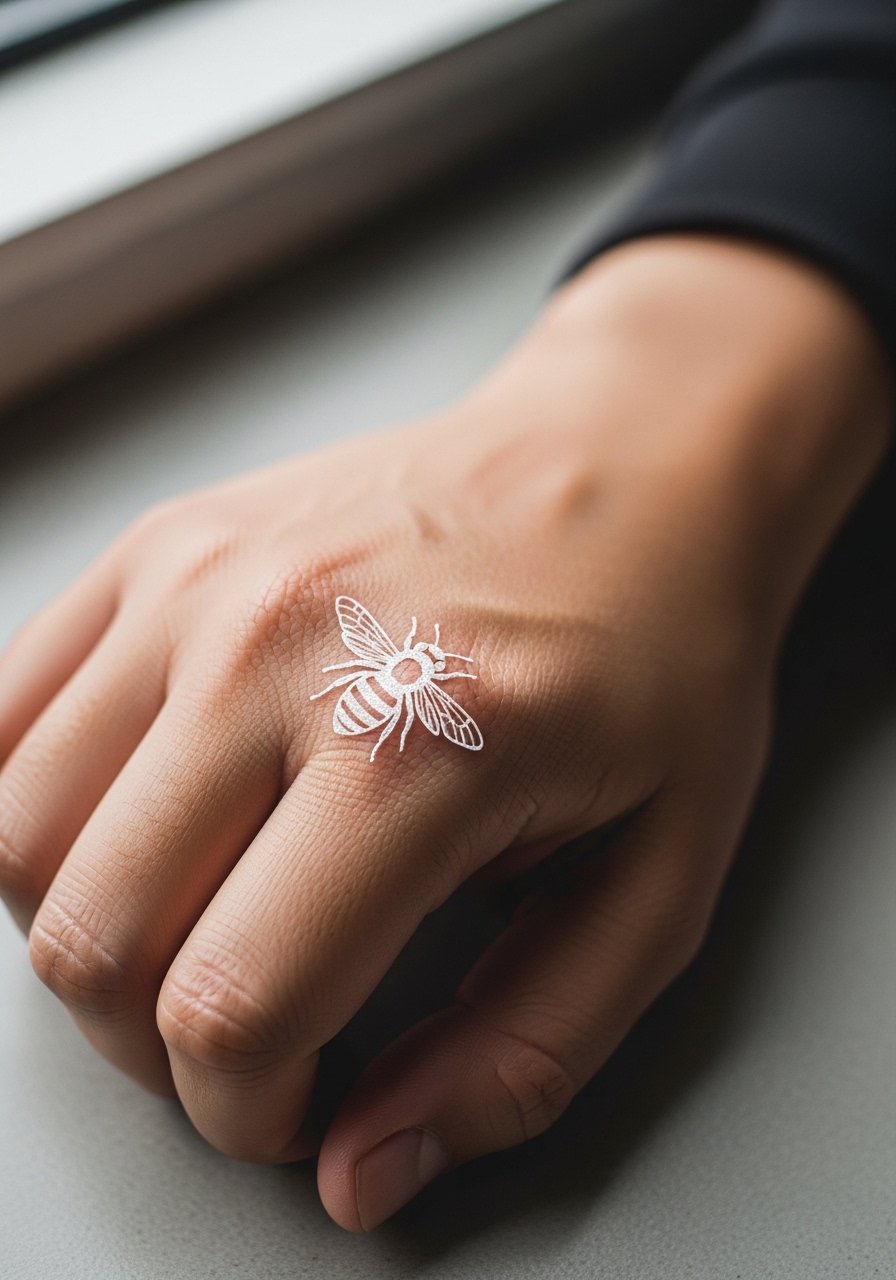
Hand tattoos, even tiny white ones, age faster due to constant use and washing. The back of the hand is more forgiving than fingers but still prone to early fading and possible blowout. Expect touch-ups within a year. Ask for slightly thicker linework and a subtle grey wash beneath the white to keep the bee legible when the white softens. A common mistake is underestimating the amount of aftercare needed for hand work. If your job policies are a concern, think about visibility. For session day wear a short-sleeve shirt so the artist can work without a shirt sleeve getting in the way.
13. White Ink Script Along the Spine
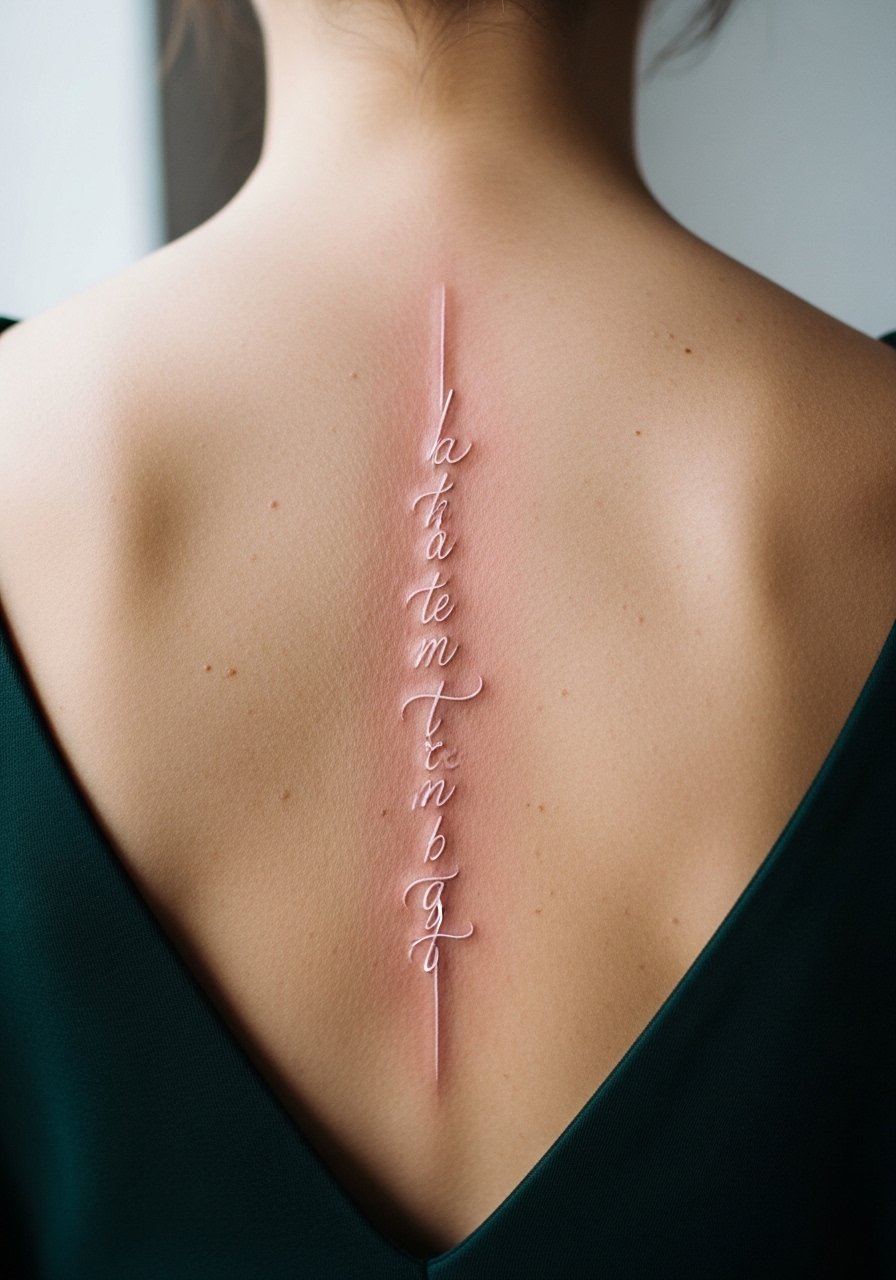
Spine placements offer a dramatic vertical canvas that can keep white ink readable because it gets less direct sun than forearms. The session can be layered and feels more intense near the vertebrae. For longevity ask for a slightly thicker downstroke in the script and a faint backbone of grey dots to create contrast as the white fades. A mistake is requesting tiny lettering so narrow it disappears during the first year. If you plan to show this off, open-back pieces pair perfectly with halter or low-back dresses.
14. White Ink Floral on the Inner Thigh
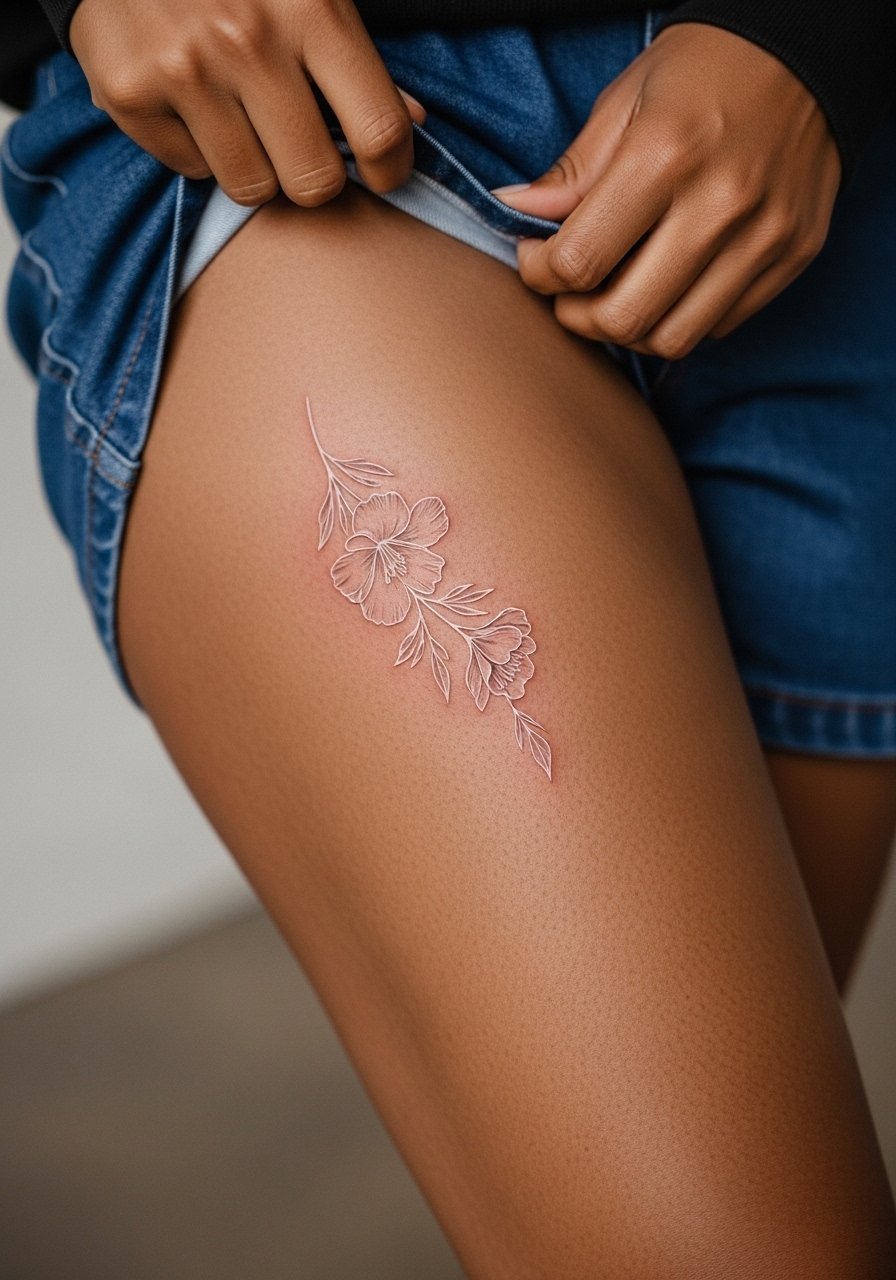
Inner thigh placements heal in a sheltered environment which helps white ink maintain nuance longer. Sessions can be comfortable but intimate, so pick an artist experienced with thigh work. The session feels like a four to six depending on personal tolerance. Common mistakes include asking for dense detail that loses form when the thigh moves. For the appointment wear shorts you can shift easily, such as high-waisted shorts. Note that inner thigh pieces are private and may require a specialist who knows how to keep the stencil aligned during movement.
15. White Ink Tiny Fox on the Calf

The calf is a solid spot for white ink because it is low friction and often covered. The session is quick and pain is usually low. Ask for a small stippled shadow beneath the fox to keep the white silhouette readable in dim light. A common mistake is packing too many tiny interior details that vanish when the skin settles. For showing it off, pair with cropped pants or skirts and a pair of sandals that keep focus on the lower leg.
16. White Ink Micro Dot Sun Behind the Ear Lobe

This spot is highly private and subtle, and it works for tiny white accents. The session is brief and pain is minimal. A frequent error is asking for rays that extend into hairline zones which complicates healing. Ask your artist to keep the design compact and test visibility with various hair styles. Bring a hairstyle that keeps the area exposed during the session. Placement is discreet and often chosen by people who want a small, personal mark rather than something public.
17. White Ink Chain-Link Anklet
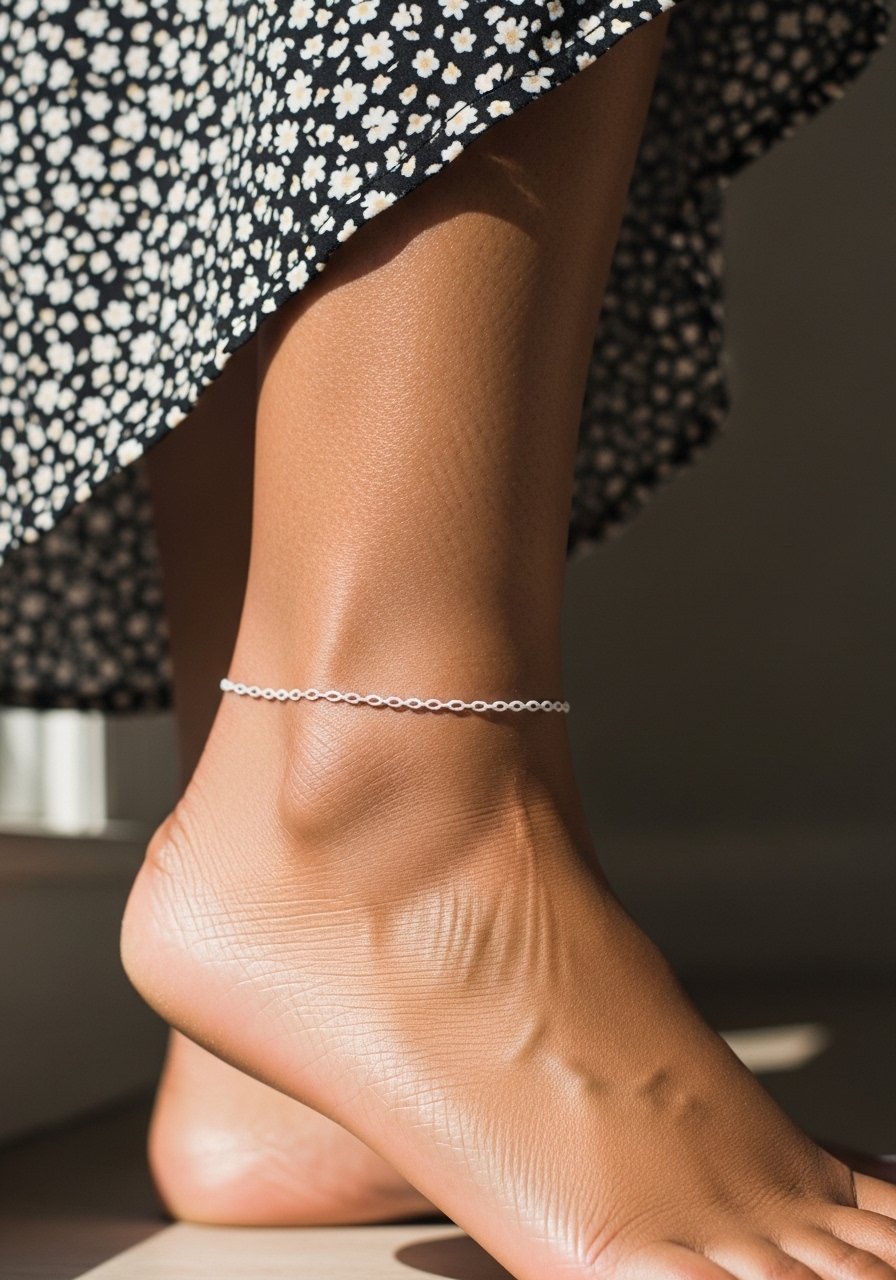
Anklet white ink reads like jewelry and is a playful way to wear white ink publicly. The ankle faces friction from socks and shoes so expect touch-ups in the first two years. During consultation ask for slightly bolder link edges and small negative space highlights inside each link to preserve the chain effect. Sessions are short and pain is moderate. A mistake people make is asking for a continuous ultra-thin band that breaks under wear. For showing it off, complement the piece with low-cut sandals or a delicate ankle bracelet that sits above the tattoo without covering it.
Frequently Asked Questions
Q: How visible are white ink tattoos on darker skin over time?
A: White ink sits differently across tones. On darker skin the contrast can be low from the start but strategic stipple shading and slightly heavier saturation help the design hold. Expect the look to soften over years and to require occasional touch-ups if you want the original bright effect.
Q: Do white ink designs need different aftercare than black ink pieces?
A: The process is similar but white ink benefits from careful sun avoidance and gentle cleansing because it relies on surface contrast. Use fragrance-free products and follow the studio's instructions closely. Expect longer windows for scabbing to settle when white ink is dense.
Q: Should I avoid white ink on places that rub a lot like hands and fingers?
A: Hands and fingers wear faster because of washing and friction. You can still get white ink there but be realistic about touch-ups and fading timelines. If long-term crispness matters, consider an alternative placement or a white-on-grey backing to boost longevity.
Q: How do I bring up longevity and touch-ups in consultation without sounding difficult?
A: Ask specific questions like how the artist staggers saturation and what their touch-up policy is for white work. Saying you want photos of healed work in similar placements is a clear way to gauge experience without confrontation. That directness helps both sides align.
Q: Can white ink allergic reactions happen more than with black ink?
A: Allergies are possible with any pigment and with white ink they sometimes show as persistent redness or raised texture. If you have a history of reactions tell the studio and consider a small patch test. Most studios will accommodate a test before larger work.
Q: What clothing or accessories help white ink read longer when I want to show it off?
A: Neutral tones and open necklines or rolled sleeves keep focus on white ink without competing colors. For wrist or ankle pieces a minimalist watch or thin sandals frame the tattoo without rubbing it.
